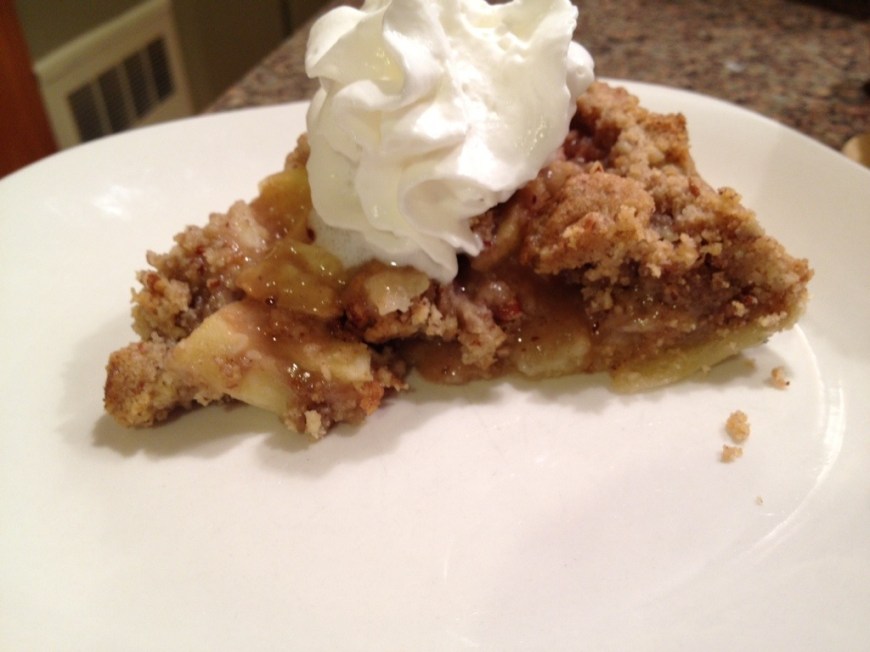
I love apple pie. Especially on a cold day, with lots of ice cream or whipped cream melting on top. I decided to make one for my friend’s birthday. Perfect for fall and for a homemade present. The thing is though; I’ve never made one before! I figured it shouldn’t be too hard, and for the most part it wasn’t, BUT the pie crust was certainly a challenge for me. My little sister warned me about this (she is a baking and pastry chef) and gave me some tips, but I was still swearing at the dough as it was melting to the surface and breaking. Trial and error I suppose.
But alas, do not fear the pie! If I can do it, you can. And maybe even a monkey for that matter.
Ingredients: Adapted from The Pioneer Woman, and Smitten Kitchen for the pie crust.
Filling:
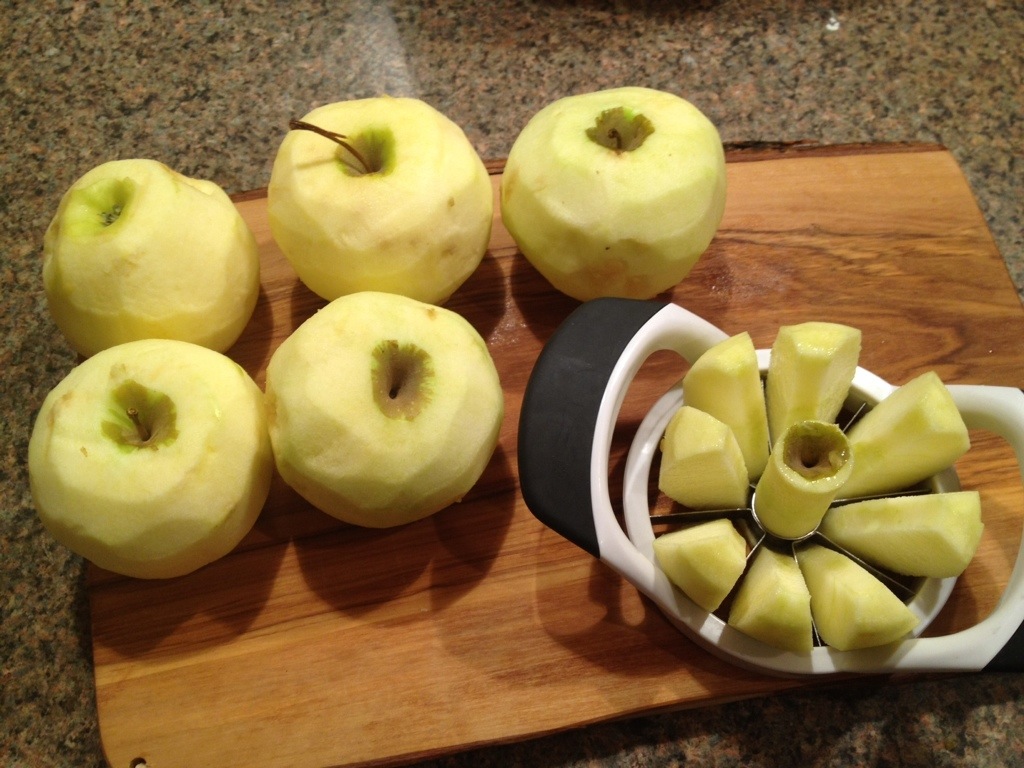
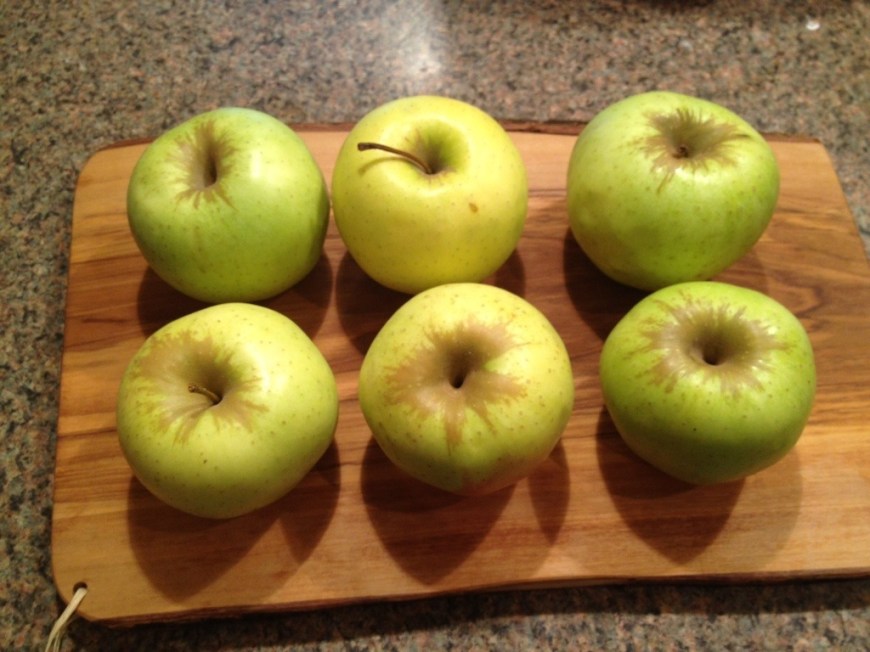
3 whole large granny smith apples, peeled, cored, and sliced thin
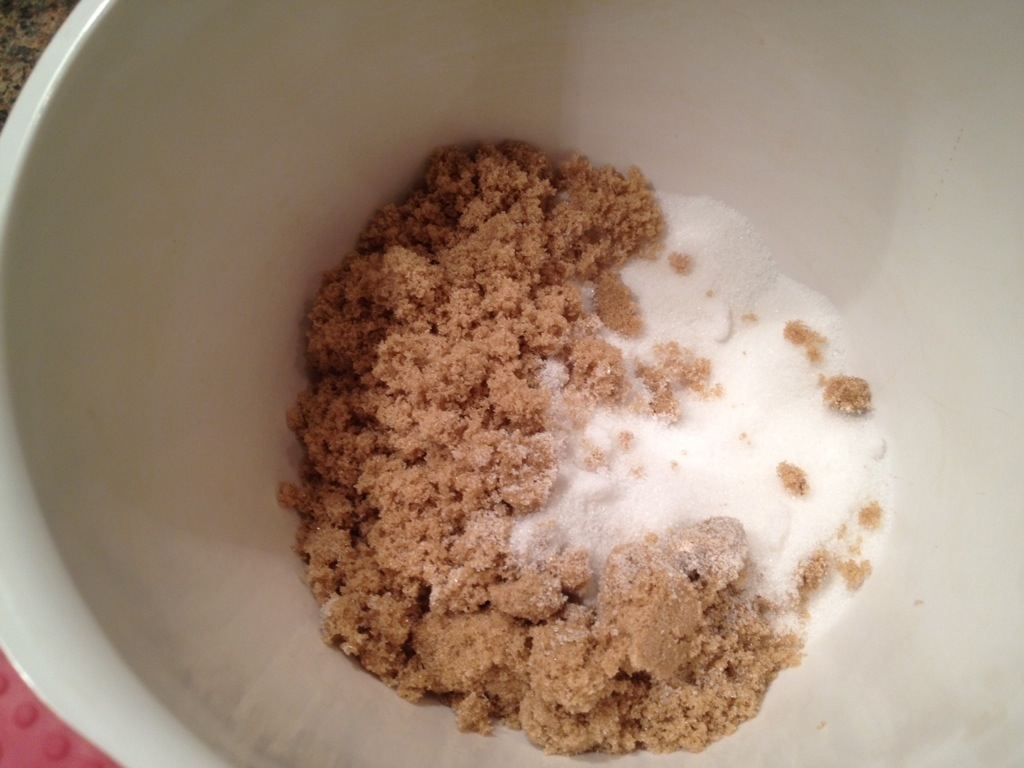
1/2 cup light brown sugar
1/2 cup sugar
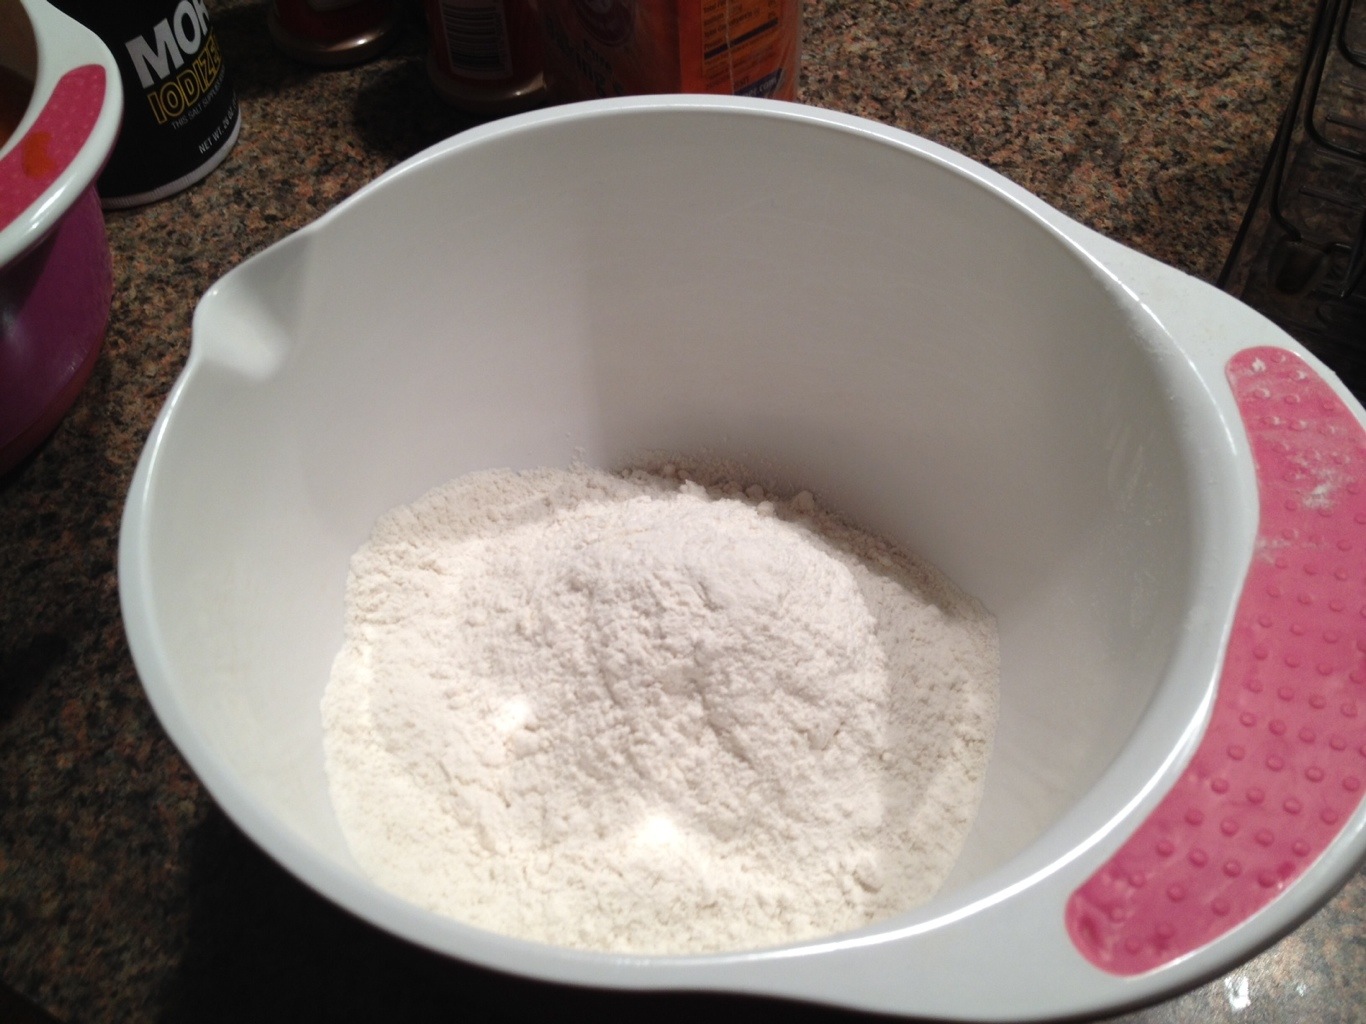
1 tablespoon all-purpose flour
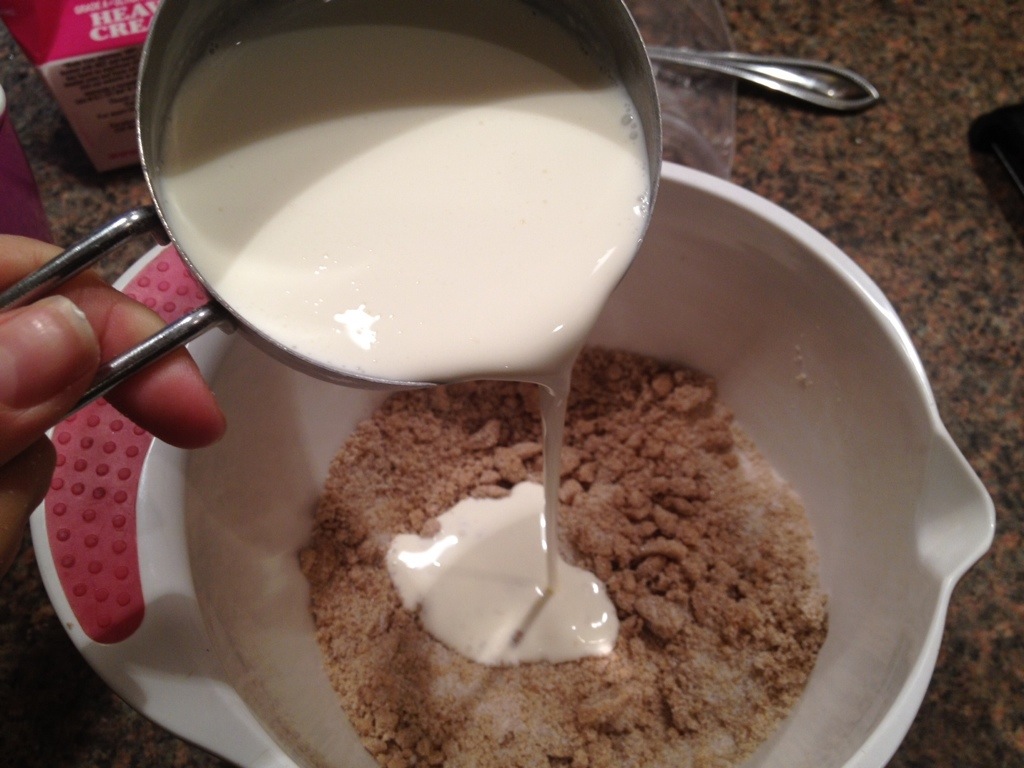
1 cup heavy cream
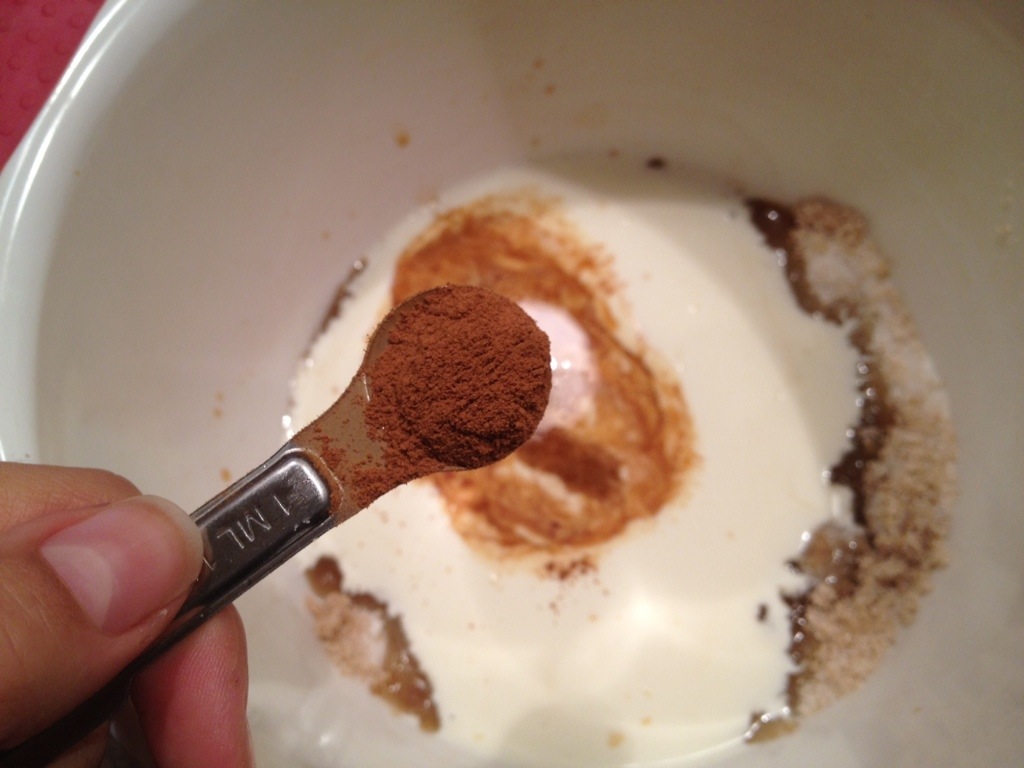
2 teaspoons vanilla extract
1/8 teaspoon cinnamon
Topping:
7 tablespoons butter
3/4 cup all-purpose flour
1/2 cup light brown sugar
1 cup pecans
dash of salt
(I made two pies, so I ended up doubling the filling/topping ingredients)
Pie Crust: (makes enough dough for one double, or two single-crust pies)
2 1/2 cups all-purpose flour
1 tablespoon sugar
1 teaspoon salt
2 sticks unsalted butter, very cold
1 cup cold water, with ice cubes

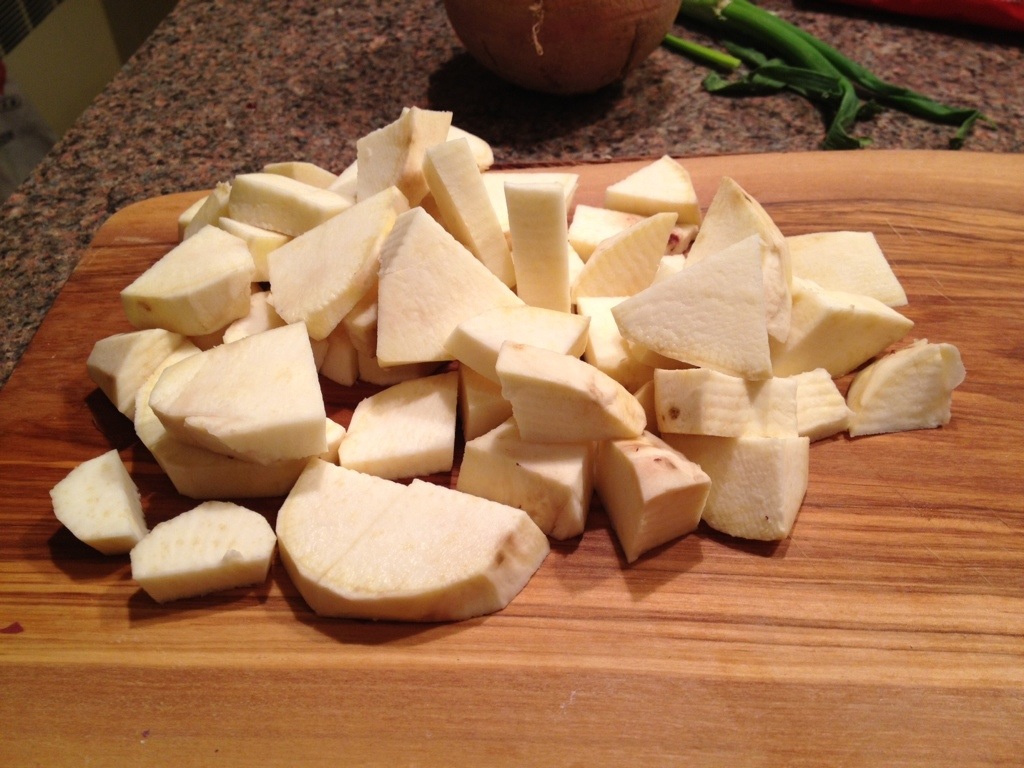
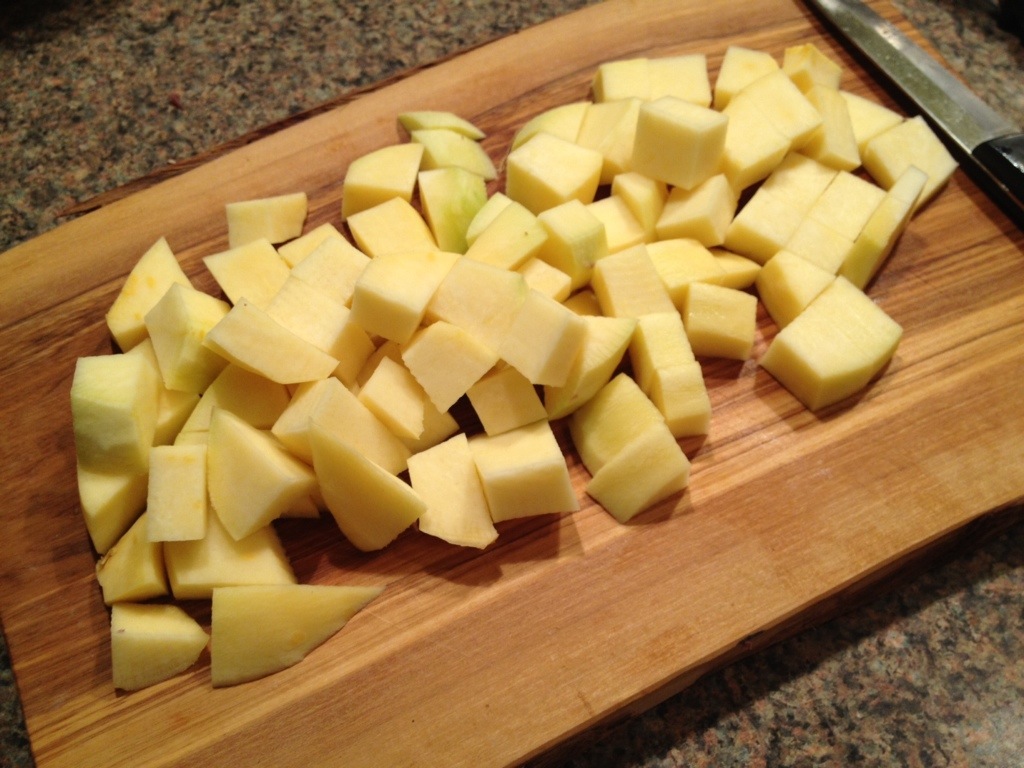
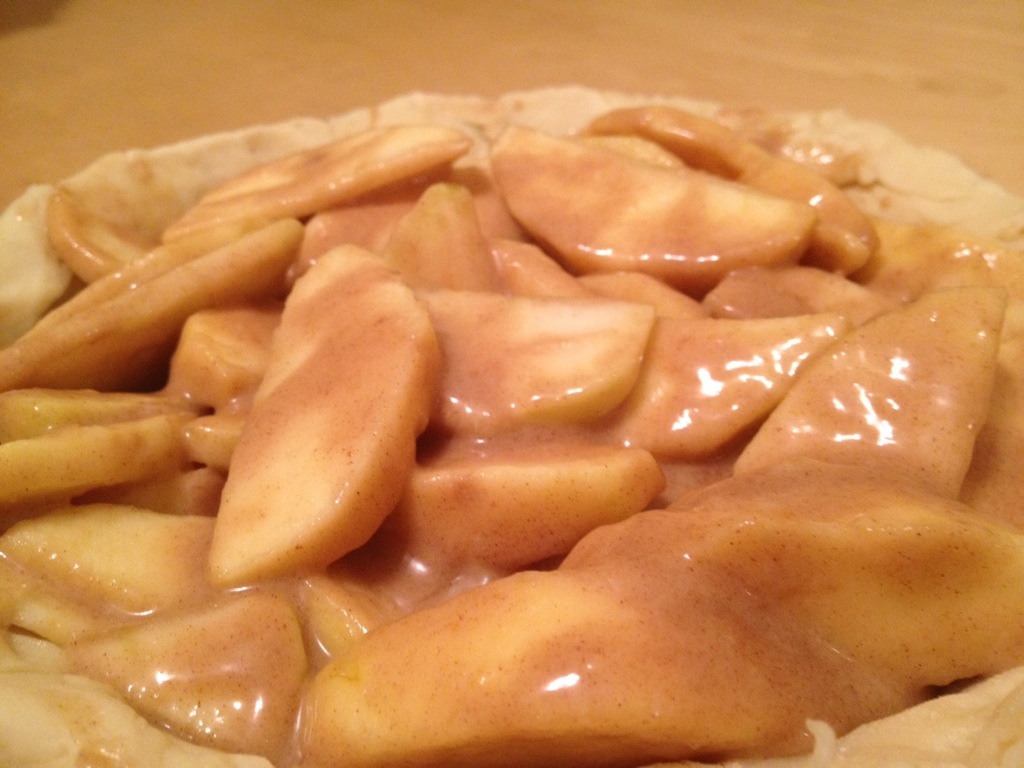
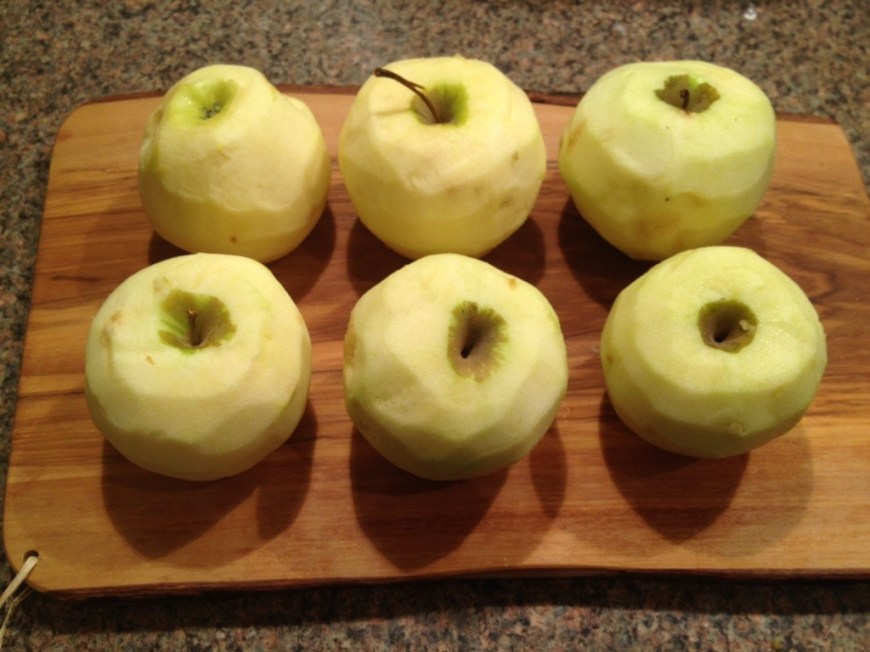
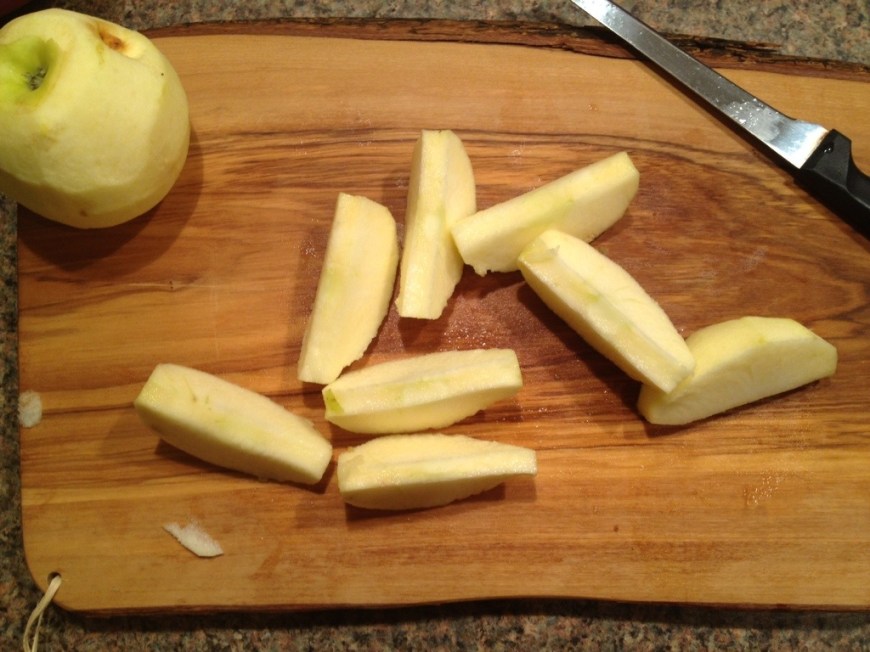
Peel your apples and core them. I used my apple slicer that my kick-ass grandmother gave me. After I sliced them, I cut each slice in half, and a few in thirds so I’d have a few thinner ones as well.


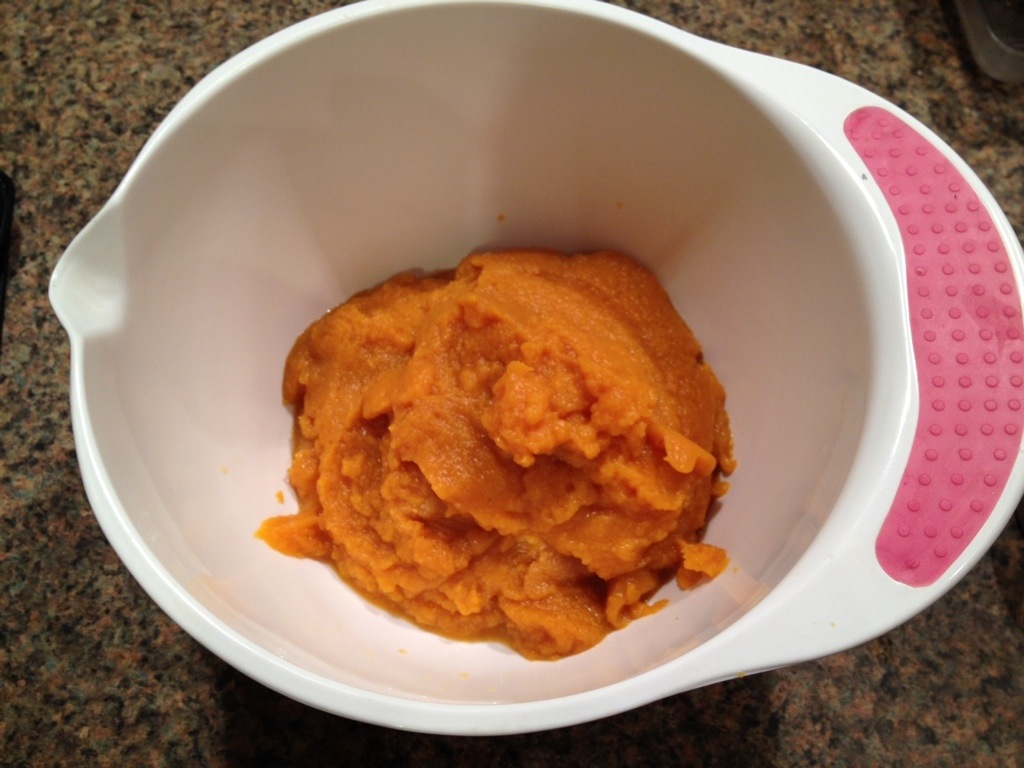
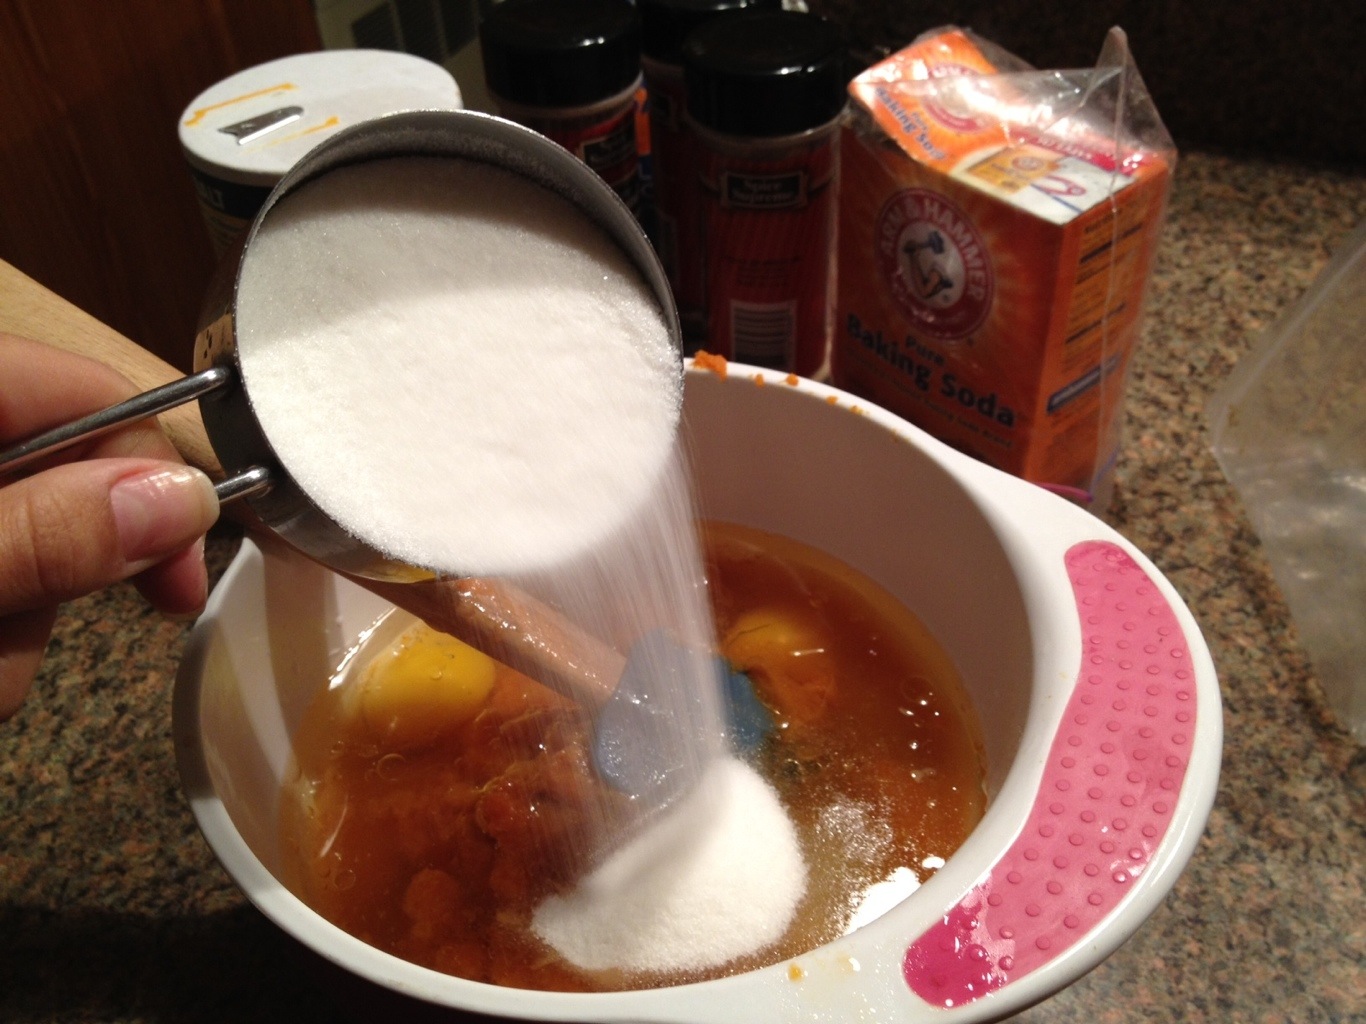
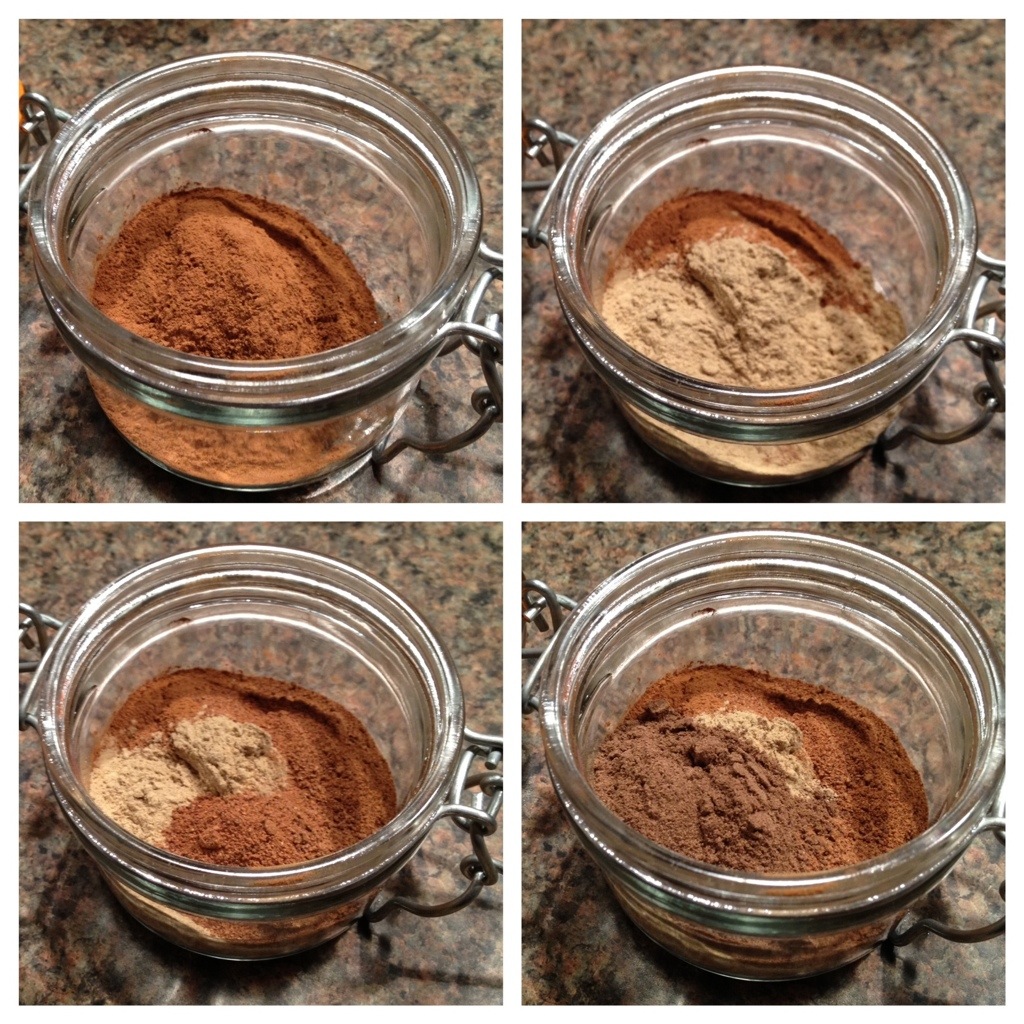
Next, for the filling. Add both your brown and white sugar to a bowl, and mix. Add your heavy cream, vanilla, cinnamon and flour.

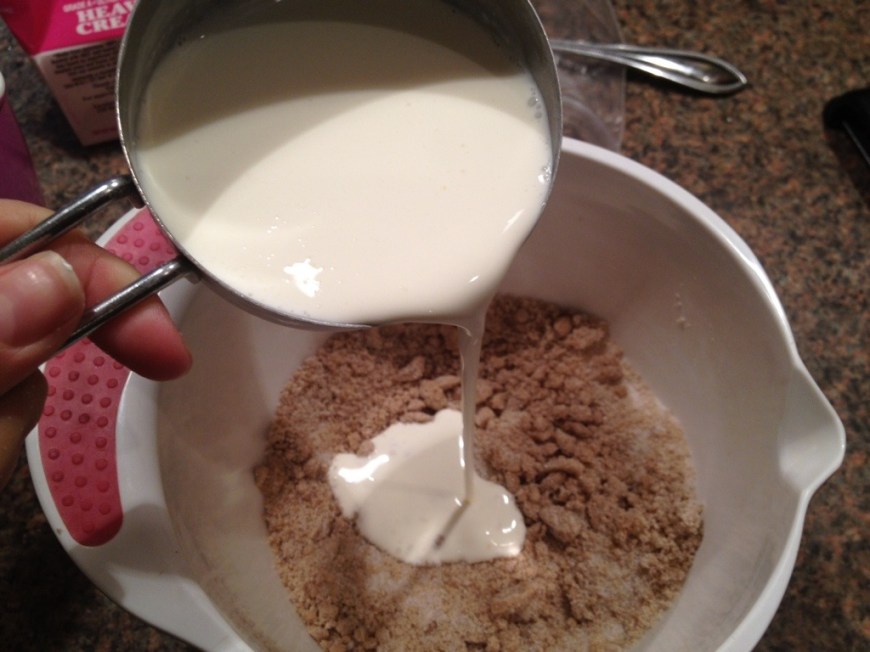
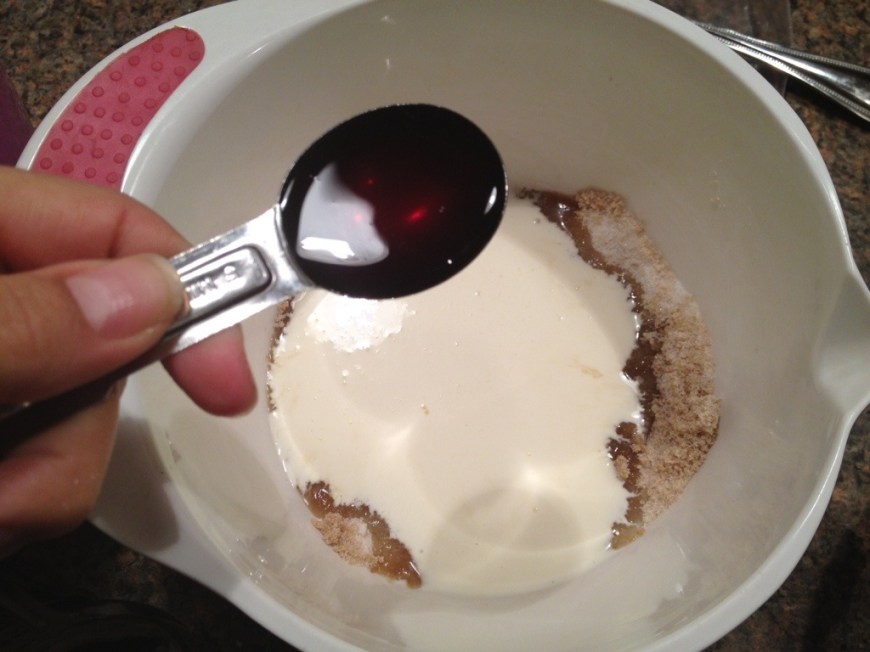

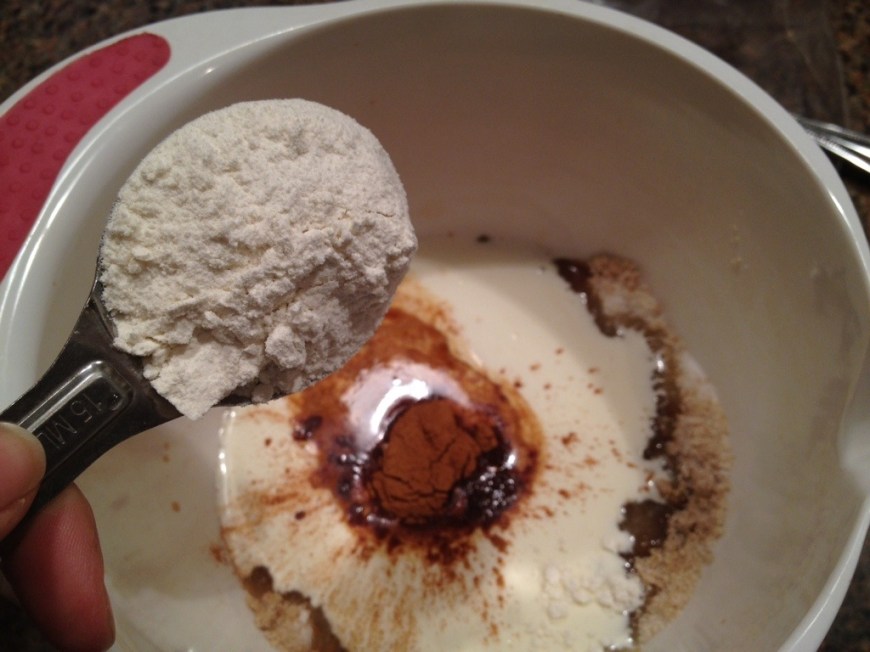
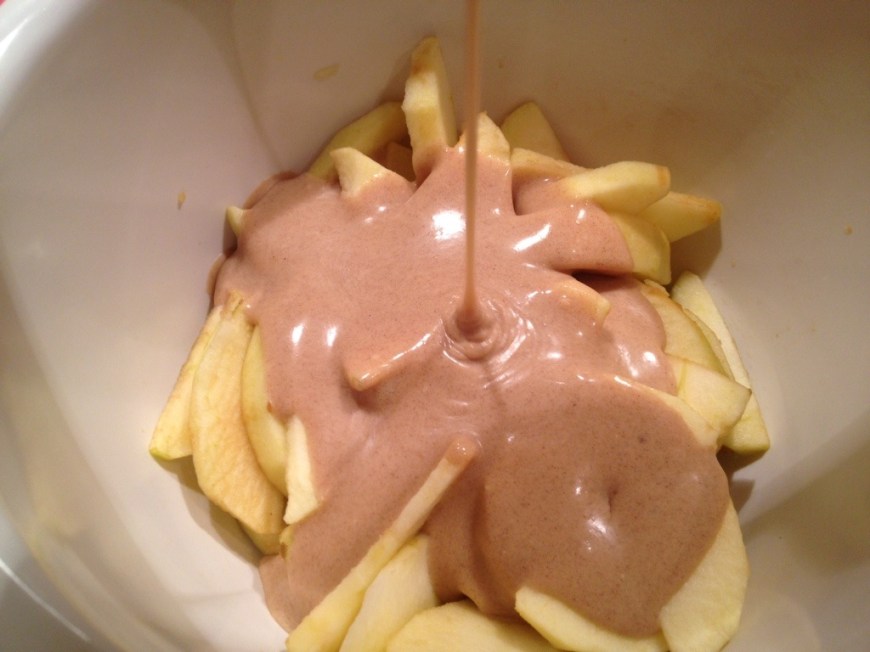
Mix well. Pour over your apples and set aside.
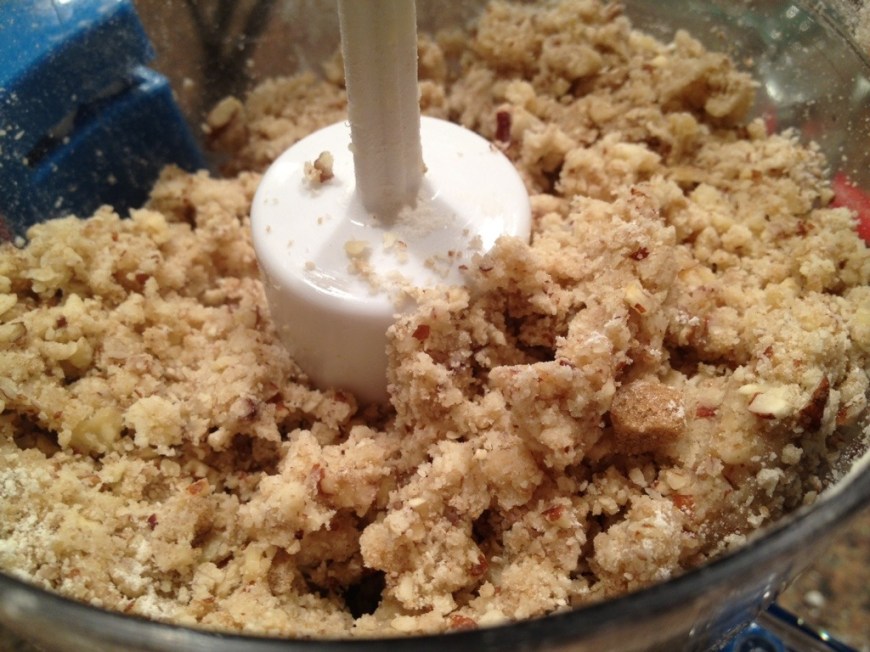
Now for the topping. Get out your food processor. Add the butter, brown sugar, flour, pecans, and dash of salt. Process it until mixed and big clumps form. Set aside.

Ok. It’s pie crust time. Set your oven to 375.
It is very important that your butter is very cold. Is helps the dough from being messy and sticking to things. I learned this the hard way when my crust was basically stuck to the countertop.
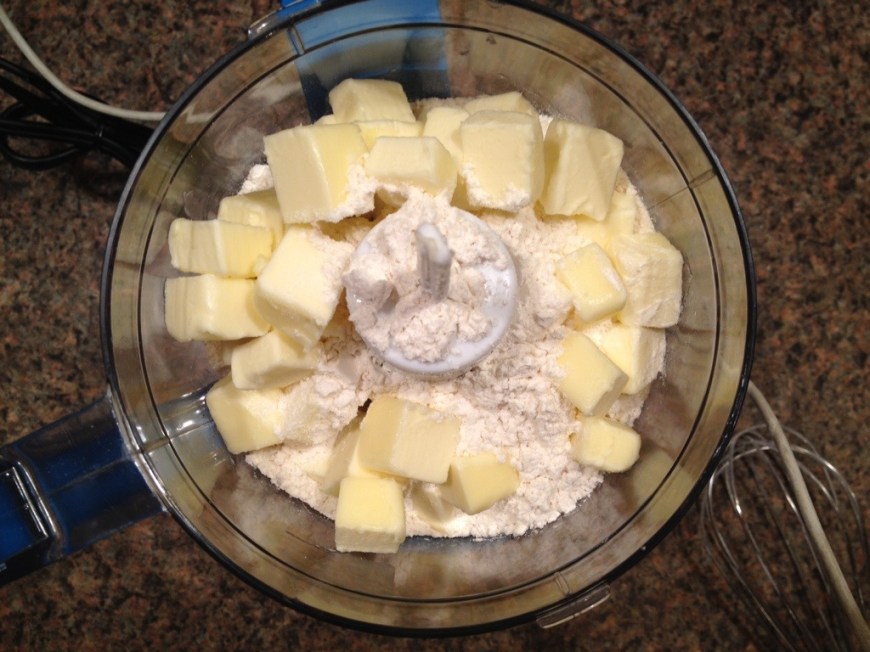
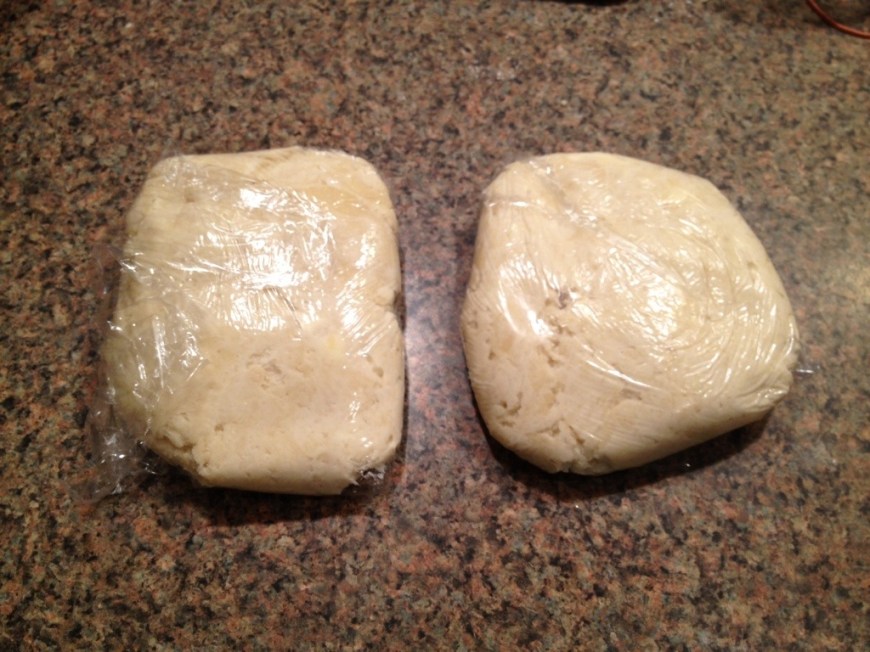
Get one cup of cold water and add some ice cubes, set aside. Put you flour, sugar, and diced butter into the food processor. Pulse until crumbs form. Don’t overdue it though. Move your mixture to a bowl and add your ice water, one tablespoon at a time. You are trying to get the ingredients to form a dough, so once you have the right consistency no more water is needed. Also, don’t add the ice cubes! Once ready, split dough in half and wrap separately in plastic wrap. Leave in the fridge for at least one hour (the longer the better) so that the dough is cool enough to shape.

Flour your surface and rolling pin. Plop your dough on there, and flour the top of the dough as well. Begin to roll your dough out- a few rolls to the front, a few to the side. Work toward making that circle. Mine looked more like it fell off a tall building and splat on my counter, but it’s okay because you will trim the edges anyway. While rolling keep flouring the dough here and there.


Use a spatula to get your dough edges lifted from the surface. Peel it off and place over your pie dish. You’re laughing at my dough, aren’t you. It was my first time! I don’t know how people make it look so fancy. I like to think mine looks more “organic”

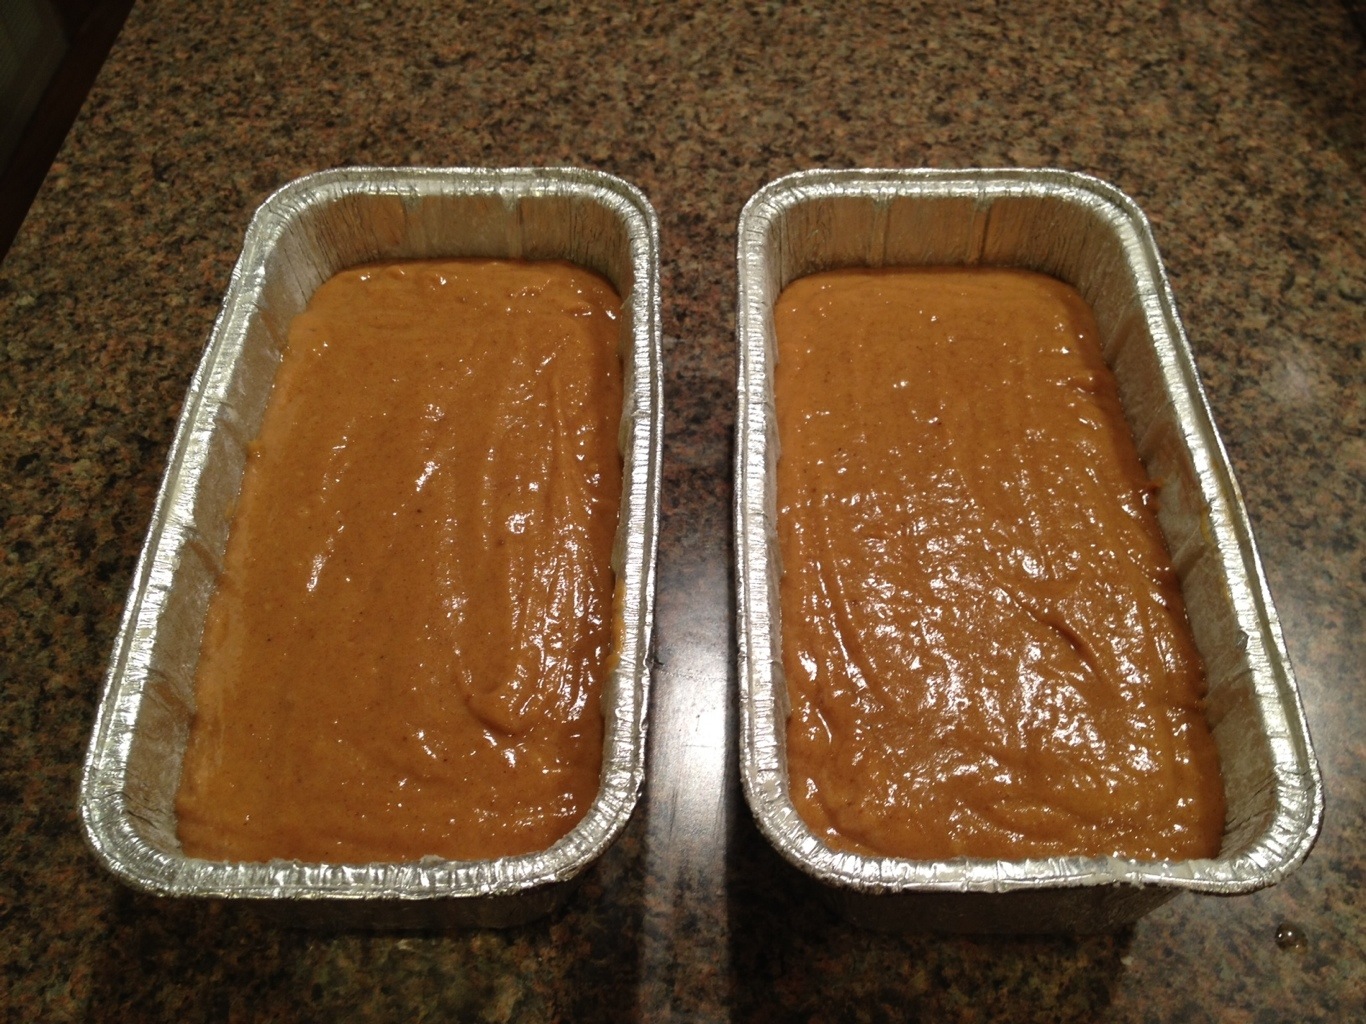
Add your apples. Then cover with the topping.


Wrap the side of the pie with aluminum foil to protect the edges from burning. Smart idea in the recipe I was following.

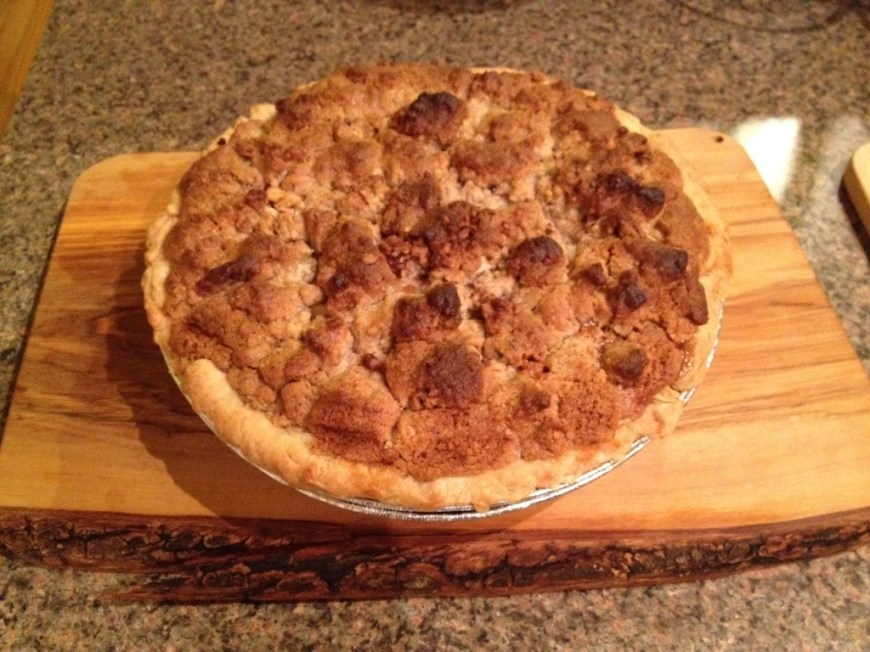
Put in the oven for one hour. Check half way through to make sure the top is not burning. If it is, just add foil to the top to protect it. Remove all foil about 15mins before the timer is up and let it get all brown and aweeeesome. Remove from oven and set sit for about 20 minutes so you don’t burn your mouth off.
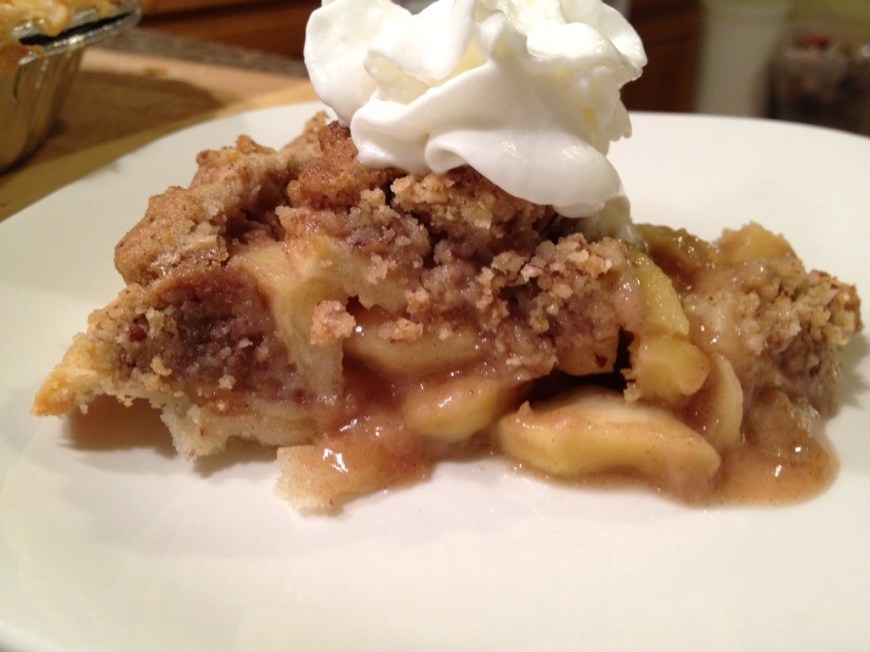
EAT.