Creamy Kale & Lemon Fettuccine with Pancetta

I ordered some Tuscan Kale fettuccine from my CSA this week and it was delicious! Made locally in NY too, which is great. I’ve been craving a creamy pasta dish lately, so that is exactly what I made. I added fresh chopped kale to compliment the kale fettuccine. I also added a lot of lemon, mainly because I love lemon and kale together, but also because eating citrus with your leafy greens helps your body absorb more of the nutrients it contains. Double win. All in all a really nice Tuesday dinner!

Ingredients:
Tuscan Kale fettuccine (though this would work with any pasta!)
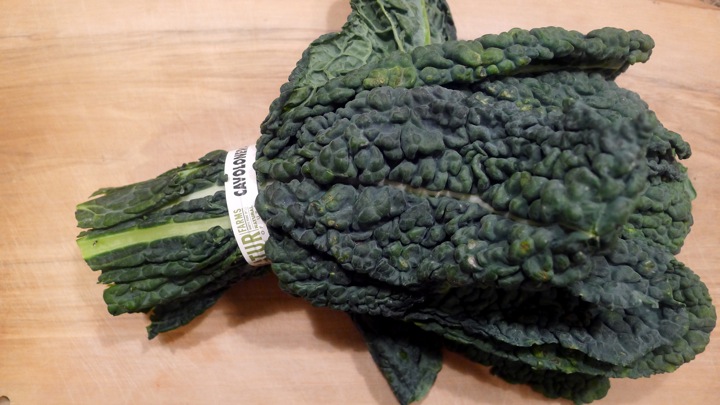
1/2 a small bunch kale, stemmed and chopped
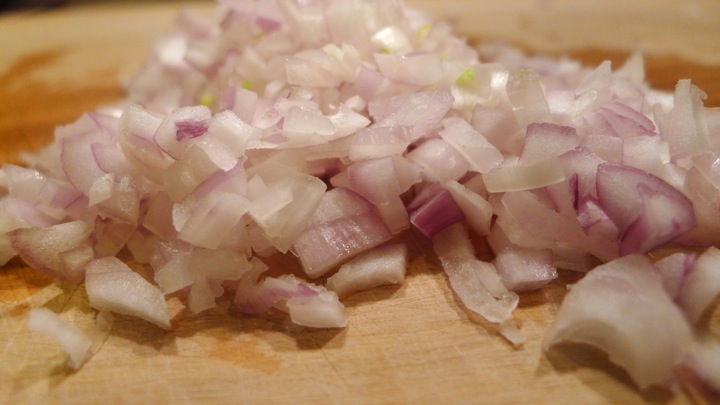
1 small shallot, finely chopped
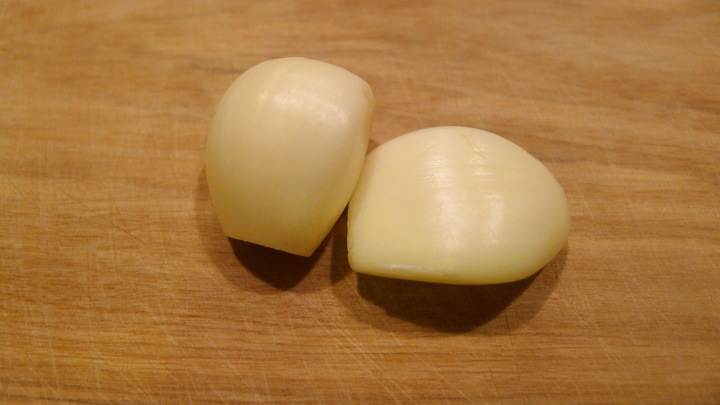
2 garlic cloves, minced
3 ounces pancetta, roughly chopped
1/2 cups half & half
1/3 cup freshly grated Parmesan
Juice and zest of 1/2 lemon
1/3 cup pine nuts, toasted
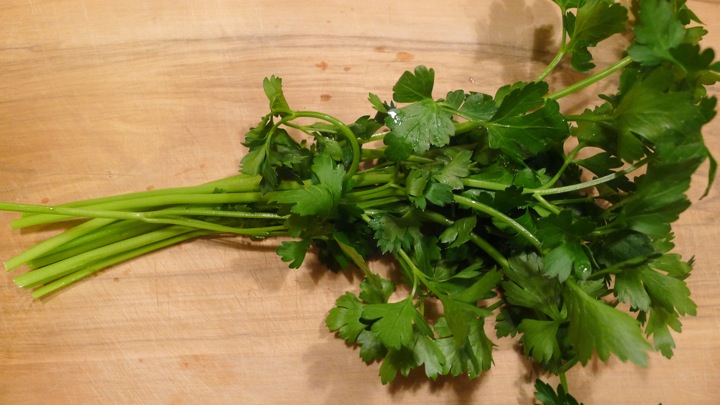
Fresh parsley, for topping
1/2 teaspoon red pepper flakes (optional)
Salt and pepper, to taste

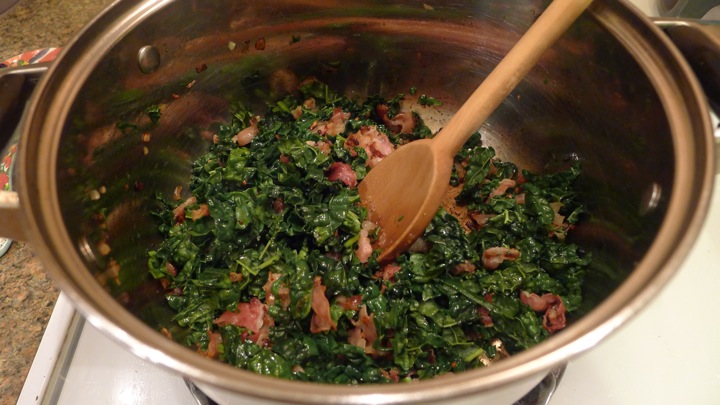
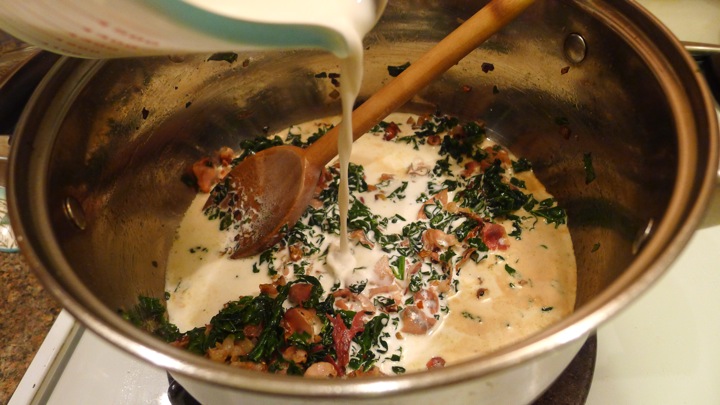
Start by chopping all of the necessary ingredients so they are ready to go as needed. I find it helps to get all the labor done before you start cooking. Also get a large pot of salted water boiling for the pasta. In a saucepan, drizzle some olive oil and cook the shallot for a few minutes. Next add the garlic, cooking for another minute or so. Add the panetta and cook until browned, about 3-5 minutes. Toss in the kale and cook until wilted. Turn the heat down to low and slowly add the half & half. Let it come to a simmer, stirring occasionally, for about 5 minutes or so. You’ll notice that it thickens a little. Next add the Parmesan cheese followed by the lemon juice and zest. Stir well and salt/pepper to taste. At this point you can shake some red pepper flakes in there if you like a little heat. Lastly, add your pine nuts to a pan and toast them dry until lightly browned and fragrant.

Once the pasta is ready, strain it and set a cup of pasta water off to the side. Add the pasta to the creamy mixture and coat the noodles well. Add a little pasta water until you have the smooth consistency you like. Top with toasted pine nuts and fresh chopped parsley. Enjoy!

BONUS PHOTO! My 8 month old nephew watching me cook my dinner via FaceTime. I tried to narrate my “show” for him like Julia Child, which I think he appreciated.

7

Okay, now back to pasta…..

Brown Sugar Grapefruit Cake

My sister had made the Smitten Kitchen Grapefruit yogurt cake before and said it was amazing, so when I got a big juicy grapefruit in my CSA this week I knew what I was going to make! She wasn’t kidding- it’s SO good. I love broiling my grapefruit with brown sugar on top, so in an attempt to switch up the original recipe a little, I used brown sugar instead of white. I also grated some fresh ginger into the glaze, which added some nice flavor. Overall, probably one of the best cakes I’ve had in a while. If you ever find yourself with a grapefruit in hand, make this right away.

Ingredients: (adapted from Smitten Kitchen)
1 1/2 cups all-purpose flour
2 teaspoons baking powder
1/2 teaspoon kosher salt
1 cup plus 1 tablespoon brown sugar
1/3 cup freshly squeezed grapefruit juice
1 tablespoon grated grapefruit zest
3 large eggs
1 cup plain whole milk yogurt
1/2 teaspoon vanilla extract
1/2 cup vegetable oil

Glaze:
1 cup confectioners’ sugar
2 tablespoons freshly squeezed grapefruit juice
1 teaspoon freshly grated ginger

Preheat oven to 350 degrees. In a medium bowl, sift together the flour, baking powder, and salt. In a separate bowl, whisk together the brown sugar, eggs, vanilla, yogurt, grapefruit juice and zest. Slowly add the dry mixture to the wet mixture and mix well. Next, fold in the vegetable oil a little at a time, making sure the oil gets well incorporated. Pour the batter into a 9 inch loaf pan that has been lined with parchment paper and greased. Let cook for 50 minutes, or until a toothpick inserted into the center comes out clean. In the meantime, make the glaze by simply whisking together the confectioners’ sugar, grapefruit juice, and grated ginger. Set Aside. When the cake it ready, have it cool inside the pan for about 10 minutes before transferring to a wire rack. With a baking sheet placed under the rack, drizzle the glaze over top of the cake, letting it soak in. Let cool another 10 minutes or so before digging in!

Veggie Sushi With Beet Wasabi Mayo

So it turns out making sushi at home is kind of complicated! Not sure how people roll them up so fast and make everything look so pretty- I had a good amount of sticky rice stuck to my hands, face, and clothes by the time I finished. Plus my roll looked a little wonky, but it was fun and I had a good laugh! I prefer the rice on the outside, but I’m thinking it is much easier to just roll it on the inside. Keeping my hands and knife a little wet when cutting the roll really helped with the stickiness a lot, so that’s a good trick to know. I wanted to do something interesting with the wasabi so I added roasted beets and ginger for some flavor, and of course the gorgeous color. I topped the sushi with mango as well, though for some reason it looks like cheese in the photos! I send my sister a picture and she responded with “and then I added some Kraft singles,” which made me burst out laughing. When all was said and done though, I really liked it! A healthy and fun dinner to make. It might not look like the lunch I get most days from Beyond Sushi, but I’m working on it.

Ingredients:
2 cups sticky rice (I bought pre-cooked to save time)
Seaweed (nori) sheets
3 small red beets, peeled and cubed
2 tablespoons light mayonnaise
1 tablespoon wasabi
1 inch cube fresh ginger
Small avocado, sliced thin
1 Daikon radish, cut into matchsticks
1 large carrot, cut into matchsticks
1 mango, sliced thin for topping
Soy sauce, for serving (optional)

Preheat oven to 350 degrees. Drizzle the beets with olive oil and cook for about 15-20 minutes, or until fork tender. In the meantime, cut the vegetables. When the beets are done, place into the food processor with mayo, wasabi, and ginger. Blend until smooth. Place a piece of the seaweed onto a sushi rolling mat and gently spread the sticky rice covering the seaweed. At this point you can either flip it over so the rice is facing down, and fill the center so the rice is on the outside when you roll it up (like I did) or you can add your fillings on top of the rice to have the rice on the inside. Once you add the filling, gently roll the sushi mat from the bottom up and tuck the sushi under, creating the rolls shape. Continue using the mat to push the roll until you have a complete piece. With a sharp knife, cut the individual pieced from the roll. Top each piece with mango and beet wasabi mayo. Serve with soy sauce!

Parsnip and Daikon Radish Truffle Fries

I LOVE truffle fries. They are amazing and delicious, but unfortunately not the healthiest thing to be eating mounds of. So when I had some parsnips and a huge daikon radish I thought I may as well try to make a healthier version of one of my favorite foods! I’ve heard of parsnip fries before, but not really radish fries, so I had no idea what they would taste like. To my surprise, they were pretty good! Mainly because anything covered in truffle oil and Parmesan cheese is magical. I also got some potatoes in my CSA bag this week, so I might just treat myself to truffle fries again tomorrow…you know, because I had the “healthy” version tonight so it cancels itself out. Right?

Ingredients:
1 large parsnip, peeled and cut into fries
1 large daikon radish. peeled and cut into fries
2 tablespoons fresh parsley, chopped
1/4 cup freshly grated Parmesan cheese
Salt and pepper, to taste
Truffle oil
Olive oil

Preheat oven to 400 degrees. Cut the parsnip and radish into the shape of fries. Make sure they aren’t too thin, otherwise they’ll burn. Toss in olive oil with some salt and pepper, then spread on a baking sheet lined with aluminum foil. Cook for 15-20 minutes, then flip and cook for another 10-15 minutes. You want them to be browned, but not burned. Once the fries are cooked, toss them with truffle oil, parmesan cheese, and chopped parsley.