Brown Butter Lemon Bars

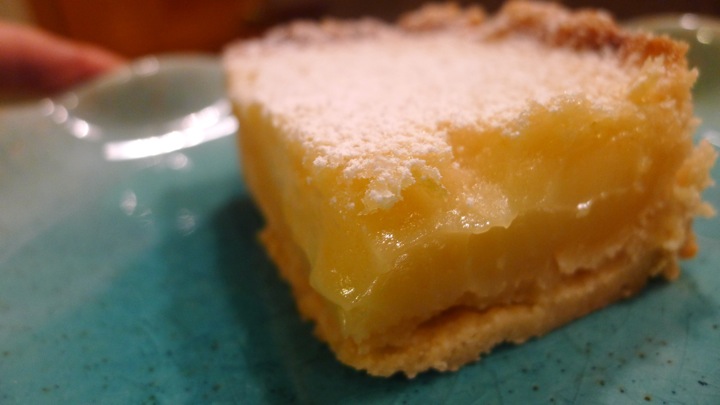
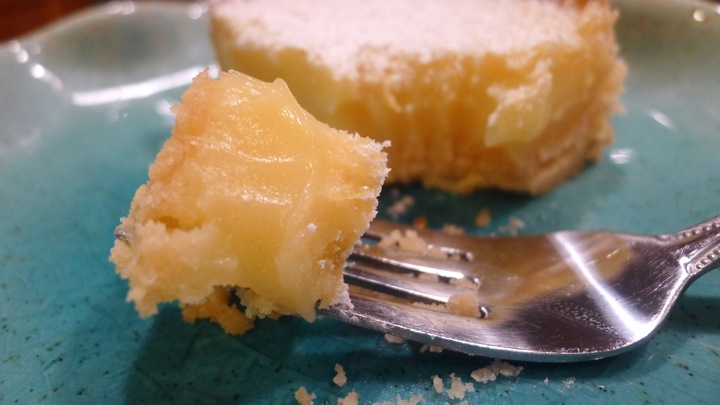
What to do with a bunch of lemons? Make lemon bars! Everything you need to make these, you likely have in your kitchen already. They take a little time but are totally worth it. I’ve wanted to try making Smitten Kitchen’s lemon bars for a while, so when I got a handful of lemons in my CSA I knew exactly what I was going to make. They came out delicious! In an attempt to be fancy, I browned the butter before making the crust, which I thought gave it a nice nutty flavor. If you prefer not to brown the butter, just simply use room temp butter without cooking it at all. I think next time I might add a little shredded ginger into the batter as well and see what happens.

Ingredients: (adapted from Smitten Kitchen)

Crust:
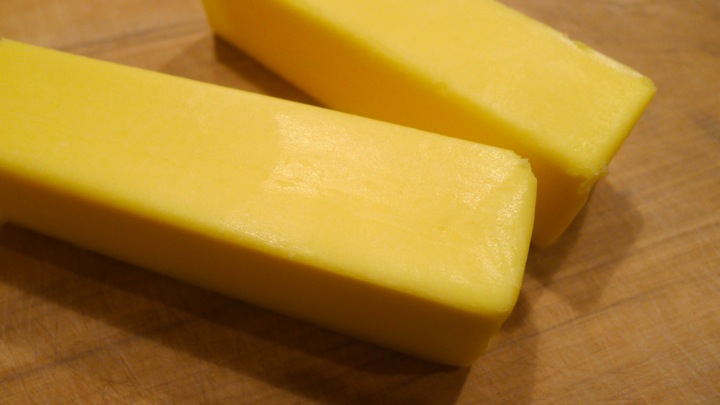
2 sticks unsalted butter (browned in pan)
2 cups all-purpose flour
1/2 cup sugar
1/8 teaspoon salt

Lemon Filling:
4 large eggs, room temperature
2/3 cup all-purpose flour
1 2/3 cup sugar
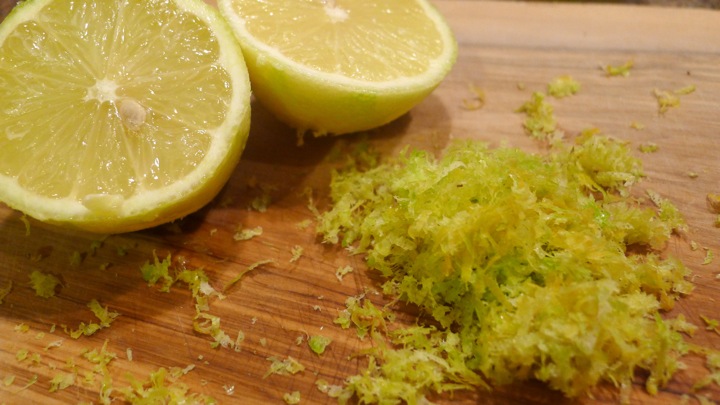
1 tablespoon + 1 teaspoon lemon zest
2/3 cup fresh lemon juice (3-4 lemons)
Powdered sugar, for dusting

Preheat oven to 350 degrees. Line a 9×13 by 2 inch baking sheet with parchment paper and set aside. Place butter in a pan and cook until slightly browned and fragrant. Be sure not to burn the butter, once it begins to smell nutty, it’s about ready to be taken off the heat. Pour into a bowl and place in the fridge until set. Remove and let get to room temperature.

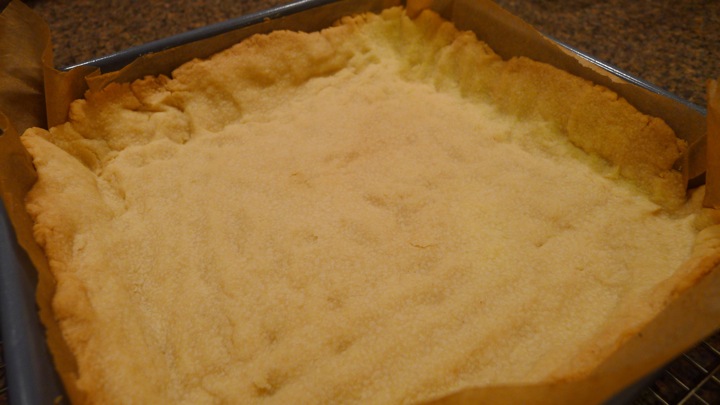
With an electric mixer and paddle attachment, cream the butter and sugar together. Combine the flour and salt in a bowl, and with the mixer on low, add the flour to the butter until just mixed. On a well floured surface, form the dough into a ball. Place inside the baking sheet and flatten with your hands, going up the sides as well. Chill the crust in the fridge for about 20 minutes, then cook in the oven for 15 minutes or until golden brown. Let cool.

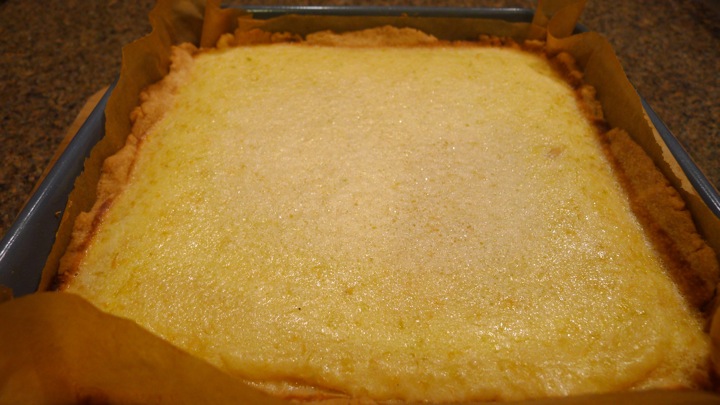
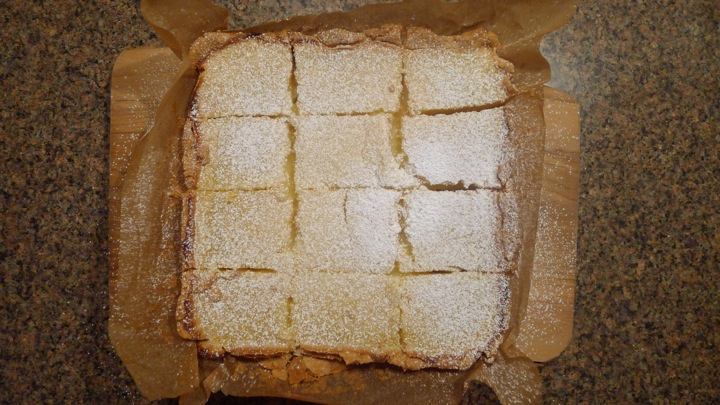
Next, make the lemon filling by placing the eggs, flour, sugar, lemon, and zest in a large bowl. Whisk well and pour into the crust mold. Cook for 25 minutes, or until just set. You can tell when it has set by simply shaking the pan a little to see if the center jiggles. If not, it is ready to be removed. Let cool to room temperature, then serve with powdered sugar. Enjoy!

Grilled Romaine with Roasted Beets and Fennel

I’ve always wanted to try grilling romaine, but never got around to doing it in the summer. Luckily, my oven is equip with a broiler so I was able to get a similar result during the winter months! I didn’t get the exact char I was going for, but without a grill it’s tough to do. It was still super delicious and nice to have a warm salad with some of my favorite things on top- beets, fennel, and blue cheese dressing! And of course, if you DO have access to a grill, then you can certainly cook the romaine that way too.

Ingredients: serves 1-2
1 small head of romaine
3-4 small golden beets, peeled and cut into small wedges
1 large red beet, peeled and cut into small wedges
1 fennel bulb, tops removed and thinly sliced

Blue cheese dressing: (from Skinny Taste)
5oz Greek yogurt
1/2 cup blue cheese, crumbled
1 tbsp light mayonnaise
1 tbsp white wine vinegar
1 tbsp lemon juice
1/8 tsp garlic powder
Salt and pepper to taste

Preheat oven to 375 degrees. Place the beets and fennel on a baking sheet then drizzle with olive oil and a little salt and pepper. Cook for 20 minutes or until fork tender. In the meantime make the dressing. Mix the Greek yogurt and blue cheese in a bowl then add the mayo, vinegar, lemon juice, garlic powder, salt and pepper. When the vegetables are done cooking, turn off the oven and set the broiler on high. Place romaine on a baking sheet and brush with olive oil, followed by a sprinkle of salt and pepper. Cook under the broiler for 1-2 minutes or until it starts to wilt and the edges get a little toasted. Make sure not to burn the lettuce. I had a sweet little personal size romaine from my CSA so I only broiled one side, but if you use a large romaine lettuce from the regular supermarket, you’ll want to cut it in half the long way and broil both sides for sure. To plate, drizzle the romaine with the blue cheese dressing and top with roasted vegetables!

Lentil Soup With Kielbasa

This is one of the best soups I have made to date. It was so delicious, and exactly what I needed after a day outside in 8 degree weather! I’m definitely trying to eat a little healthier and using the New Year as my motivation. I find that in the winter all I want to do is curl up on the couch and eat a nice warm baguette covered in butter. But it turns out the baguette diet is not trending right now, so I am trying other things until it comes around. Homemade soups are a great way to keep healthy (and warm) in the colder months. Just toss your favorite vegetables in a pot with some stock an herbs and your good to go. Then eat the soup by scooping into your mouth with a baguette.

Ingredients: Adapted from GlutenFreeMom (serves 2-4)
1/2 yellow onion, chopped
2 garlic cloves, minced
1 large yukon gold potato, diced
1 medium carrot, peeled and diced
1/2 cup lentils, rinsed
handful cherry tomatoes, chopped
2 cups chicken broth
2 cups water
1 bay leaf
1/2 teaspoon dried parsley
1/2 teaspoon dried oregano
1/2 teaspoon cayenne pepper
6 oz cooked turkey kielbasa (I bought mine at Trader Joe’s)
Olive oil
Salt and pepper, to taste

Heat a little olive oil in a heavy pot, add the onions and cook until translucent, about 3 minutes. Add the garlic and cook another minute or so until fragrant. Next, add the chicken stock and water, followed by the potatoes, carrots, lentils, dried herbs, and cayenne pepper. Cover and simmer for 1 hr, stirring occasionally. After about 20 minutes add the tomatoes as well. I waited to add them because I didn’t want them to cook down too much over the full hour. When the hour is up and the lentils are fully cooked, add the kielbasa and cook just a few more minutes to warm the sausage through. Serve as is or with topping of choice- I added fresh avocado and loved it. Enjoy!