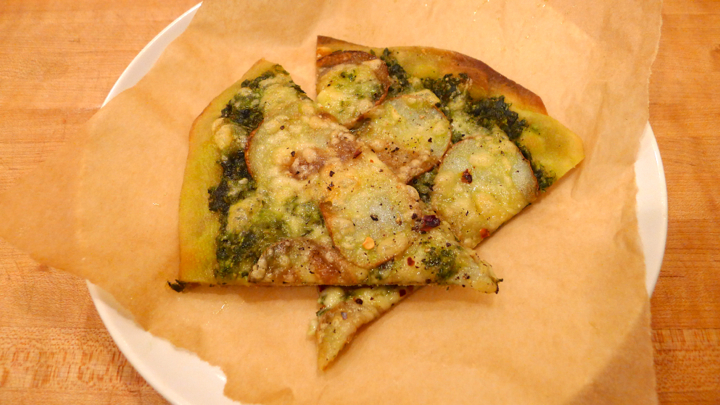
I’ve been eating a lot of pesto lately, it’s just so easy to make and tastes great on so many things. I remembered I had some pizza dough leftover in my freezer, so when I got a ton of basil, arugula, and potatoes in my CSA this week, I knew what I was going to make… pizza. My favorite easy go-to when I want something delicious that doesn’t take too long to make. I didn’t have any nuts on hand so I made a pesto without nuts and actually liked it a lot, didn’t even notice they were missing!
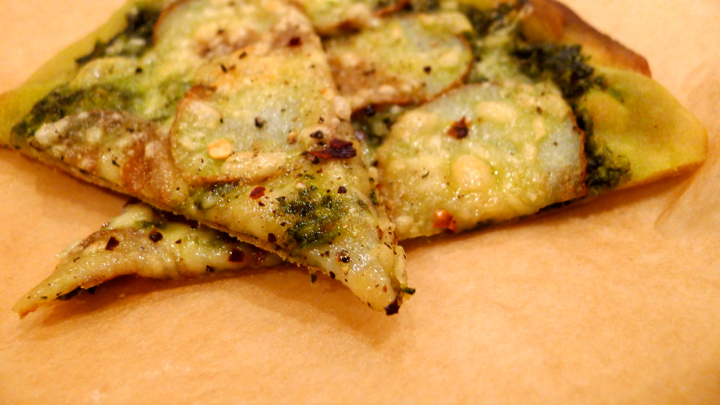
**not the best “final” photos… but I swear it tastes GREAT!
Ingredients:
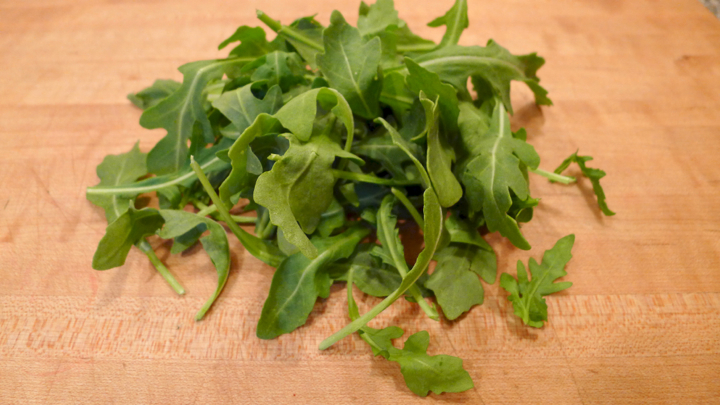
1 cup fresh arugula
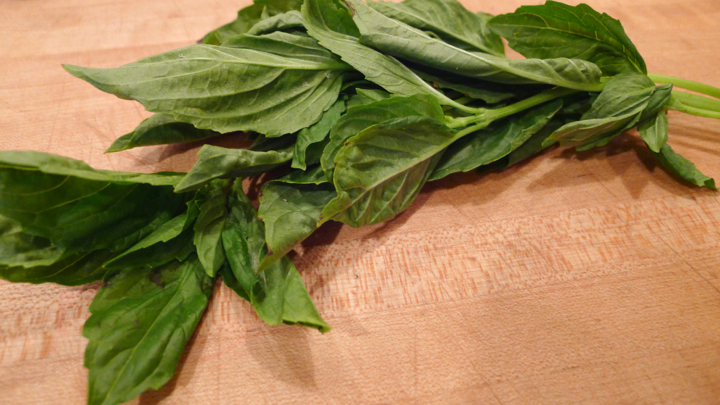
1/2 cup fresh basil
1 garlic clove
1/4 cup grated Parmesan cheese
2 tablespoons olive oil, and more as needed
Salt and pepper, to taste
1-2 golden potatoes, sliced (you want them to be thin enough to cook, but not so thin they burn)
1 pizza dough (I buy mine at Whole Foods or Trader Joes, or I just pick some up from my local pizza place)
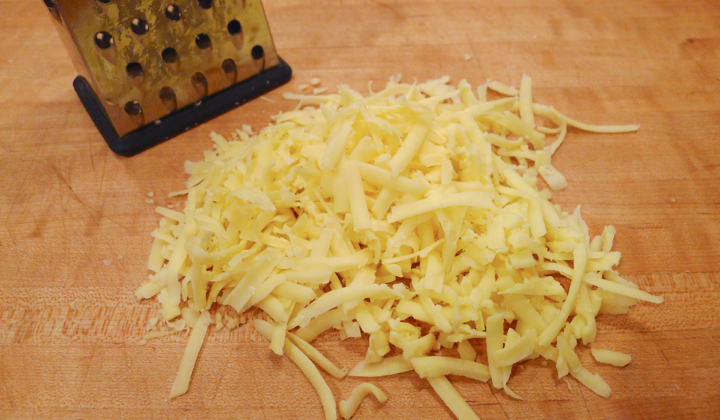
1 cup shredded gouda cheese
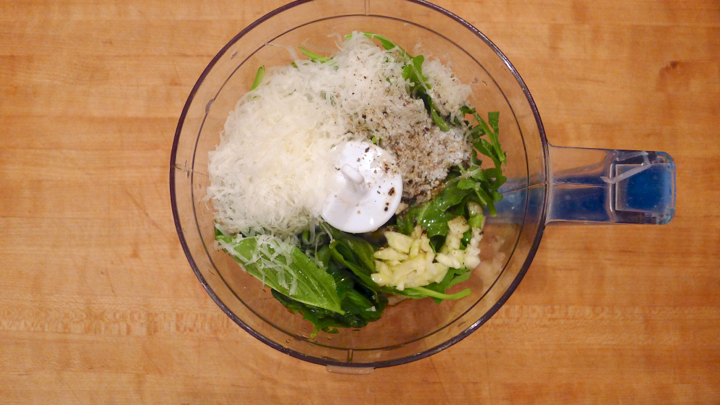
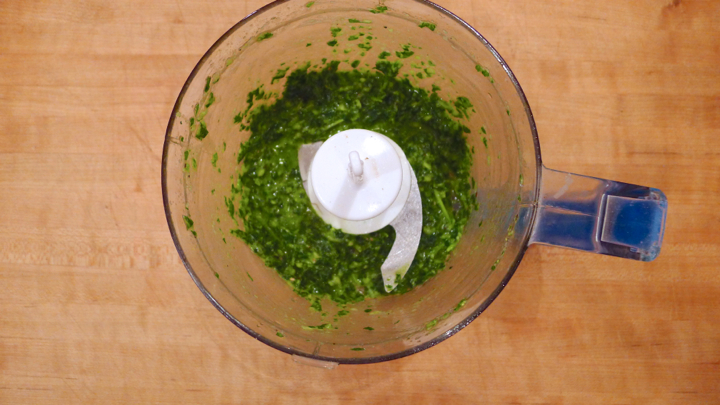
Preheat oven to 400 degrees. In a food processor, add the arugula, basil, garlic, Parmesan cheese, olive oil, and salt and pepper. Mix until you have the texture of pesto. Set aside. Next, cook the sliced potatoes in a pan with some olive oil until fork tender but still slightly firm.
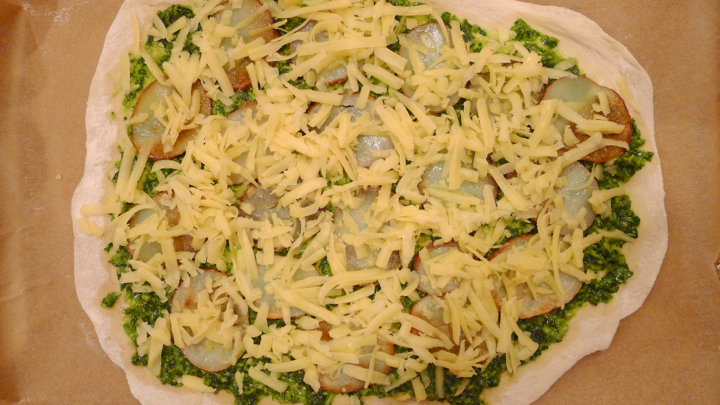
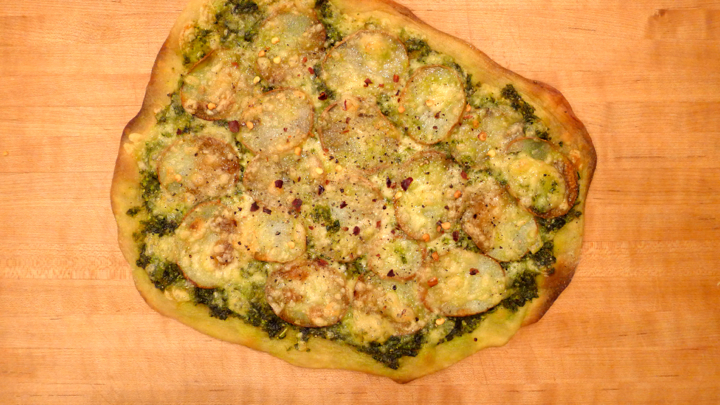
Roll out the dough on a floured surface and place on a baking sheet lined with parchment paper. Spread on the pesto, followed by the potatoes, then top with the gouda cheese. Cook in the oven for about 20-25 minutes, or until the edges are golden brown and the toppings are bubbling. Crack some fresh pepper on top and perhaps come red pepper flakes, and dig in!