Bucatini with Spinach & Garlic Butter

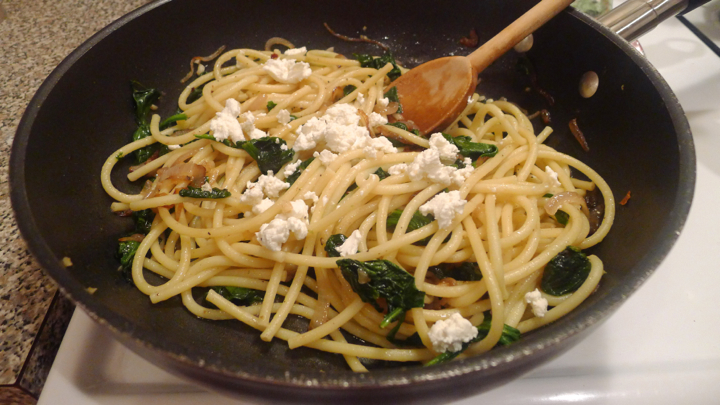
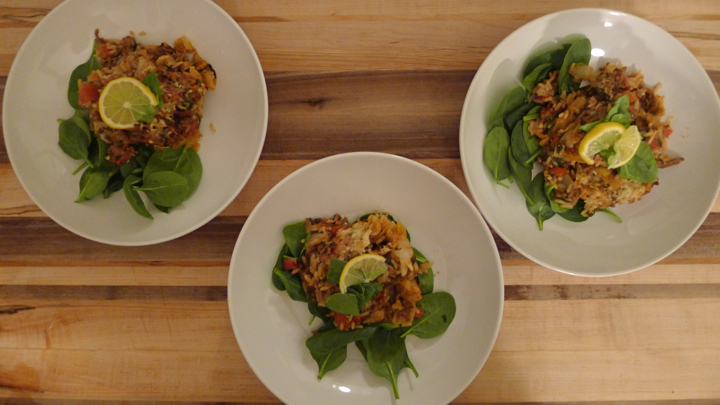
I was craving some pasta this weekend and had a big bag of spinach and red onion on hand from my CSA – so I ended up making a version of a dish that I had seen recently the blog “how sweet it is.”  I swapped the pasta for some bucatini (which I love) and used red onion instead of shallots. I also omitted the brown sugar that she had in her recipe… because you know, Summer is around the corner (not that a massive bowl of pasta covered in butter is helping) Anyway! It was absolutely delicious and I will definitely be making this again. Successful Sunday night supper!

Ingredients:
1/2 pound of bucatini (half a box)
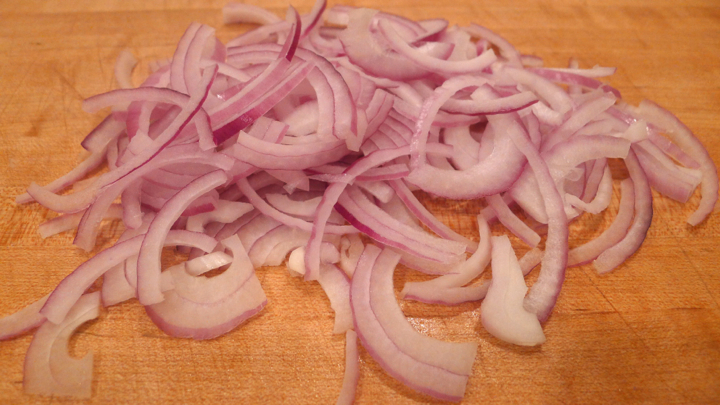
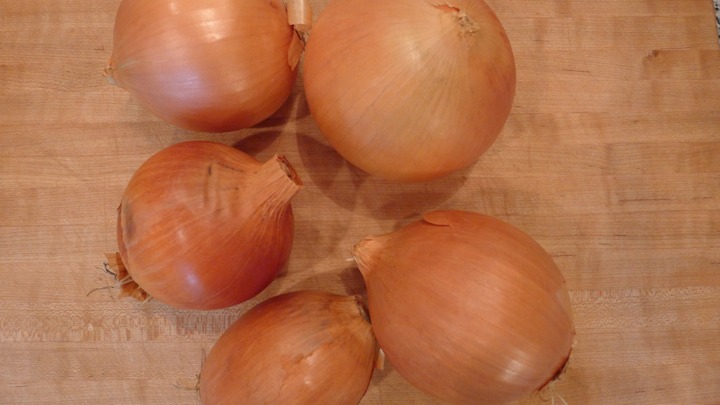
1/2 red onion, sliced
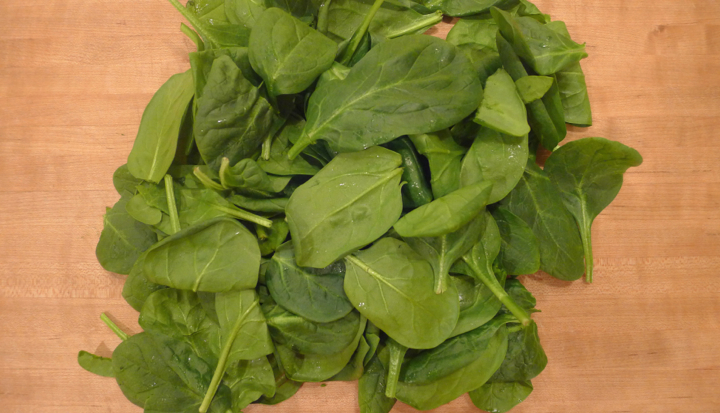
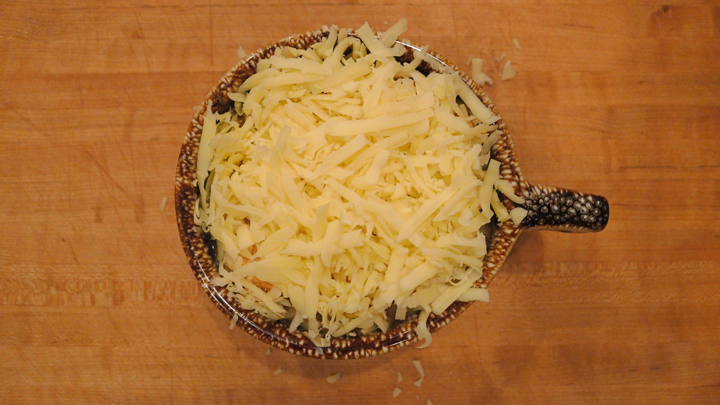
12 oz fresh spinach
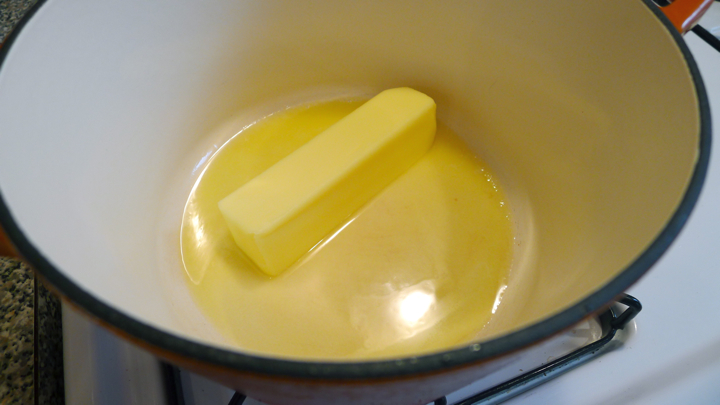
3 tablespoons unsalted butter
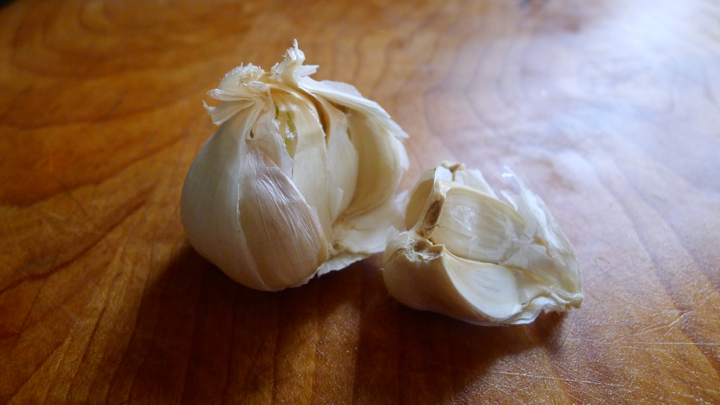
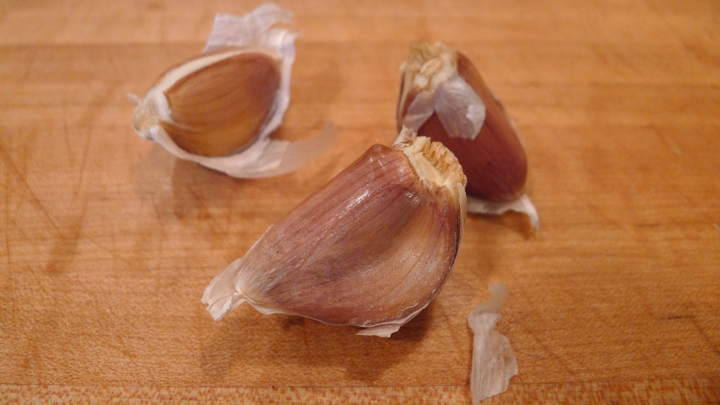
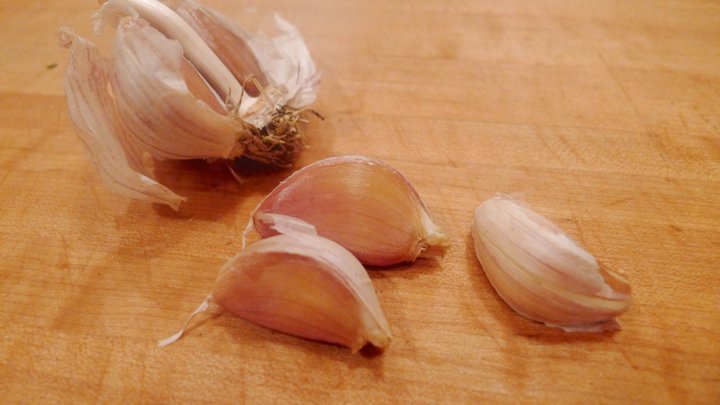
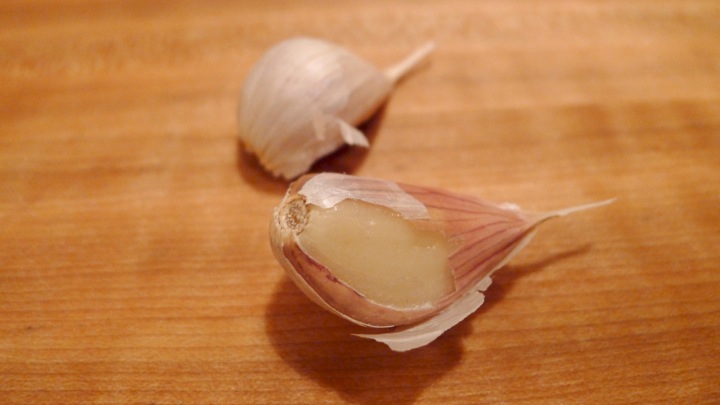
2 large garlic cloves, minced
6 oz goat cheese, crumbled
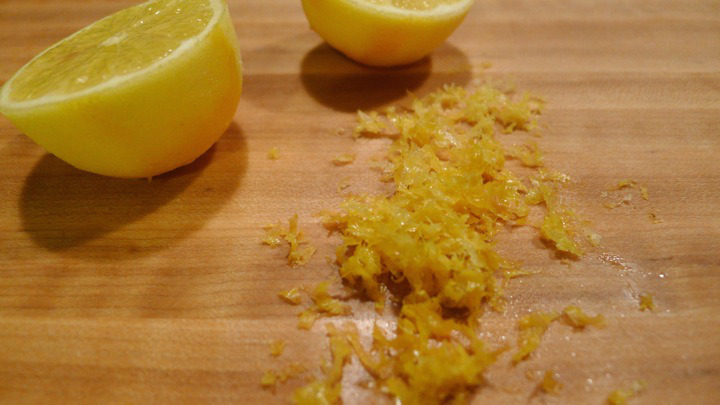
Olive oil
1/4 teaspoon red pepper flakes
Salt and pepper, to taste

Start with boiling the water. Cook pasta per the box instructions.

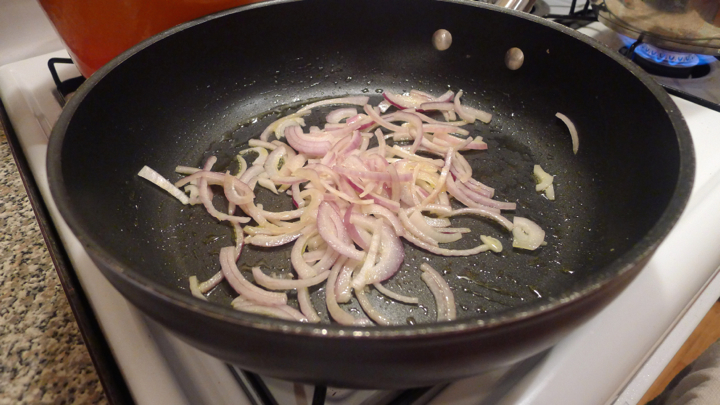
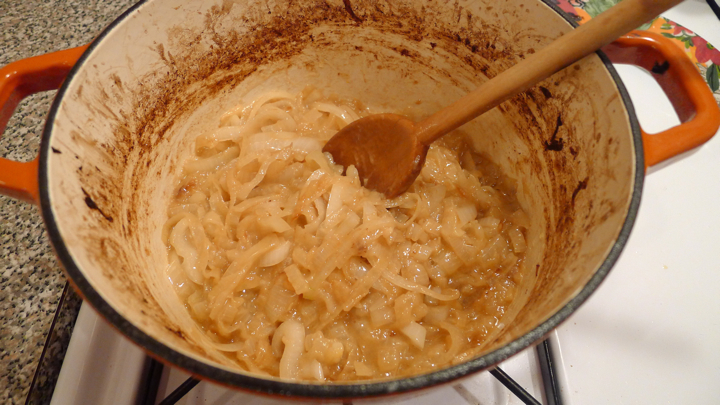
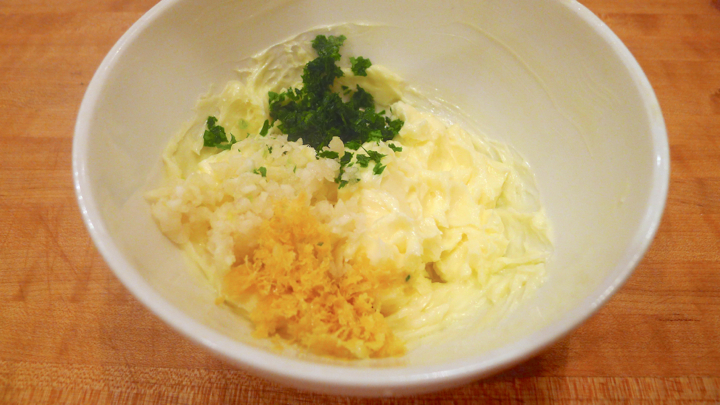
In a large pan, cook the onion in some olive oil for about 5 minutes. Add the spinach and cook until wilted. In a small saucepan melt the butter, stirring often, until the it begins to turn golden brown and has a nutty fragrance. It is easy to burn the butter, so once when you see bits of brown on the bottom of the saucepan, that means the butter is ready and it’s time to turn off the heat. Add the garlic and red pepper flakes to the butter and let sit until ready to use.

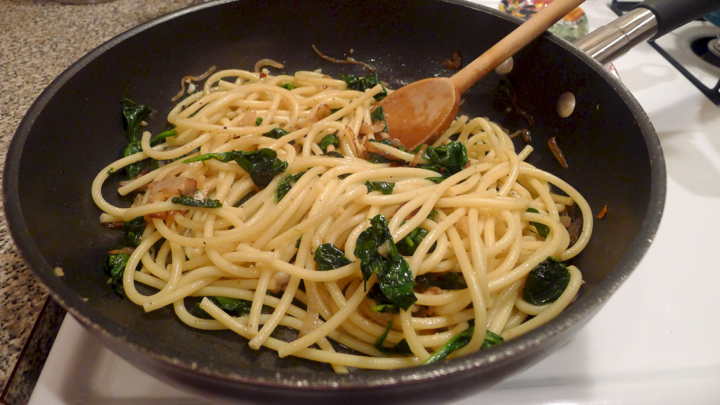
Lastly, add the cooked pasta to the pan with the spinach and onion. Pour the butter over the top, and mix in the crumbled goat cheese. Salt and pepper to taste. Enjoy!

Homemade Kimchi

I LOVE KIMCHI. It’s so flavorful and you can put it on so many things! If you haven’t had kimchi before, it is raw cabbage (often mixed with other shredded vegetables) that becomes naturally fermented after marinating in garlic, ginger, and Korean chili spices after a few days. It’s rich in Vitamin A, Vitamin C, and is a good source of probiotics. It is also very easy to make! For my first try, I ended up using Mama O’s Kimchi Paste from Brooklyn Kitchen which was very easy and delicious! I totally recommend giving homemade kimchi a try!

Ingredients:
1 medium head napa cabbage
1/4 cup sea salt
1 daikon radish, cut into matchsticks (about 1 cup)
1 medium carrot, peeled and cut into matchsticks (about 1 cup)
4 scallions, trimmed and cut into 1-inch pieces
1 jar Mama O’s Kimchi Paste
1/4 cup water
2 large mason jars plus lids

To start, cut the cabbage in half lengthwise, and then once more, making 4 strips. Next, cut each strip into 2 inch pieces, tossing the core at the end. In a large bowl, mix the cabbage and salt together with your hands. Cover with water (you want to use filtered or spring water) and place a bowl or plate on top to ensure the cabbage is completely submerged. Let sit for 2 hours. This will help the cabbage to soften up a bit.

Next, rinse the cabbage really well under cold water, then let strain for 20 minutes. Try to get out as much water as you can. Add the cabbage to a large bowl, and toss in the radish, carrot, and scallions. Pour in the entire jar of paste, followed by the water. Using gloves (unless you don’t mind red hot hands) mix and massage the paste into the cabbage and vegetables. Fill each jar with the kimchi, pushing it down with your hands. You want to leave at least 1-2 inches of space from the top. Seal with the lid, and let sit at room temp for 1-2 days. You may notice some bubbles while it is fermenting, this is totally normal and OK. After a day or two, taste the kimchi and determine whether it is to your liking. You can let it sit for up for 5 days depending on the flavor you’re looking for. Once your kimchi is ready, pop it right in the fridge! At this point it is ready to eat, but will of course deepen in flavor the longer you have it. ENJOY!

Parsnip Carrot Muffins

What to do with an excess amount of parsnips and carrots? Make muffins! I love making a “kitchen sink” type of muffin, and throwing in random things I have in the fridge and pantry. This time I added dates and crystallized ginger that I had on hand. They came out great! Plus you don’t feel bad about eating a million of them because they have vegetables in them……right?!! Right.

Ingredients:
1 cup all-purpose flour
3/4 teaspoon baking soda
1 teaspoon baking powder
1/2 teaspoon salt
3/4 cup brown sugar
1/4 teaspoon cinnamon
1/4 teaspoon nutmeg
Dash of turmeric
Dash of black pepper (which will activate the benefits of the turmeric)
1/2 cup water
1/2 cup apple sauce
6 oz Greek yogurt
1/2 teaspoon vanilla extract
5-6 dates, pitted and chopped
5 pieces crystallized ginger, chopped
2 large parsnips, peeled and grated
2-3 small carrots, peeled and grated

Preheat oven to 375 degrees. In a large bowl, whisk together all the dry ingredients, including the spices. In a separate bowl, mix together the grated parsnips and carrots, dates, ginger, eggs, yogurt, water, apple sauce, and vanilla extract. Add the wet ingredients to the dry ingredients and fold until batter forms. It will be thick! If you feel it is too thick, you can add bit of water to thin it out a little. Grease a muffin pan with non-stick spray (I like to use coconut oil) and fill each tin with equal amounts of batter. Bake for 20-25 minutes or until a toothpick inserted into the center comes out dry. Enjoy with some butter and/or a drizzle of honey!

Stuffed Cabbage Casserole

I headed over to my friend Meghan’s house Friday night with a bunch of random items from my fridge to see what we could come up with. We ended up making this delicious deconstructed stuffed cabbage. Normally for stuffed cabbage, you wrap up the filling inside a cabbage leave and bake it in the oven, but we just chopped up the cabbage and cooked it all together in a casserole dish. It was a fast and easy, and really delicious! We ate it over a bed of fresh spinach and a good squeeze of lemon on top.

Ingredients:
1 lb lean ground beef
1/2 yellow onion, chopped
1 small shallot
3 garlic cloves, minced
1 large carrot, peeled and shaved into strips
1 small cabbage, roughly chopped (about 4 cups)
2 cups Swiss chard, stems removed and chopped
2 cups cooked rice pilaf (or grain of your choice)
14.5oz can diced tomatoes
2 tablespoons tomato paste
Good pinch red pepper flakes
1/4 teaspoon paprika
1/4 teaspoon 5-spice powder (cinnamon, fennel, star anise, clove, white pepper)
Salt and pepper, to taste
1/2 lemon
1 cup fresh grated Parmesan cheese

Preheat oven to 350 degrees.

Start by blanching the cabbage until softened. Drain and set aside. Make the rice and also set that aside.

In a large pan, saute the beef with the onion, shallot, and garlic. Cook until the beef is browned and cooked through. Next, add the diced tomatoes, followed by all the spices. Cook for 5 minutes. Next, add the cooked rice, cabbage, carrots, Swiss chard, and lemon juice. Cook for another 5 minutes. Pour half of the mixture into a casserole dish, then sprinkle with a layer of Parmesan cheese, top with the rest of the mixture, and another later of cheese.

Bake in the oven for 30-40 minutes, or until the cheese is melted and slightly golden. Serve as is or over some fresh spinach like we did!

Slow-Cooked Portuguese Cacoila

While home in Rhode Island for Christmas, my mom taught me how to make Portuguese cacoila, which is a slow-cooked pulled pork made with fresh orange juice and a lot of spices! Any meal that requires you to simply toss all the ingredients in slow-cooker for 6-8 hours is pretty much magic. It is a great meal to make on a lazy day, or in my moms case, when all your kids are home and rummaging through your kitchen every 2-3 hours looking for food! My great-grandparents were both from the Azores, and I am incredibly grateful that my mom and grandmother have shared so many wonderful family recipes with me over the years. I’m hoping to get Portuguese kale soup on here soon for you, too!

Ingredients:
5-6 lbs Boston butt pork roast, or pork shoulder
6 oranges, juiced
4 garlic cloves, chopped
3/4 cup red wine
4 tablespoons apple cider vinegar
3 tablespoons paprika
2 tablespoons red pepper flakes
1/2 teaspoon cinnamon
1/4 teaspoon nutmeg
1 bay leaf
1/2 teaspoon salt
1/2 teaspoon pepper
1/4 teaspoon cayenne pepper

Start by trimming the fat on the roast. You want to leave some of it, as it will add flavor, but trim the large bits off. Cut the roast into large chunks. Put all the ingredients in a large bowl and refrigerate (covered) for at least 12 hours. Next, add all the ingredients to a slow cooker and cook for 6-8 hours. Alternatively, you can use a dutch oven and cook for 4 hours in the oven at 325 degrees. Lastly, break up and shred the pork! My mom serves the cacoila on soft rolls with freshly sliced onion. And it is heavenly.

Thanks mom for sharing another recipe!

Homemade Sweet Potato Chips

Easiest snack ever! Sweet potato chips with a little salt and pepper. I love making these when I want something crunchy but am too lazy to go buy anything.

Ingredients:
1-2 large sweet potato, sliced 1/8 inch thin
Olive oil
Salt and pepper, to taste

Preheat oven to 325 degrees. Slice the potato to 1/8 inch thick on a mandolin or with a sharp knife. Toss with olive oil, salt, and pepper. Place on a (very) lightly oiled baking sheet in a single layer. Cook for 15 minutes, then flip the chips and rotate the pan. Cook for another 10 minutes, then flip the chips and rotate the pan again. Repeat again until the chips are browned and the edges are a bit crispy. If some of the smaller chip start to brown quicker than the others, you can remove those ones early until the others catch up. They crisp up even more when they cool. Enjoy alone or perhaps with a dip!

French Onion Soup

I’ve always been crazy about French Onion Soup and haven’t made it in a while, so when I had a ton of onions this week I knew exactly what I was going to make! There’s nothing worse than a bland cup of onion soup though, so I like to cook my onions for a really long time, then add white wine and fresh herbs. It’s so worth the extra cook time and TLC!

Ingredients: (serves 4)
1 stick unsalted butter
4 large yellow onions, thinly sliced
3 garlic cloves, minced
1 cup dry white wine
3 cups beef broth
2 cups low sodium chicken broth
1 tablespoon Worcestershire sauce
4 sprigs fresh thyme
2 bay leaves
Salt and pepper, to taste
Gruyere or Jarlsberg cheese, freshly grated
Fresh baguette, sliced

Preheat oven to 400 degrees. In an large dutch oven, melt the butter over medium heat then add the sliced onions. Cook for 20 minutes, stirring occasionally. Next, place the entire pot into the oven, leaving the lid slightly open. Cook for 45 minutes, stirring half way through. Remove from oven and place back onto the stove top over medium heat. Add the wine, scraping all the brown bits from the pot. Cook for about 5 minutes to let the wine cook down a little, then add the beef and chicken broth, garlic, Worcestershire, and fresh herbs. Salt and pepper to taste. Cook for another 20-30 minutes then discard the herbs. When the soup is almost ready, butter the sliced bread and set it under the broiler until golden. Ladle the soup into an oven safe bowl, then top with the bread and a good amount of cheese. Place back under broiler until the cheese is melted and is bubbly!

Garlic & Herb Compound Butter

I’ve seen recipes for flavored butters before, but it wasn’t until recently that I realized how easy they are to make. Not the mention the endless flavor combinations! When I got a ton of fresh garlic in my CSA bag this week, I figured why not try to make some of my own. It came out great, and I have been adding it to basically everything I cook. I even spread a little on my toast this AM to jazz my usual breakfast. I have a feeling making flavored butters will be my new obsession…

8 tablespoons (1 stick) unsalted butter, room temperature
2 tablespoons fresh parsley, minced
3 garlic cloves, minced
1/2 teaspoon lemon zest
1/2 teaspoon Maldon salt, crushes slightly in palm of hand
Freshly ground black pepper

Mix the softened butter in a small bowl with the parsley, garlic, lemon zest, and salt. Pepper to taste. Once fully combined, scoop the butter out onto a sheet of saran wrap, and roll up into a log shape, twisting the ends to help compact the mixture. Chill until firm, about 2 hours.

Add your butter to pasta dishes, vegetables, toast…. whatever your little heart desires! Compound butter last 2 weeks in the fridge, or up to 3 months in the freezer.

Spicy Shakshuka With Kale

6

I’ve been wanting to try making shakshuka for a while. I love eggs, I love tomato sauce, and I love any excuse to dip bread into something. So it seemed like a perfect meal for me. And it was! Definitely one of my favorite things I have made in a while. So good on a cold fall night, and very easy to make. I added kale to mine, but you could add any greens or veggies you have in the fridge really. I also topped it with goat cheese which I loved!

Ingredients:
2 small garlic cloves, minced
1/2 shallot, coarsely chopped
1/4 teaspoon smoked paprika
1/4 teaspoon turmeric
1/4 teaspoon dried basil
Good pinch red pepper flakes
1 can diced tomatoes (half pureed in a food processor)
1 cup kale, coarsely chopped
2 eggs
Olive Oil
Water, as needed
Salt and pepper, to taste
Grated Parmesan cheese, for topping
Goat cheese, for topping
Bread, for serving

Saute the garlic and shallot in a skillet with olive oil. Cook until softened, about 2 minutes. Add the paprika, pepper flakes, turmeric, and dried basil. Next add the tomato sauce (both diced and pureed) and cook until it comes to a simmer. Salt and pepper to taste. Add the kale and cook for another 3-4 minutes. You’ll notice the tomato sauce starts to thicken after a while, so add tiny bits of water as you go to bring the sauciness back to life! Make two little pockets in the sauce, and crack your eggs into them. Cook for about 4-5 minutes or until the whites are cooked and the yolk is still soft/runny. Continue to add the water as needed.

To plate, scoop the egg and sauce into a shallow bowl. Top with fresh grated Parmesan cheese and goat cheese crumbles. Serve with some toasted bread!

Brussels Sprout & Leek Cast Iron Pizza

Guys. Making a pizza in a cast iron skillet is amazing. I’ve never done it before and absolutely loved it. And the best part is that the whole thing takes about 3-4 minutes to cook! Normally I like a thin pizza, but there’s something about this pillowly crust that is heavenly. I didn’t even make it to the table, or to a chair for that matter, I ate half of it just standing in my kitchen like a PRO!

Ingredients:
Pizza dough (you only need half)
1 cup Brussels sprouts, trimmed and washed
1/2 leek, trimmed and washed
2 small garlic cloves, chopped
Smoked mozzarella, sliced
Soppressata, thinly sliced
All-purpose
Olive oil
Salt and pepper, to taste
Honey, for topping (optional)

I purchased my dough from Whole Foods, as I was feeling lazy, but you can make your own if you like! I simply cut the ball in half and froze the other half for future pizza making.

To start, saute the garlic, leeks, and Brussels sprouts in a little olive oil until the greens have softened a bit. Salt and pepper to taste then set aside. Next, heat the cast iron pan on your stovetop over medium heat for 10 minutes.

Get your broiler going in the oven. Roll your dough out on a floured surface, making it about the size of your skillet. Have your toppings ready and on stand by, because once you place that dough in the skillet you need to add those toppings fast! Gently place your dough into the hot pan. It might not come out perfect, but that is OK. Top with the mozzarella, veggie mixture, and soppressata. Turn off the burner, and place the pan directly into the oven underneath the broiler. Cook for about 3-4 minutes, rotating the pan occasionally, until the crust is bubbling and has a nice golden color with few burnt bits. Remove from oven and let cool slightly before eating.

Serve with some fresh grated Parmesan cheese, and a drizzle of honey! I used Mikes Hot Honey which I LOVE and totally recommend. You could probably make your own version by mixing in some cayenne pepper with your regular honey if you like. ENJOY!