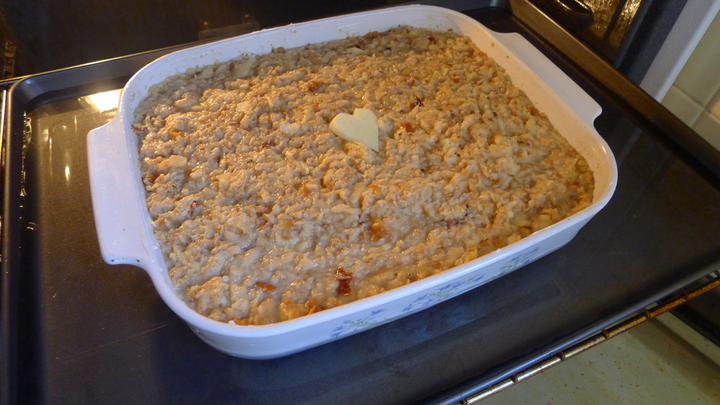
 Good news everyone! My mom has shared another one of her recipes. This time it is her delicious cream puffs that she has been making us for a long time. Sometimes she’ll just make the puffs and stuff them with ice cream and drizzle with chocolate sauce, but this time she made the custard filling version… which I would drink if I could. The puffs themselves are very airy and light, and the filling is sweet but not overly so. She also said if you don’t have time to make the custard, you can simply mix together vanilla pudding and whipped cream and that will do the trick in a pinch.
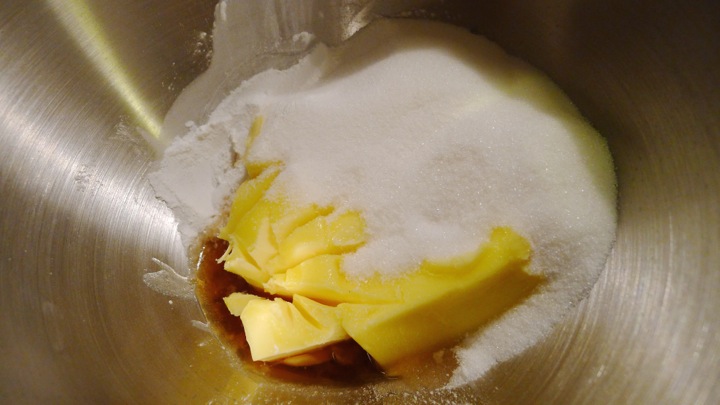
Puff Dough:
1/2 cup unsalted butter
1 cup water
1/4 teaspoon salt
1 cup sifted all-purpose flour
4 large eggs
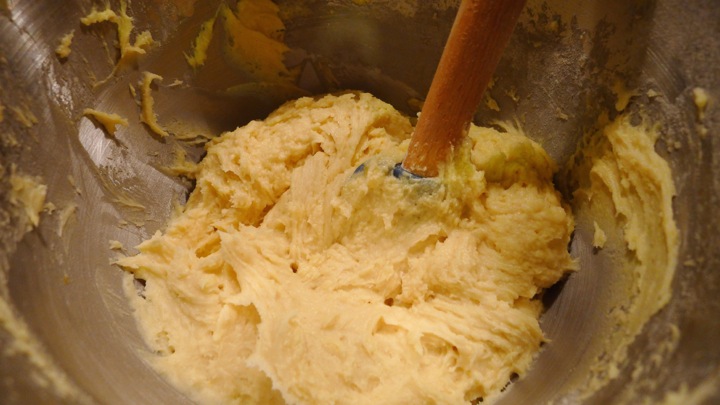
Preheat oven to 400 degrees. In a medium saucepan, slowly bring the water, butter, and salt to a boil. Remove from the heat and add all of the flour at one time, mixing well with a wooden spoon. Return to the stove and continue to beat the mixture over low heat, about 4-5 mins. Remove from the heat again and beat in the eggs, one at a time, until smooth – continue beating until the mixture is shiny and breaks into strands.
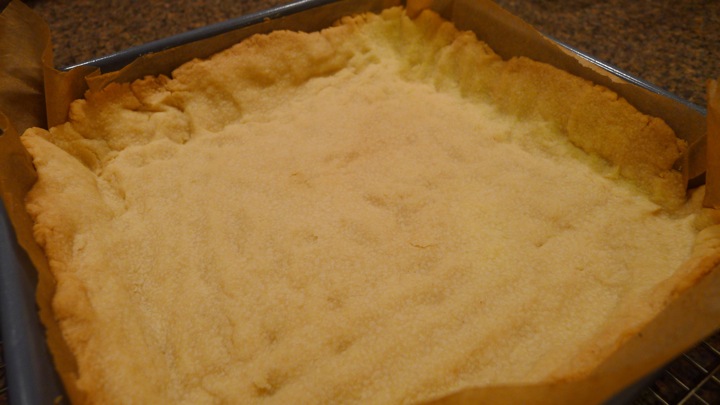
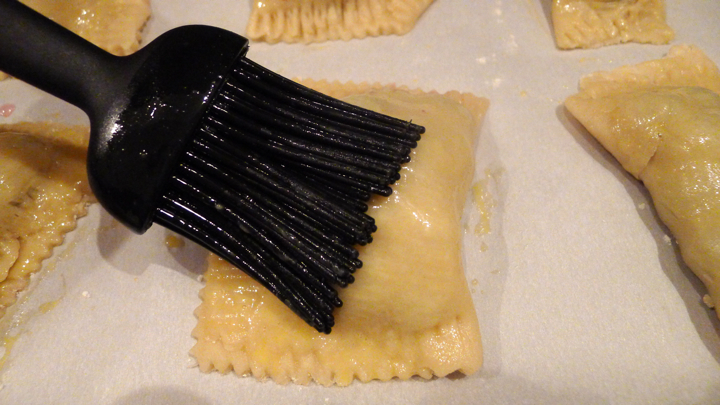
On an ungreased baking sheet lined with parchment paper, drop large heaping tablespoons of the mixture 2 inches apart (you can make smaller or larger, whichever you prefer). Bake until puffed and golden brown, about 45 mins. Don’t peek when they’re cooking or they’ll collapse! After approximately 40 mins you can check on them – if you lightly flick them with your finger, they should sound hollow. Let cool completely on a wire rack.
Custard Filling:
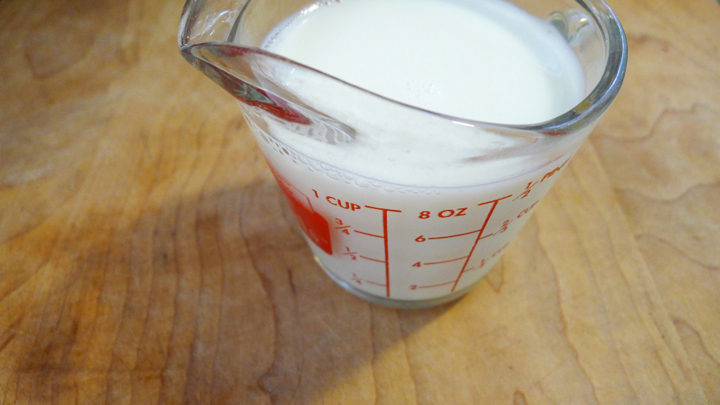
1 1/2 cups whole milk (if don’t have, add 1/2 or light cream to low fat milk to thicken)
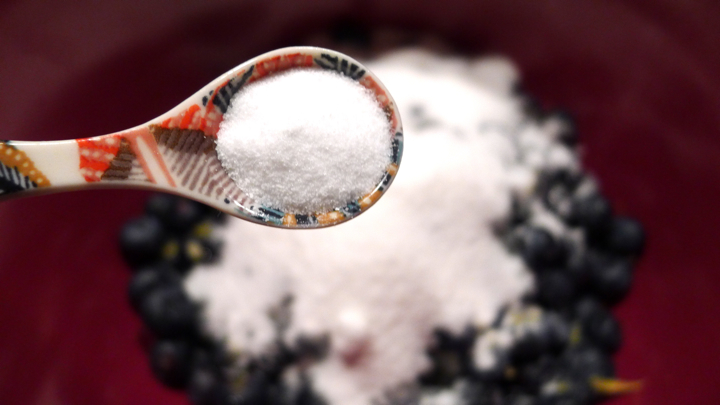
1/4 cup sugar
2 tablespoons cornstarch (plus more as needed)
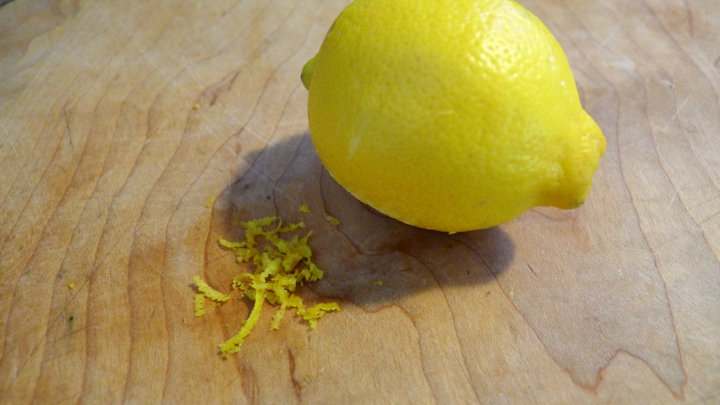
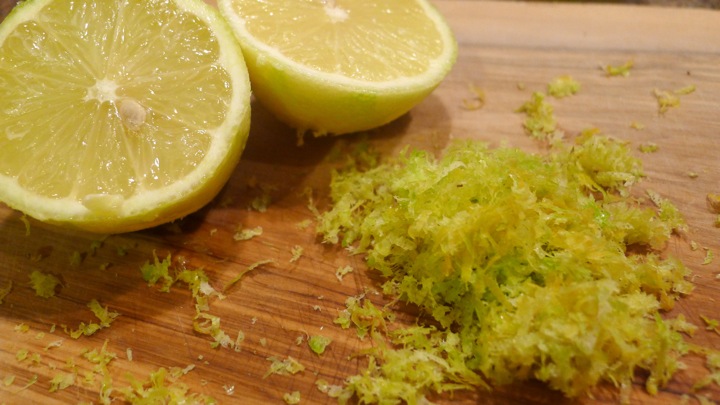
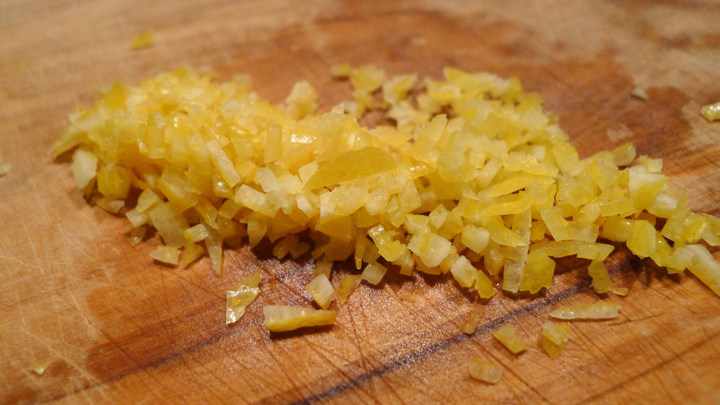
1 teaspoon lemon zest
2 egg yolks
1 teaspoon vanilla extract
1/2 pink heavy whipping cream
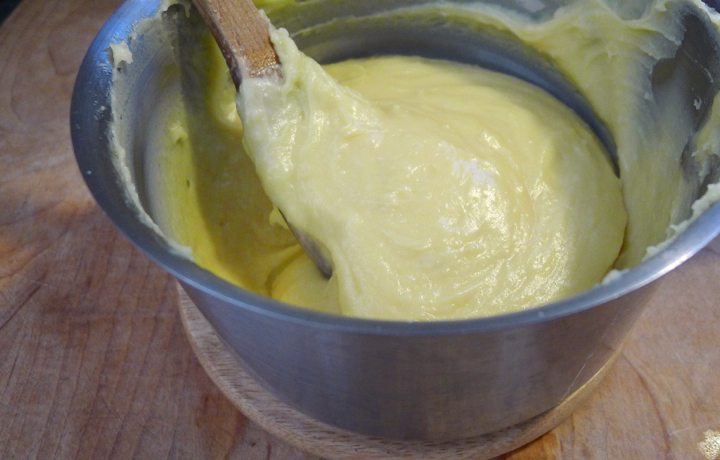
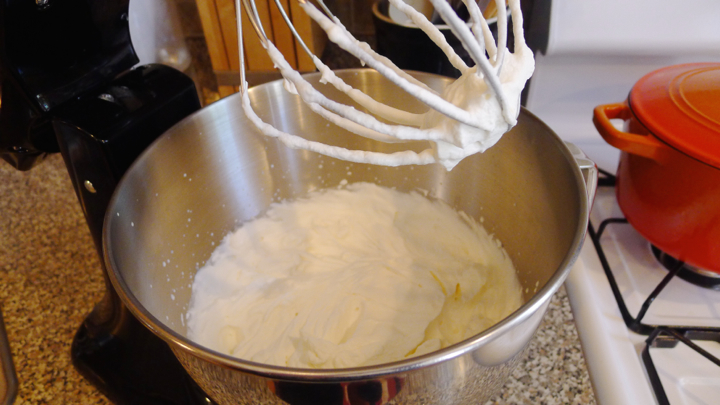
Combine the sugar and cornstarch in a small bowl and mix together. In a small saucepan, slowly heat the milk until bubbles form around the edges of the pan. Add all of the sugar/cornstarch mixture at once to the hot milk, and stir over medium heat until it boils, then add the lemon zest, turn down the heat, and let simmer for one minute. In a small bowl beat the egg yolks with a tiny bit of the hot milk mixture – this will temper the eggs so that they warm without cooking when you add them to the hot mixture. Pour the egg mixture into the saucepan and cook over medium heat, stirring constantly, until the mixture boils and thickens. Add additional cornstarch if necessary to thicken. Stir in the vanilla at the end. If the mixture is chunky at all you can pour through a fine sieve to smooth it out. Pour into a bowl and cover with plastic wrap, having the wrap actually touch the surface of the custard so that a film doesn’t form. Place in fridge to completely cool and set up. In the meantime, whisk the heavy cream vigorously in a cooled metal bowl until you have yourself some whipped cream – you can also do this with a standing mixer. When the custard is cooled, gently fold the whipped cream into the custard.
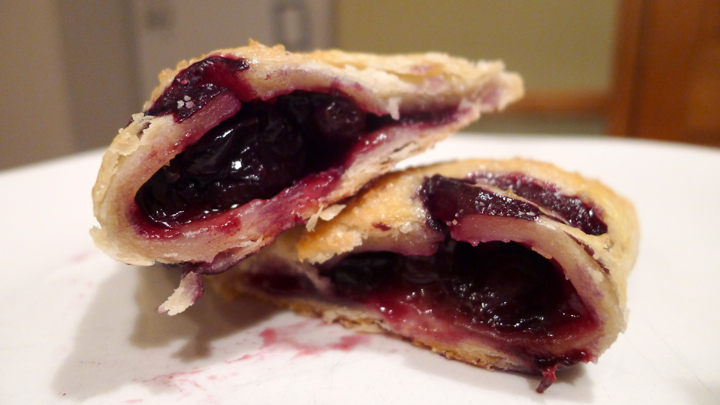
When ready to serve, slice the puffs in half and scoops a big dollop of the custard in the center. Be prepared to eat about 700 of these!


Save
Save


