 One of my favorite food blogs is Lady and Pups – her recipes always look so amazing! I finally decided to make one of her recipes and set aside my Sunday night to do so. It look a few hours because the pork belly needs to cook in the oven for most of the time, but the final result was insanely delicious and one of my favorite things I think I’ve ever made. Some of the original ingredients I couldn’t find at my regular grocery store, but I just used some alternative items that I felt would do the trick. If you find yourself with a down day coming up, make this ramen! You won’t regret it.
Ingredients: (adapted from Lady and Pups) – Serves 2
GARLIC BRAISED PORK BELLY:
4 whole dried shitake mushrooms + 1/2 cup hot water
7 oz pork belly
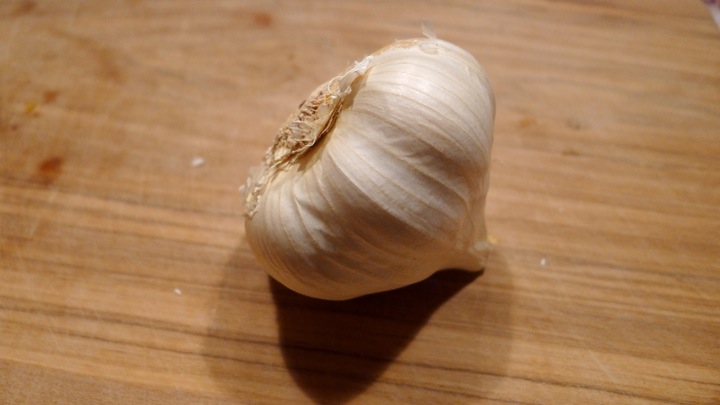
15 whole garlic cloves, peeled
1/4 cup sake, or rice wine
1 tbsp soy sauce
1/4 tbsp mirin (Japanese sweet rice wine)
Dash of salt
1/8 tsp ground black pepper
FRIED GARLIC POWDER:
5 whole garlic cloves, finely minced or sliced
1/4 cup canola oil
1/4 tsp ground white pepper
Dash of sea salt
GARLIC TOGARASHI OIL:
1/8 cup of garlic oil (from frying the above garlic)
2 tablespoons toasted sesame oil
1/2 tsp chili flakes
1/4 tsp ground coriander
RAMEN STOCK AND TOPPINGS:
2.5 cups (unsalted or low sodium) chicken stock, warmed up
1/2 small shallot, peeled
1/2 cup unflavoured unsweetened soymilk
1/2 teaspoon fish sauce
Salt to taste
2 servings of ramen noodles
2 soft-boiled eggs, for topping
1/4 cup finely diced scallions, for topping
Dried nori/seaweed, for topping
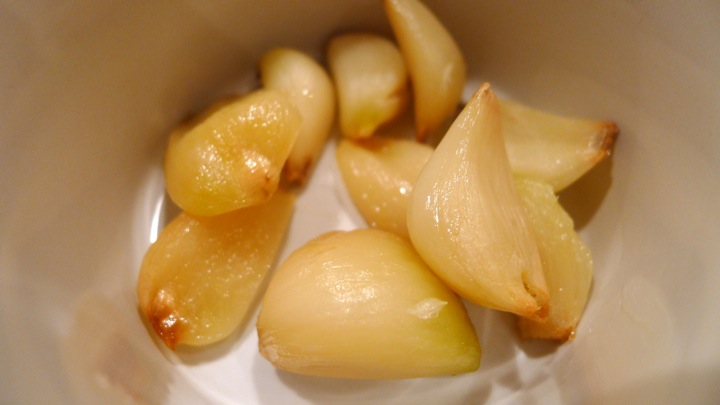
Start by making the pork belly, as this will need some time to cook in the oven. Preheat the oven to 330 degrees. Soak the mushrooms in hot water for about 20 mins until softened. In a heavy bottomed oven-safe pot, heat a tablespoon of oil over medium heat for a minute or so, then add the pork belly and sear for a few minutes on each side until browned. Remove the pork from the pot and add the garlic cloves, sauteing them until golden, about 3 minutes. Return the pork belly to the pot, then add the mushrooms with their soaking water, sake, mirin, soy sauce, and salt and pepper. Put the lid on and place in the oven for 2 hours, turning the pork every 30 mins. When finished, remove from the oven and let cook for a few minutes, then wrap the pork in plastic wrap and place in the fridge until you’re ready to use. This will make it easier to cut. Set the shiitake mushrooms aside, and reserve the braised garlic and liquids from the pot.
While the pork is in the oven for those 2 hours, you can get to work on the other items. To make the garlic powder, heat some canola oil over medium heat, then add the minced garlic. Cook it until it is golden brown and almost crisp. Remove by pouring through a sieve, and keeping the garlic oil for later. Spread the cooked garlic on a paper towel to allow it to drain and dry, for one hour. If the paper towel gets too damn, swap it for a new one half way through. In a stone-mortar, pound the dried garlic together with the white pepper and sea salt until coarsely ground.
Now for the garlic oil. I know, SO much garlic in this recipe, but it’s worth the garlic breath trust me!! In a small saucepan, heat the reserved garlic oil (from the above step) along with the toasted sesame oil, chili flakes, and coriander. I couldn’t find togarashi powder or black sesame seeds at my grocery store, so I just skipped those ingredients from the original recipe.
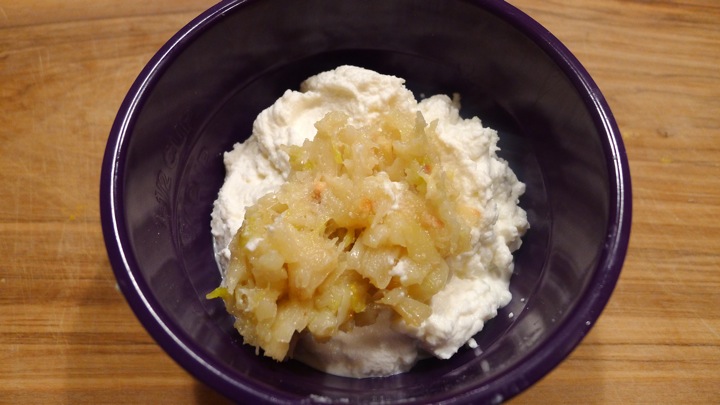
Lastly, time to make the stock. In a blender, blend together the reserved garlic and liquid from the pork belly pot, along with the (warmed) chicken stock, and peeled shallot. Pour through a sieve into a pot, and discard the solids. Add the unflavoured/unsweetened soy milk, fish sauce (the original recipe used bonito dashi granules but I couldn’t find these so used my fish sauce instead) and 1/2 tsp of salt. Simmer for 5 min.
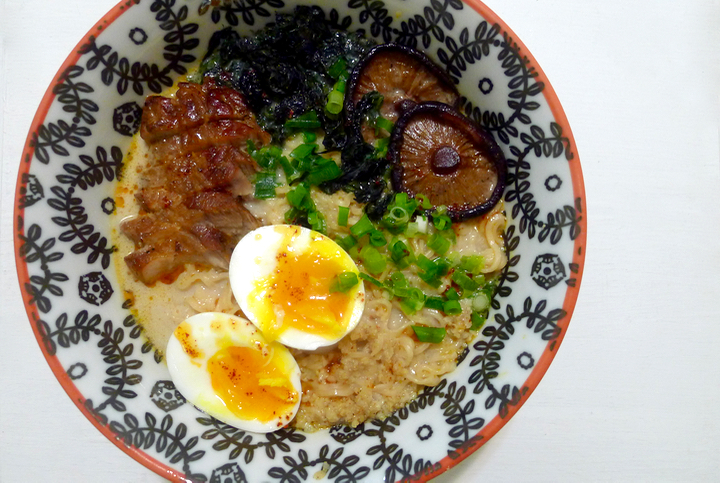
Boil the ramen noodles per the package instruction. Drain and divide into your two bowls and pour the broth over top. Now for the toppings! Add the finely sliced pork belly, the shiitake mushroom, finely diced scallions, dried nori/seaweed, and the soft boiled eggs. To make a perfect soft boiled egg, just boil the water, add the eggs, and cook for 6 minutes (no longer!) then remove and submerge in a bowl of very cold water to stop the cooking process. Gently peel. I like to slice mine in half when they’re in the bowl to avoid a mess.
Spoon some of the fried garlic powder and garlic oil over on top, and serve immediately. ENJOY!