Adults need Pop-Tarts too! My inner child was craving one of my favorite childhood snacks, so I grabbed a whole lotta of butter and apples and got to work. Surprisingly, not that hard to make. But what’s even better is the fact that they almost taste better than the real thing. I know that is a bold statement, but make these and try to tell me you don’t feel the same!
Ingredients:
Crust:
2 cups all-purpose flour
1 tablespoon sugar
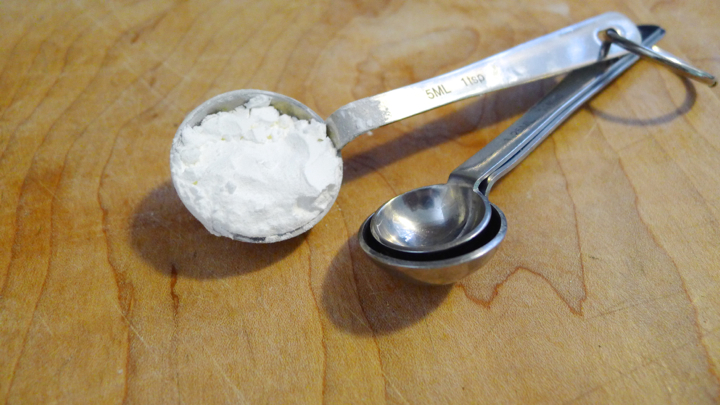
1 teaspoon salt
2 sticks unsalted butter, cold and cut into cubes
1 large egg, whisked
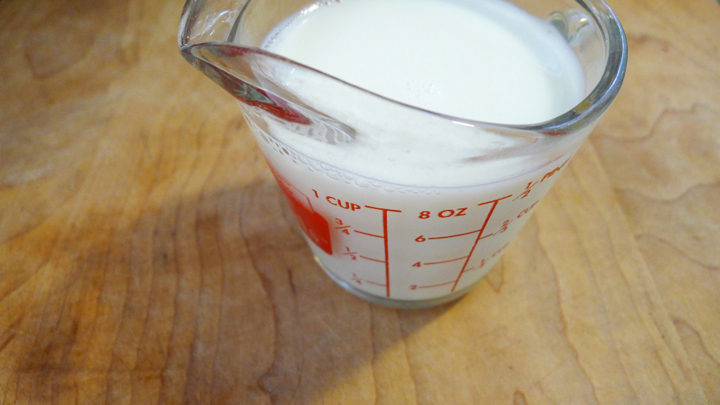
2 tablespoons milk
1 large egg, for the egg wash
Filling:
2 large baking apples, peeled cut into cubes
1 cup dark brown sugar
1/4 cup granulated sugar
1 tablespoon fresh lemon juice
1 tablespoon ground cinnamon
1 teaspoon nutmeg
1/2 teaspoon salt
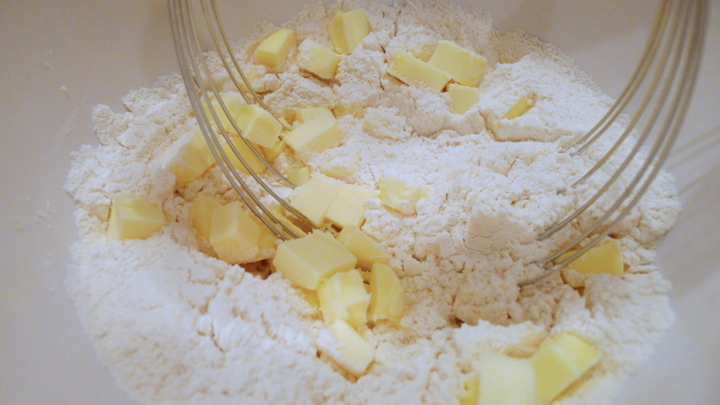
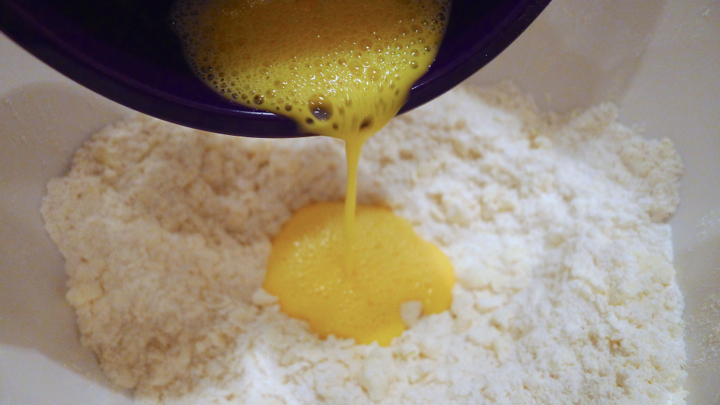
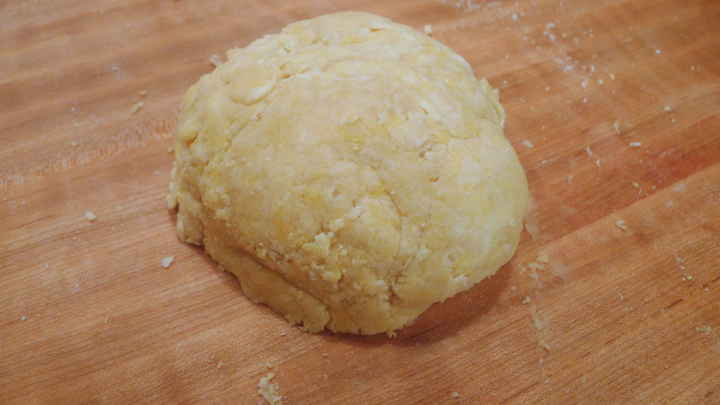
Start by making the dough. Whisk together the flour, sugar, and salt. Cut in the butter with a pastry cutter, or use your hands. If using your hands, you simply want to roll the butter chunks between your fingers with the flour until it resembles the texture of small peas. Whisk together the egg and milk then add to the flour mixture. Mix lightly until incorporated. Pour onto a flat surface and shape into a disk, cut in half then wrap both separately in plastic wrap and place in the fridge for at least an hour.
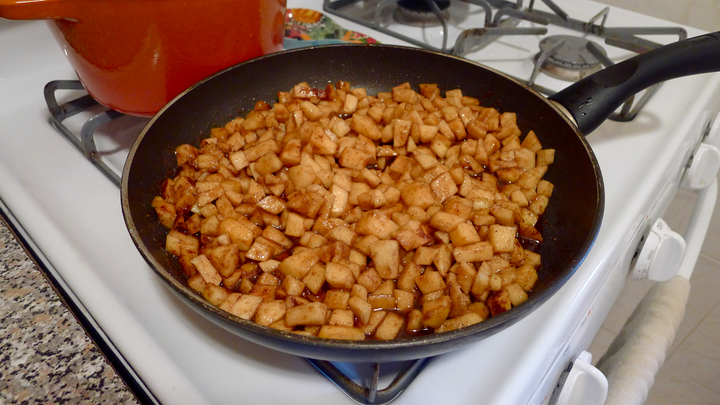
In a large saucepan, add the apples, lemon juice, both sugars, and the salt. Cook over medium heat for about 10-15 minutes, or until the apples are softened all the way through. You should be able to easily pierce them with a knife. Remove from the heat and strain the apples, reserving the liquid. Place the apples in a food processor and blend until smooth, using the reserved liquid as needed. Set aside to cool to room temp.
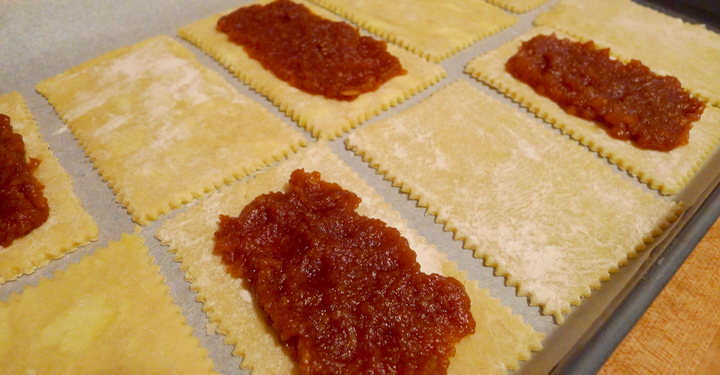
In the meantime, roll out your dough one at a time. Lightly flour the surface and your rolling pin, and gently roll out the dough into a large rectangle shape that is 1/4 inch thin. Using a knife, cut the dough into 3×5 rectangles and place on a baking sheet lined with parchment paper. Scoop the scraps back up into a ball, roll it out again, and keep cutting your tiny rectangles until you’ve used all the dough! Repeat with the other dough.
Working quickly (as the dough will start to warm and be harder to handle) brush the egg wash around the perimeter of each rectangle piece. Scoop and spread 1 tablespoon or so into the center of half of the rectangles, and top with the remaining rectangles. Using a fork, press around all the edges to seal them together. Place in the freezer for 1 hour.
When the dough is almost done chilling, preheat your oven to 350 degrees.
Remove the Pop-Tarts from the freezer and brush with egg wash. Place in oven and bake for 10 minutes, then rotate and bake for another 10-15 minutes, or until golden brown. Remove and let sit for a few minutes before transferring to a wire rack to cool to room temperature.
To make the glaze, mix together the confectioners sugar, vanilla extract, and ground cinnamon until smooth. Let sit for a few minutes to thicken, then drizzle over the cooled Pop-Tarts!