Broccoli & Potato Pizza

I’ve never made a pizza that I didn’t like, they’re fail proof! When I have the extra time I make my own dough, but for the most part I buy it at Trader Joe’s or at my local pizza place for a few bucks. The important thing is the oven temp. I like a thin pizza and cook it on the pizza stone, so I usually do it at 400 or so. But some people crank it to 425 or higher. Once you make your own pizza at home you’ll never order it again!

Ingredients:
1 pizza dough
2 garlic cloves
1 mozzarella ball, sliced
4 fingerling potatoes, sliced
1 broccoli head, chopped
1 egg
Olive oil
Salt and pepper, to taste

Preheat oven to 350 degrees. Toss the sliced potatoes in olive oil, salt, and pepper, and roast for 20 minutes or until golden brown. Remove from oven and set aside. Turn oven up to 400 degrees. On a floured surface, roll out your dough to desired thickness. Place on a parchment paper lined baking sheet, or use a pizza stone if you have one.

Bring a pot of water to a boil. Cook the broccoli for 1 minute, then transfer to a bowl of cold water to stop the cooking process. Next, saute the garlic in some olive oil for about a minute, making sure not to burn it! Brush the dough with the garlic olive oil, then add layers of mozzarella cheese, potato, and broccoli. Cook the pizza for 15 minutes, then remove it from the oven and crack and egg in the center. Place back in the oven for 10-12 minutes or until the white is set but the yolk is still runny. Remove from oven and with a fork break the yolk so it runs a bit onto the pizza (the best part!) and serve right away. Enjoy!

7

Homemade Bagels With Garlic Scape Cream Cheese

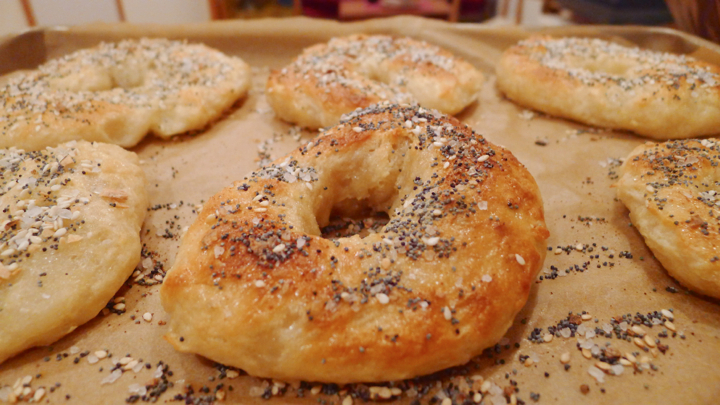
I’ve always wanted to try making my own bagels, and it seemed easy enough, but turns out they are a bit time consuming! Mostly because you need to let the dough rise for 2+ hours throughout the process. But I will say that they are SO WORTH the 700 hours it takes to make them! I immediately ate two for “dinner” when they came out of the oven, then had another one for breakfast as soon as I woke up. This led me to the obvious choice of bringing the rest of them into the office as to avoid eating all 12 bagels over the weekend. I tried a few toppings (plain, everything, cinnamon sugar, and poppy seed) but the options are endless, so it’s fun to play around. I highly recommend making your own bagels if you have a rainy Sunday afternoon in your future!

Ingredients: (makes 12)
Adapted from Food Network

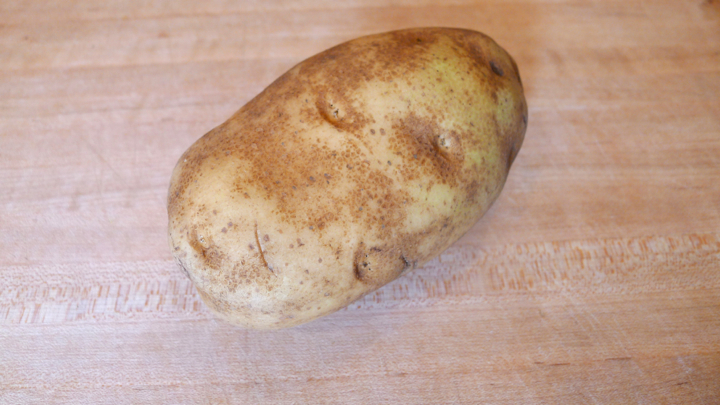
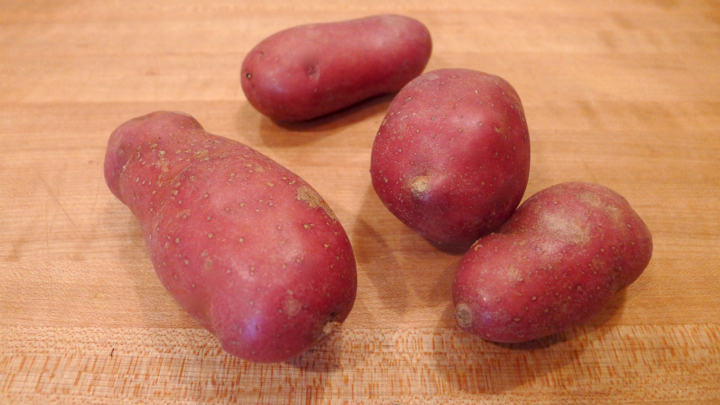
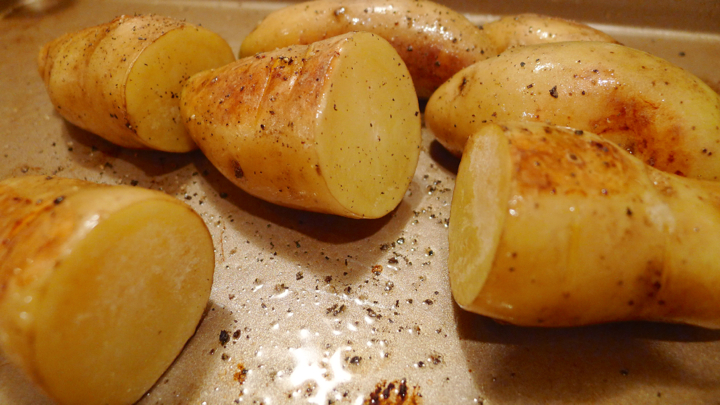
1 medium Yukon gold potato, chopped into large chunks
1/4 cup olive oil
2 tablespoons honey
4 1/2 cups all-purpose flour
2 1/2 teaspoons kosher salt
1 (1/4 ounce) packet active dry yeast
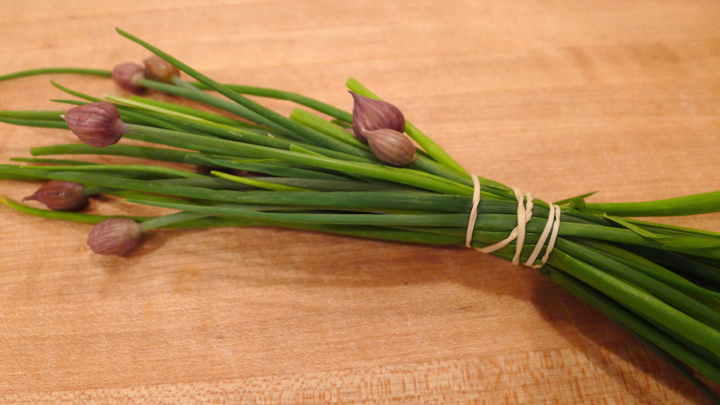
2 garlic scapes
Cream cheese
1 egg

Start by making the dough. In a pot of water, boil the potatoes until fork tender and reserve the water. Mash the potato in a bowl until smooth, adding bits of the reserved water as needed. Next add the honey and olive oil and mix well.

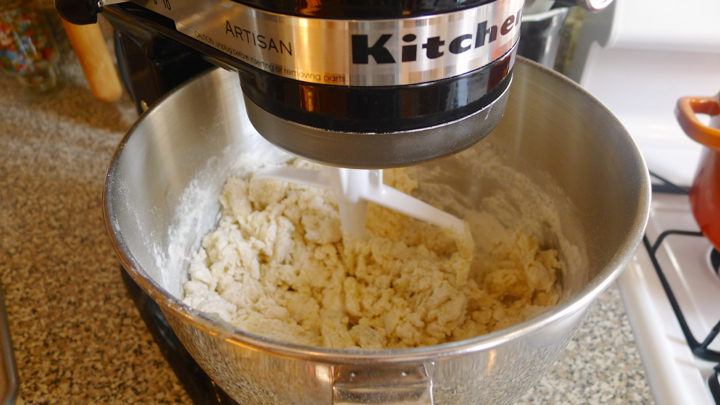
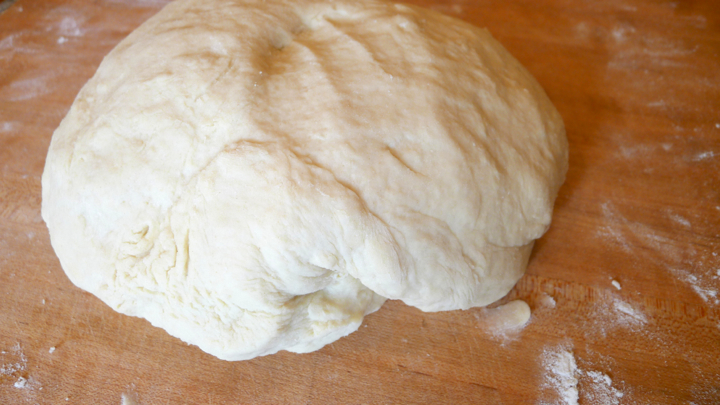
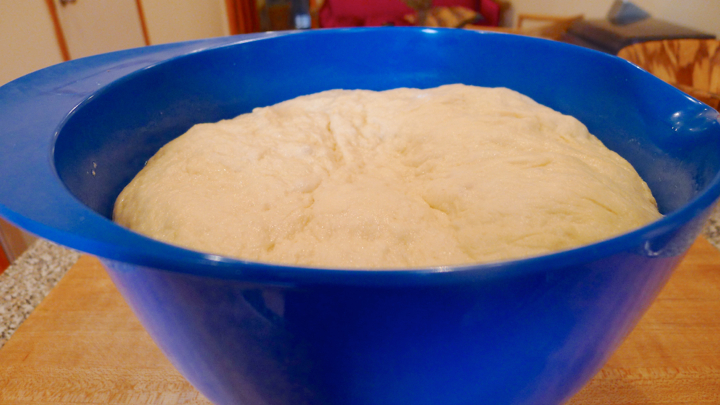
In a standing mixer with the paddle attachment, combine the flour, salt, and yeast. Add the potato mixture and mix on medium until the dough forms and is stiff but malleable, about 8-10 minutes. You can add bits of the reserved water here as well if the dough is too dry. Turn the dough out on a floured surface and knead by hand until the dough is smooth and bounces back when you give it a press. Add a little olive oil to a large bowl and toss the dough in it until coated with oil. Cover with a damp dish towel and set aside in a warm area until the dough has doubled in size, about 1 1/2-2 hours.

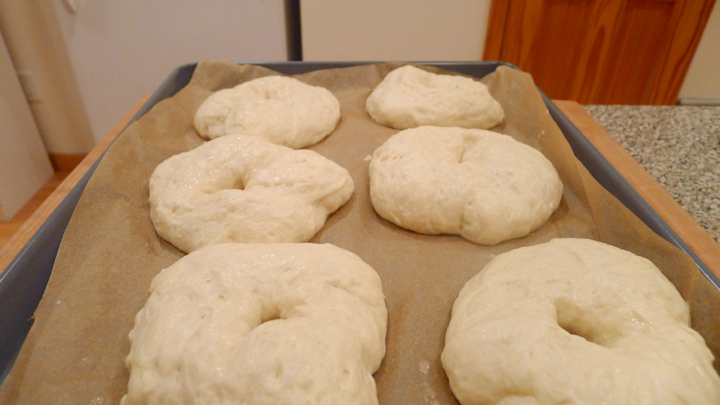
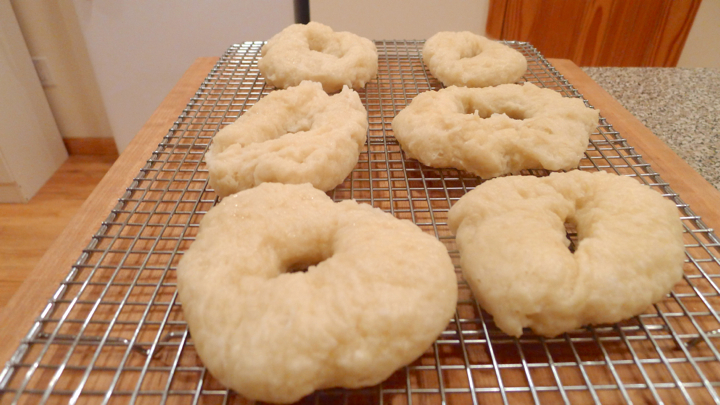
When the dough has fully risen, punch it down in the bowl (it will deflate) then roll it out into a log shape on a lightly floured surface. Cut 12 equal pieces and roll them into balls then place them on a parchment paper lined baking sheet. Cover with a damp dish towel again and let sit for 20 minutes. Next, create a hole in the center of each bagel with your thumb and index finger, then stretch and turn the ring until you have a 2 inch center. Return them to baking sheet again and let rise for another 20 minutes under the damp cloth. In the meantime, get a large pot of boiling water going and preheat your oven to 425 degrees.

When the dough is ready, drop 1-2 bagels into the boiling water at a time. Let cook for 30 seconds on each side, then transfer to a rack to dry before placing back on the parchment lined baking sheet.

**at times the dough was hard for me to work with and got very sticky, so I simply dipped my hands in a little bit of water as I went to help manage the dough a little better. Not sure if this is a recommended method by the professionals, but it worked for me!

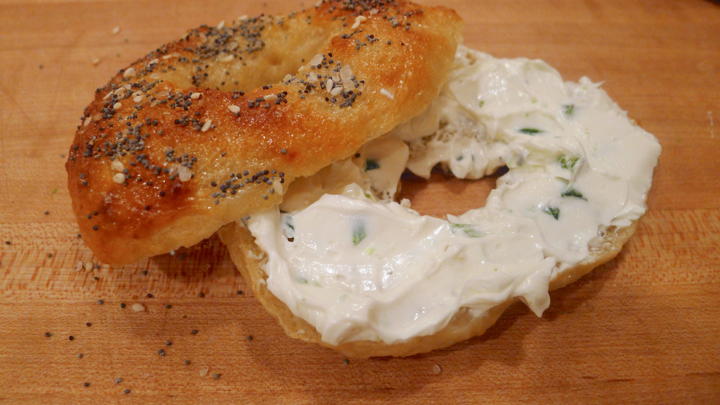
FINALLY, put all the bagels into the oven and cook for 10 minutes. Remove and brush with the egg wash, then top with whatever your little heart desires. Place back in the oven for another 10 minutes or until the tops are golden brown. Let sit for 15 minutes before serving, as they will continue to cook and fluff up on the inside during this time.

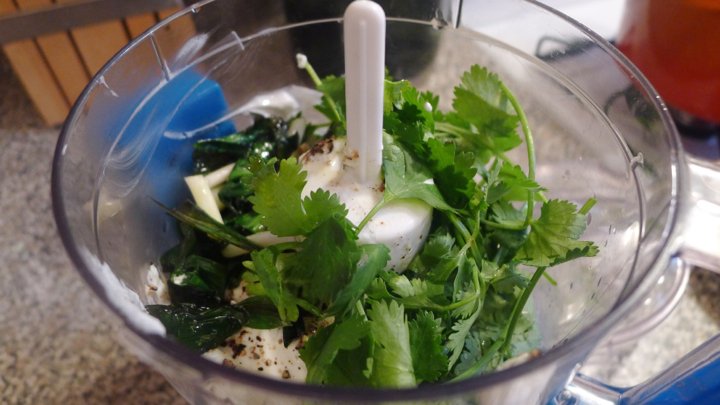
I chose to eat mine covered in garlic scape cream cheese, which I made by roasting the garlic scapes in the oven, then mixing them with the cream cheese in my food processor. For the cinnamon sugar bagel, I think my plan will be to muddle some fresh strawberries into the cream cheese! I LOVE CREAM CHEESE ANYTHING.

Vegetable Stuffed Summer Squash

My mom has always made this summer squash gratin that I love, which uses onions, breadcrumbs, and herbs. So this was my inspiration when making this stuffed squash. Normally I would have put some crumbled sausage in there, but wasn’t in the mood for meat, so I went with an all veggie version. I would have loved to have cooked these right on the grill, but here in NYC backyard space is hard to come across – so in the oven they went! The best part of cooking this meal was having a FaceTime date with my tiny nephew while I cooked. He’s my virtual sous chef! (insert a million hearts here)

Ingredients: (serves 2)
2 summer squash, cut in half and pulp removed
1/2  yellow onion, chopped
10 baby bella mushrooms, chopped
2 cups Swiss chard, finely chopped
2 garlic clove, minced
1/2 cup Parmesan cheese
1/2 teaspoon red pepper flakes
1/3 cup Italian bread crumbs
Salt and pepper, to taste
Olive oil

Heat oven to 350 degrees. In a large pan, sauté the garlic and onion until translucent, about 2 minutes. Add the Swiss chard and mushrooms, and cook until the greens are wilted. Next add the red pepper flakes, Parmesan cheese, and bread crumbs. Salt and pepper to taste. Fill the squash “boats” with the vegetable mixture and top with extra Parmesan cheese. Place in oven for about 30 minutes or until the squash is cooked through. Plate and serve with a simple side salad. Enjoy!


Spring Vegetable Potato Salad

One of my favorite things to look forward to in the warmer months is potato salad! There’s something about it that bring me back to my moms house, standing there with a fork eating it right out of the container. What’s great about potato salad is you can make it so many different ways. Warm, cold, with a mayo base, with a vinegar base, different veggies, chopped eggs – the possibilities are endless! This time I decided to fancy it up with my fresh CSA veggies and some creme fraiche. It was DELICIOUS. And as suspected, I ate most of it standing in my kitchen before actually putting it in the fridge.

Ingredients:
10 fingerling potatoes, cut into 1/2 inch rounds
1 cup green peas
1 kohlrabi, chopped into matchsticks
2 scallions, greens chopped and bulbs kept whole to roast
1/2 cup creme fraiche (or more to taste)
2 tablespoons fresh lemon juice
Salt and pepper, to taste
Olive oil

Preheat oven to 350 degrees. Place the cut potatoes and whole scallion bulbs on a baking sheet with olive oil, salt and pepper. Bake for about 30 minutes or until cooked through and golden brown. Remove and let cool.

In a food processor, mix together the creme fraiche, lemon juice, and roasted scallions, then salt and pepper to taste. In a large bowl, toss together the potatoes, kohlrabi, peas, chopped scallions, and creme fraiche mixture. Add a little more salt and pepper as needed. Enjoy!

Spring Ramen Noodle Soup

I’ve been craving ramen noodles for a few days now, and thought it would be a fun recipe to try out with all the Spring vegetables I had stalked in my fridge. I was going to go even further and attempt homemade noodles, but opted for the dry ones to save some time. Maybe on a weekend I’ll go the extra mile, but weeknights I need fast and easy! This ended up being one my favorite things I’ve made in a while. I was sad when I ate all the leftovers for lunch and knew there wouldn’t be more for dinner.

Ingredients: (serves 2)
Olive oil
1 tablespoon fresh ginger, minced
2 garlic cloves, thinly sliced
4 ramps, ends and greens separated
1 cup shiitake mushrooms, stems removed and sliced
3 tablespoons low-sodium soy sauce
3 cups chicken broth
2 (3 oz) packs dried ramen noodles (noodles only, toss the flavor packets!)
1-2 baby bok choy, separated
Salt and pepper, to taste
Chives, for serving
2 small radishes, for serving
sriracha, for serving
2 eggs

Add a little olive oil to a pot and saute the ginger, garlic, and white parts (only) of the ramps for about 2 minutes. Add the mushrooms and cook for another 3 minutes or so. Next toss in the soy sauce and cook for an additional minute or so. Pour in the chicken broth and bring to a boil, then reduce to a simmer. Cook for about 5 more minutes, then salt and pepper to taste. Turn off the heat and add your bok choy and ramp greens.

In the meantime, boil a small pot of water and gently add your eggs. Cook them for 7 minutes, then remove immediately and place in a bowl of ice water. This will help stop the cooking process and will leave you with the perfect semi-runny egg! To save dishes, I tossed my noodles into the same water I boiled my eggs in and cooked them per the package instructions. Once the noodles are done cooking, drain and rinse under some cool water.

To plate, add some noodles to each bowl, then cover with the broth and vegetables. Slice the egg and place on top, then garnish with fresh chives, radishes, and a few squirts of sriracha!

Strawberry Rhubarb Cakes With Homemade Whipped Cream

A very good friend was having his going away party at our office this week, so I made mini strawberry rhubarb cakes to have alongside the many bottles of wine and beer. I would have liked to have made sweet cream biscuits as the “cake” layer, but knowing I had to travel on the train in rush hour, I didn’t want to bring anything that had the potential to be squished and broken in my bag. So, I went the semi-homemade route and bought the little shortcakes, then made the compote and whipped cream myself.

Ingredients:
2 cups fresh rhubarb, cut into small chunks
1 pound fresh strawberries, quartered
1/2 cup sugar
Zest of 1 medium orange
Juice of 1/2 medium orange
1/2 teaspoon salt
20 individual shortbread cakes (angel food cake works too!)
1 pint heavy whipping cream
1 tablespoon sugar
1/2 teaspoon vanilla extract

Place the rhubarb, strawberries, sugar, orange juice and zest in a pot over medium heat. Cook, mixing constantly, until everything has melted down together, about 10 minutes. Turn off heat and set aside.

Next make the whipped cream! Place the mixing bowl in the fridge for about 20 minutes so that it is cold. Pour in the heavy cream, sugar, and vanilla extract. Mix on medium until the cream gets thick and has stiff peaks when you take out the whisk.

Plate the mini cakes, then top with the strawberry rhubarb compote, and top with whipped cream!

Spicy Wedge Potatoes With Ramp & Cilantro Aioli

I’m really going wild with the ramps this Spring. There’s this pressure to just eat as many as humanly possible seeing they’re only in season for a few weeks each year! This time I used them in an aioli to go with the Adirondack red potatoes I got this week. These potatoes are actually red on the inside. They taste just like regular potatoes, but it’s fun to cut them open and not have them be the usual off white color we’re used to. I used Greek yogurt to make the aioli a little healthier. It went great with the spicy potatoes!

Ingredients:
2 medium potatoes, cut into wedges (not too thin or they’ll crisp too much)
3 tablespoons olive oil
1/2 teaspoon garlic powder
1/4 teaspoon onion powder
1/4 teaspoon red pepper flakes
Good pinch of black pepper
1 cup Greek yogurt
3 ramps, chopped
1/2 cup fresh cilantro, chopped
1 lime wedge

Preheat oven to 400 degrees. Cut the potatoes into wedges, and place in a large bowl of ice water for about 20 minutes. Pat the potatoes dry then toss them in a bowl with olive oil, garlic powder, onion powder, red pepper flakes, and black pepper. Spread the potatoes on a baking sheet and cooking for about 20 minutes on each side until golden brown and a little crispy. In the meantime, make the aioli. Sauté the ramps in a little olive oil for a minute or two, then place in a food processor with the Greek yogurt, cilantro, pepper, and lime juice. Mix until smooth. Serve the potatoes with a little fresh cilantro on top and the aioli on the side. Enjoy!

Spring Carbonara With Fiddleheads & Ramps

I have never eaten fiddlehead ferns before. I’ve seen them a few times the farmers market, but have always been too intimidated to buy them! This is what I love so much about being a part of a CSA, you get to learn about all these wonderful foods that you would likely never try, or even know about, if they didn’t show up in your bag each week. And as it turns out, I love fiddleheads! They taste sort of similar to a green bean I suppose, but smaller and a little crunchier. I’ll definitely be picking some up at the farmers markets from now on!

Ingredients: (serves 2)

1/2 pound pasta
4 slices bacon
1/2 cup fiddleheads, trimmed and boiled for 5 minutes prior to cooking
4 ramps, roughly chopped
1 garlic clove, minced
2 egg yolks
2 tablespoons heavy cream
1/4 cup grated Parmesan cheese
1 small handful parsley, chopped
Fresh lemon wedges, for serving
Black pepper, to taste

Start by washing the fiddleheads well, then boiling them for 5-7 minutes. You HAVE to boil them before cooking them, as there have been food poisoning relates cases of eating raw fiddleheads. By boiling them, you ensure that this will not happen. It’s really just a precaution, but recommended! Once your fiddleheads have boiled, set aside.

Cook the bacon until crispy and also set that aside. I would also recommend making one extra piece of bacon to snack on, because bacon is delicious. Next, get a large pot of salted boiling water going, and cook your pasta per the box instructions. While that cooks, saute the garlic, ramps, and fiddleheads in a little of the leftover bacon grease from the pan. If you’d rather use olive oil that is fine too. In a bowl, mix together the egg yolks, Parmesan cheese, cream, and some pepper. Strain the pasta and add to the pan with the ramps etc. Reserve 1/4 cup of the pasta water. Turn off the heat and let the pan cool about 30 seconds, then pour in the egg mix and stir well until fully incorporated. Toss in the crumbled bacon pieces and some fresh parsley. If you feel it’s dry at all, add bits of the reserved pasta water to help smooth the sauce out. Plate and squeeze a wedge of fresh lemon on top. Enjoy!


Warm Potato Salad With Ramps & Capers


This is my new favorite potato salad! It’s a fun alternative to the traditional mayo-based potato salad (though I’ve been known to eat my way through a few containers of my moms recipe when visiting.) My favorite thing about this recipe is the RAMPS! That’s right, it’s ramp reason. It’ll be over before you know it though, so get them while you can. Ramps are kind of a green onion and garlic type hybrid. They’re only in season a few weeks in the beginning of Spring, and are usually found at farmers markets rather than your local grocery store. My favorite way to eat them is just simply roasted in a pan with a little salt and pepper.

Ingredients: (serves 2)
10 small/medium fingerling potatoes
3 ramps, chopped
1 garlic clove, chopped
1 tablespoon butter
2 tablespoons capers
3 tablespoons olive oil
1 1/2 tablespoon lemon juice
Fresh cracked pepper, to taste
Radishes, thinly sliced for garnish

Preheat oven to 350 degrees. Drizzle the potatoes with some olive oil, and bake for 20-30 minutes or until golden and fork tender. While those cook, make the sauce. Sauté the ramps and garlic in the butter for 1-2 minutes, then add the lemon juice, capers, pepper, and olive oil. If you find it’s too tangy, just add more olive oil to lessen the acidity. When the potatoes are ready, slice them into 1/2 inch pieces. Pour some of the ramp and caper sauce into the bottom of the dish, then plate the potatoes on top and drizzle with the rest of the sauce. Top with some thinly slices radishes for color.


One Pot Chicken & Vegetables


One pot meals are the best, they’re easy and there’s hardly any clean up after. Perfect for the weeknight when your exhausted but still want something delicious! I bought a bunch of chicken thighs this week from Whole Foods, they’re super flavorful and very inexpensive, so I tend to get a few at a time and just freeze the ones I don’t use. When freezing meat, it’s best to wrap them well in plastic wrap, then place in a freezer bag. This way they don’t get freezer burn. Defrost in the fridge and you’re good to go! I usually cook them in a skillet, but this time I decided to plop them right in the vegetable “stew” I made so that they’d soak up all the flavor. I had some nice bread on hand which I dipped in the bowl. Not a drop was left!

Ingredients:
5 chicken thighs
1 small yellow onion
3 garlic cloves
3 carrots
3 parsnips
1 fennel bulb
1 cup chopped kale, stems removed
1 can crushed tomatoes
1 cup chicken stock
1 teaspoon oregano
1 teaspoon smoked paprika
Salt and pepper

Season the chicken with salt and pepper. Add some olive oil to a skillet and brown the chicken on both sides. Plate and set aside. In a heavy bottomed pot, sauté the onion and garlic in the remaining oil for about 3 minutes. Add the carrots, parsnips, kale, and fennel, and cook for about 5 minutes. Next add the crushed tomatoes, chicken stock, crushed red pepper flakes, oregano, paprika, salt and pepper. Bring everything to a boil, then turn down the heat and simmer for about 45 minutes. Lastly, remove the skin from the chicken before serving, as it gets a bit soft cooking in the liquid for a long period of time. Serve with some nice bread on the side!