Summer Squash Tacos With a Citrus Slaw

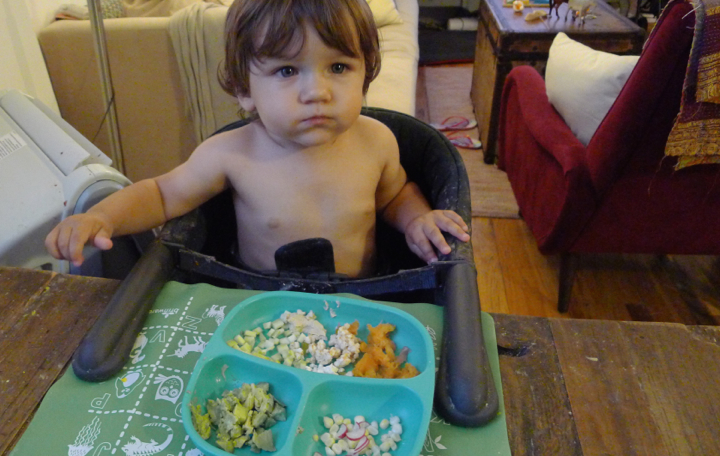
I stayed at my sisters house last night to help with my one year old nephew while her husband was away for work. It’s a dreamy situation whenever I stay there- I get to be smothered with smooches from my mini nephew and spoiled by my older sister! I wanted to make them dinner, so I brought all my CSA veggies and whipped us up some summery tacos. My sister is a vegetarian so these were meatless. Vander (my nephew) had his own little deconstructed taco with all the same ingredients that we had- the kid will eat anything! It was a lovely family night…

Ingredients: Serves 2
4-6 medium flour tortillas
1 large summer squash, cut into medium thick strips
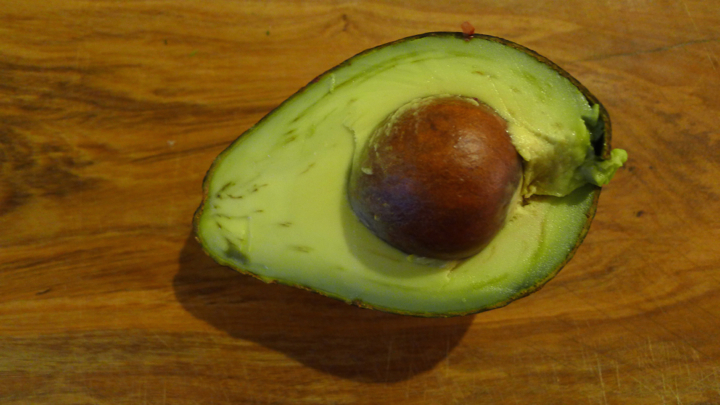
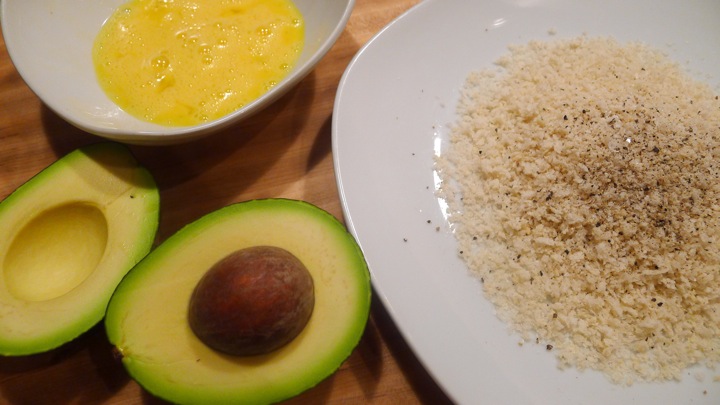
1 avocado, smashed
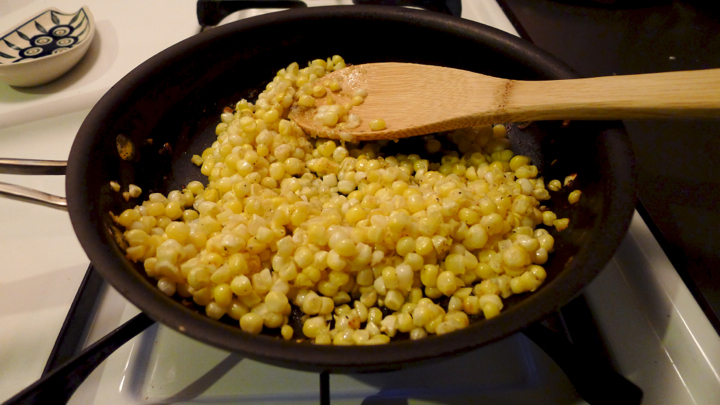
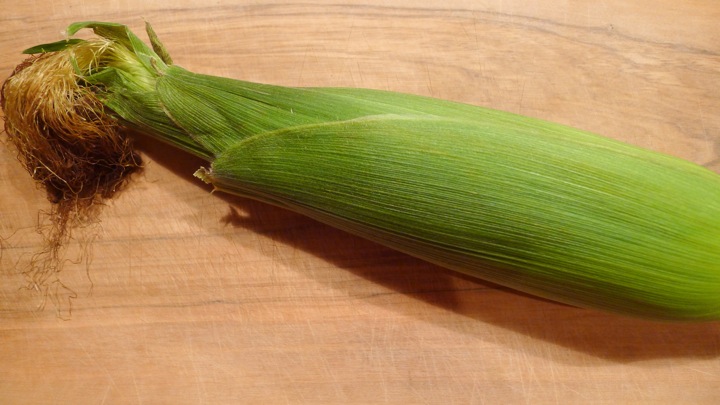
2 medium corn, cut off the cob
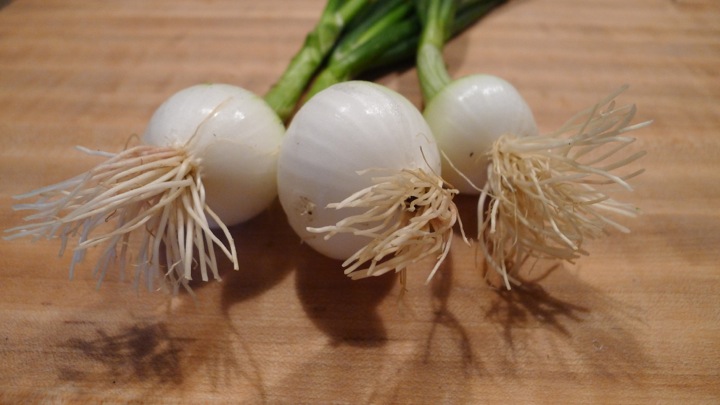
1 scallion, chopped small
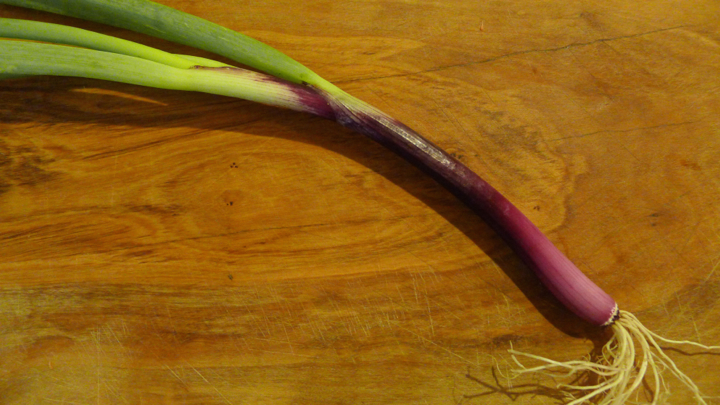
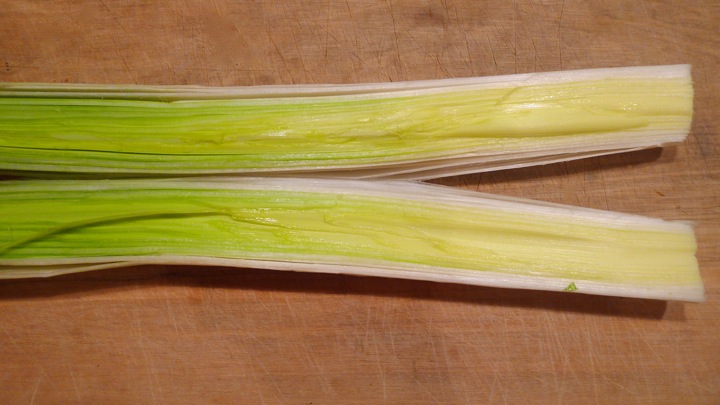
2 green onions (or 1/2 small onion)
1/2 grapefruit, segmented and chopped small
2 radishes, sliced thin
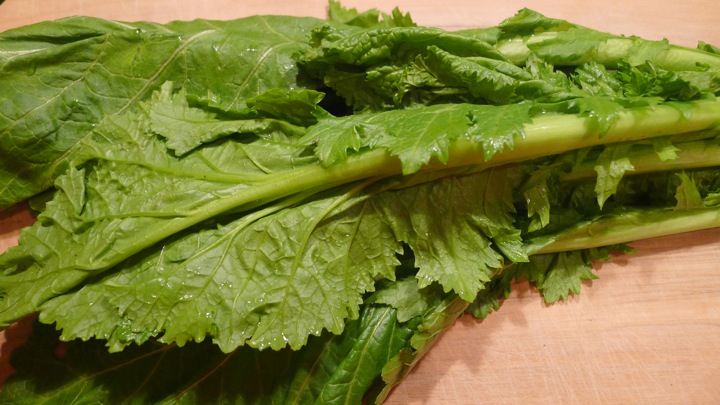
1/4 baby cabbage, shredded
Small handful fresh cilantro
Olive oil
Crumbled goat cheese
1 lime
Salt and pepper, to taste

Heat some olive oil and place the squash in a flat layer, cooking and turning occasionally until both sides are slightly browned and cooked through. While that is cooking, add some olive oil to another pan and cook the corn until slightly browned as well. To make the slaw, place the cabbage, cooked corn, scallion, green onion, grapefruit, and cilantro in a bowl. Drizzle with olive oil and a good squeeze of half a lime. Toss well and salt and pepper to taste. Lastly, smash the avocado and add a little squeeze of lime and some pepper.

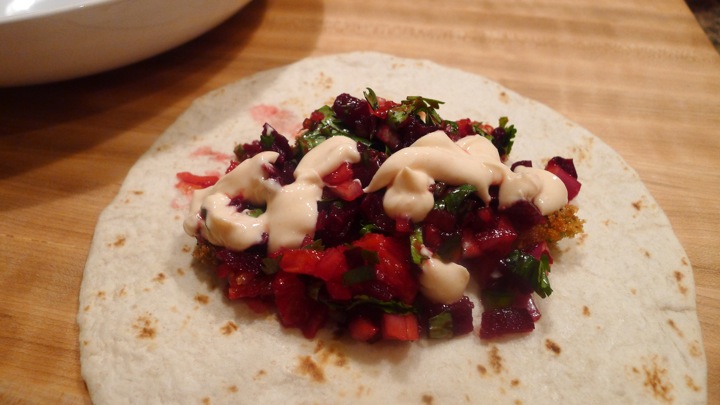
I usually like to warm by tortillas by holding them over my gas stove until they get a light char on them. Fill the tacos with a spread of avocado, followed by some squash, cabbage slaw, goat cheese, and radishes. Serve with some sliced lime on the side. Enjoy!3

Summer Panzanella Salad

I’m on a health kick right now- I’ve been going to the gym 3 days a week and trying to eat healthier! I feel so much better. It is really true, when you work out and take time for yourself, you feel much more energetic and positive. Not only is it good for your body, but good for your state of mind as well. I find that the small daily frustrations aren’t bothering me as much as they normally do!

With working out comes a more than usual hungry belly though, so this week when I got home I made myself a big salad including pretty much every item I got in my CSA this week, which was nice. I added some toasted pita bread to the salad to help with the carb cravings I knew I would have if only eating a big bowl of veggies. Overall a great fresh meal! I had some leftover veggies and dressing, which I ended up wrapping up in rice paper as spring rolls for lunch the next day. A surprisingly good snack!

Ingredients: Serves 2-3

2 small green onions, thinly sliced (use the white part for the pickling and the greens for later)
1/4 cup red wine vinegar
1/4 cup sugar
1/2 teaspoon salt
Bread, torn into crouton sizes ( I used onion pita bread)
Two eggs
2 cups kale, chopped well (optional- a lot panzanella recipes do not include lettuce)
1 pound fresh green beans, halved
2 garlic scapes, chopped
1 cucumber, skinned and sliced (I used lemon zucchini- they are round/yellow but taste like a reg cucumber)
1 medium tomato, sliced
Carrots, peeled into ribbons
2 radishes, thinly sliced
1/4 cup olive oil
2 tablespoons white wine vinegar
1 tbs lemon juice
2 tbs fresh mint, chopped
Pinch of salt
Pepper

Start by pickling the onions. Place the chopped white onion in a bowl with the red whine vinegar, sugar, and salt. Let sit for at least 30 minutes. To make the mint dressing, place the mint, olive oil, lemon juice, and white wine vinegar in a bowl and mix. Set aside.

Next, get a pot of water boiling and blanch the peas for a minute or before placing in a bowl of ice water to stop the cooking. In the same pot of water, cook the eggs for 6-7 minutes.

Add some olive oil to a pan and add the garlic scapes, onion greens, and pita bread. Tossing until the greens are cooked and the bread is toasted.

To plate- in a large bowl add some kale to the center, then the rest of the ingredients (carrot, cucumber, radish, green beans, the onion/scape/bread mixture, pickled onions, and sliced egg) then dress it with the mint dressing and enjoy!

Fried Avocado Tacos With A Beet & Orange Salsa

I love tacos, I could eat them every day! I’ve tried a ton of different variations, but was intrigued recently when I saw a recipe with fried avocado and decided to try it out. I made a sweet and tangy beet and orange salsa to go with it- which was pretty damn good if you ask me! I also made a spicy Greek yogurt sauce to top my tacos with, instead of the usual mayo based kind. Aside from the oil, everything else in the taco is pretty healthy! I was going to try frying the avocados with coconut oil but wasn’t sure what it would taste like, so for this first time around I stuck to regular vegetable oil. Overall a nice Wednesday night meal…

Ingredients: (makes 4 tacos)
4 medium sized flour tortillas
1 large avocados
Panko breadcrumbs
1 large egg, whisked
Vegetable oil
2 beets, roasted and finely chopped
1 navel orange, segmented and finely chopped
1/2 red onion, minced
1 tablespoon jalapeno, seeds removed and minced
Small handful fresh cilantro, chopped
2 tablespoons fresh lime juice
3/4 cup Greek yogurt
1 tablespoon hot sauce
Salt and pepper, to taste

Preheat oven to 350 degrees. Peel beets and cut into chunks. Place on a baking sheet, drizzle with a little olive oil, and bake for about 30 minutes or until fork tender. Remove from oven and let cool a little before finely chopping. Place in a bowl and toss together with the chopped oranges, onion, jalapeno, cilantro and lime juice. Salt and pepper to taste and set aside.

To fry your avocado slices, start by having your little station ready with a bowl of panko (seasoned with salt and pepper) and a separate bowl for your whisked egg. Heat the vegetable oil in a large frying pan. Dip your avocado slices in egg, toss and coat well with the panko, then place in the frying pan. Cook for 1 minute on each side or until golden brown. Place on a paper towel lined plate until ready to assemble you tacos. Lastly, mix your Greek yogurt in a small bowl with the hot sauce and also set aside.

To assemble your tacos, place a few slices of fried avocado on your tortilla, followed by the beet and orange salsa, then top with some spicy Greek yogurt. Wrap it up and eat! When I’m not being lazy I like to char my tortillas over my gas stove a little as well…it’s easy and definitely adds a nice touch!


Thai Coconut Lemongrass Soup

I am a huge fan of Thai food and frequently visit Chelsea Thai (in Chelsea Market) for their Tom Ka Gai soup. It’s sweet, sour, and spicy all at the same time.  I’ve always wanted to try and make it myself, so today I went for it! I made my version without chicken and just stuck to veggies. I added some bok choy that I got in my CSA this week which I thought was a nice addition. I am lucky to have had my best friend bring me back spices from her trip to Thailand recently, so a few of the “what the heck is that” ingredients were already on hand. If you end up making this soup, Whole Foods has a great selection of spices etc and should have what you need. The soup came out better than I could have hoped for- it tasted just like Chelsea Thai!

Ingredients: (adapted from Atelier Christine)
Serves 2

1 cup coconut milk
1 cup chicken stock
1 cup water
2-3 lemongrass stalks, pressed down with a knife (like you do to garlic) and cut into 3 inch pieces
1 tablespoon coriander seeds
1 teaspoon Thai galangal powder
2 small shallots, one cut in half & the other minced
1-2 small Thai red chilies, depending on preferred heat
2 baby bok choy bunches, ends trimmed and roughly chopped
1/2 can of straw mushrooms
1/2 can of bamboo shoots
1/8 cup coconut cream
1 teaspoon fish sauce
2 small limes, juiced (saving half a lime for serving)
1/4 cup fresh cilantro, roughly chopped (and a few sprigs left whole)

In a heavy bottomed pot, add the first 8 ingredients and bring to a simmer along with a few cilantro sprigs as well. Cover and cook on low for 30 minutes, stirring occasionally. Strain through a fine mesh sieve, adding all the liquid back to the pot along with the lemongrass and red chilies. Discard the rest. Next add the remainder of the ingredients- bok choy, mushrooms, bamboo shoots, coconut cream, fish sauce, lime juice, and cilantro. Cook for another 10 minutes. Serve with a small wedge of lime for an extra squeeze!

Veggie Sushi With Beet Wasabi Mayo

So it turns out making sushi at home is kind of complicated! Not sure how people roll them up so fast and make everything look so pretty- I had a good amount of sticky rice stuck to my hands, face, and clothes by the time I finished. Plus my roll looked a little wonky, but it was fun and I had a good laugh! I prefer the rice on the outside, but I’m thinking it is much easier to just roll it on the inside. Keeping my hands and knife a little wet when cutting the roll really helped with the stickiness a lot, so that’s a good trick to know. I wanted to do something interesting with the wasabi so I added roasted beets and ginger for some flavor, and of course the gorgeous color. I topped the sushi with mango as well, though for some reason it looks like cheese in the photos! I send my sister a picture and she responded with “and then I added some Kraft singles,” which made me burst out laughing. When all was said and done though, I really liked it! A healthy and fun dinner to make. It might not look like the lunch I get most days from Beyond Sushi, but I’m working on it.

Ingredients:
2 cups sticky rice (I bought pre-cooked to save time)
Seaweed (nori) sheets
3 small red beets, peeled and cubed
2 tablespoons light mayonnaise
1 tablespoon wasabi
1 inch cube fresh ginger
Small avocado, sliced thin
1 Daikon radish, cut into matchsticks
1 large carrot, cut into matchsticks
1 mango, sliced thin for topping
Soy sauce, for serving (optional)

Preheat oven to 350 degrees. Drizzle the beets with olive oil and cook for about 15-20 minutes, or until fork tender. In the meantime, cut the vegetables. When the beets are done, place into the food processor with mayo, wasabi, and ginger. Blend until smooth. Place a piece of the seaweed onto a sushi rolling mat and gently spread the sticky rice covering the seaweed. At this point you can either flip it over so the rice is facing down, and fill the center so the rice is on the outside when you roll it up (like I did) or you can add your fillings on top of the rice to have the rice on the inside. Once you add the filling, gently roll the sushi mat from the bottom up and tuck the sushi under, creating the rolls shape. Continue using the mat to push the roll until you have a complete piece. With a sharp knife, cut the individual pieced from the roll. Top each piece with mango and beet wasabi mayo. Serve with soy sauce!

Grilled Romaine with Roasted Beets and Fennel

I’ve always wanted to try grilling romaine, but never got around to doing it in the summer. Luckily, my oven is equip with a broiler so I was able to get a similar result during the winter months! I didn’t get the exact char I was going for, but without a grill it’s tough to do. It was still super delicious and nice to have a warm salad with some of my favorite things on top- beets, fennel, and blue cheese dressing! And of course, if you DO have access to a grill, then you can certainly cook the romaine that way too.

Ingredients: serves 1-2
1 small head of romaine
3-4 small golden beets, peeled and cut into small wedges
1 large red beet, peeled and cut into small wedges
1 fennel bulb, tops removed and thinly sliced

Blue cheese dressing: (from Skinny Taste)
5oz Greek yogurt
1/2 cup blue cheese, crumbled
1 tbsp light mayonnaise
1 tbsp white wine vinegar
1 tbsp lemon juice
1/8 tsp garlic powder
Salt and pepper to taste

Preheat oven to 375 degrees. Place the beets and fennel on a baking sheet then drizzle with olive oil and a little salt and pepper. Cook for 20 minutes or until fork tender. In the meantime make the dressing. Mix the Greek yogurt and blue cheese in a bowl then add the mayo, vinegar, lemon juice, garlic powder, salt and pepper. When the vegetables are done cooking, turn off the oven and set the broiler on high. Place romaine on a baking sheet and brush with olive oil, followed by a sprinkle of salt and pepper. Cook under the broiler for 1-2 minutes or until it starts to wilt and the edges get a little toasted. Make sure not to burn the lettuce. I had a sweet little personal size romaine from my CSA so I only broiled one side, but if you use a large romaine lettuce from the regular supermarket, you’ll want to cut it in half the long way and broil both sides for sure. To plate, drizzle the romaine with the blue cheese dressing and top with roasted vegetables!

Sweet Potato and Kale Stuffed Shells

I really love stuffed shells and usually make them the popular way with ricotta and spinach, but this time I went for a fall version and used sweet potato, ricotta, and kale. They came out great and didn’t take a long time to make, which was a bonus. I was thinking of what type of sauce to use, and decided a simple brown butter would do the trick. The shells are already sweet from the potato, so I didn’t want to overdue it with a heavy or rich sauce. This is an easy comforting fall meal!

Ingredients:
1 large sweet potato, peeled and cubed
1/2 shallot, minced
1 garlic clove, minced
1 cup ricotta cheese
1 bunch of kale (about 2-3 cups roughly chopped)
1/2 stick unsalted butter
1/2 teaspoon powdered sage, halved
1/4 teaspoon ground cinnamon
1 box large pasta shells
Salt and pepper, to taste

Preheat oven to 350 degrees. Place the cubed sweet potato on a baking sheet and toss with olive oil, 1/4 teaspoon dried sage, and salt/pepper. Bake for 30 minutes or until fork tender. When the potatoes are about half way done cooking, get a pot of boiling water going and cook the pasta shells as directed on the box. Next, sauté the garlic for about a minute in some olive oil over medium heat, then add the shallot and cook for another minute or until translucent. Toss in the kale and cook until wilted. Once the sweet potato is cooked, place it in a food processor with the ricotta cheese and pulse until smooth. Next, add the kale mixture and blend until the kale is chopped and incorporated. Salt and pepper to taste.

Lightly oil a baking dish to prevent the pasta from sticking. Fill the shells with the sweet potato mixture and place in a single layer in the baking dish. At this point you could sprinkle some freshly grated Parmesan cheese on top if you’d like (I forgot to buy the cheese so I skipped it) then cover with tin foil and bake for 15 minutes. While the shells are baking, make the brown butter sauce. Melt the butter over medium heat and cook until golden in color with a nutty fragrance, then turn down the heat to low. This only takes a minute or two, so watch the butter to make sure it doesn’t burn! Add the maple syrup, powdered sage, and cinnamon to the butter and cook for a minute then turn off the heat. When the shells have cooked for 15 minutes, remove them from the oven and pour the browned butter over the shells. Place back in the oven (without the foil) for 10 minutes, or until slightly golden.

Let cool for a few minutes before serving. Top with some extra Parmesan cheese and drizzle some of the butter from the bottom of the baking dish. Enjoy!

Leek, Mustard Greens, and Corn Pizza

I could probably eat homemade pizza every night. It might sound sort of intimidating to make, but it seriously could not be easier! Especially if you buy pre-made dough at the supermarket, or at your local pizza place for a buck or two, which is what I love to do because it’s super fresh.

Ingredients:
1 ball of pizza dough
1 large leek
2 ears of corn, cut off the cob
3 cups mustard greens, cut into 1/2 inch ribbons
1 garlic clove, minced
1 small can of tomato sauce
3 ounces St. Andre cheese
All-purpose flour
Olive oil
Salt and pepper

Start by preheating the oven to 425 degrees. To trim the leeks, cut it where the light part meets the dark part, then toss the dark stuff. Cut them lengthwise then run the leeks under the water to remove any dirt. They can be pretty dirty sometimes so really make sure to rinse them well. Cut them crosswise in 1/4 inch slices. Next, remove the stems of the mustard greens and layer the leaves on top one another, roll them up together then slice 1/2 inch ribbons. Lastly, cut the corn off the cob.

Add some olive oil to a pan and saute the garlic for a minute. Add the leeks and cook for about 7 minutes until slightly browned. Next add the mustard greens and cook about 4 minutes until wilted, then toss in the corn, salt and pepper to taste, and cook everything together for another 10 minutes. While that is cooking, roll out your pizza dough. Make sure to flour the surface and rolling pin, and continue to sprinkle the dough with flour as you go. Place on a baking sheet lined with parchment paper.

Add the toppings to the dough starting with the tomato sauce, then the leek mixture, and lastly the cheese. Bake for 25 minutes until everything is golden! Let cool for a few minutes before cutting.

Beet Burgers with Pickled Radishes

I love beets, but roasting them all the time can get boring. I’m constantly looking for new ways to make use of them, so when I saw this beet burger recipe I was excited to give it a shot. Not all veggie burgers are great, but when you come across a good one (like Westville’s!) then they can be pretty awesome. I think the toppings are pretty important in making a veggie burger not taste so plain. I wanted to add something crunchy and has some great radishes this week, so I quickly pickled a few to top the burger with. I think it was the best part! The sweetness of the beet burger with the acidity of the pickles radishes were perfect together. I also added some Greek yogurt with fresh dill tossed in. I win.

Ingredients: (adapted from Food52)

Burger:
1/2 large yellow onion, cut into 1/4 inch slices
1 large garlic clove, crushed and minced
1/2 cup peeled and grated beets
1/2 cup sunflower seeds (though other nuts would work)
1/3 cup golden raisins
1 teaspoon smoked paprika
1/4 cup cooked green lentils, rinsed and drained
1 cup cooked brown rice, at room temperature
1 egg
Sea salt and freshly ground black pepper
1/2 cup low fat Greek yogurt
1 teaspoon lemon juice
2 tablespoons fresh dill, chopped
Mesclun greens, for topping

Pickled Radishes:
2-3 radishes, thinly sliced
1/4 cup red wine vinegar
1/4 cup sugar
1/2 teaspoon salt

Start by pickling the radishes. This is a quick way to pickle them and great when you need them fairly fast! Whisk together the vinegar, sugar, and salt in a bowl. Add the radishes and place in fridge for at least 30 minutes. These will keep up to a day. Next quickly make the yogurt sauce by mixing the Greek yogurt with the fresh dill and lemon juice, then set aside.

To make the burger- sauté the onion in a little oil over medium heat. Once translucent and a little browned, add the garlic, grated beets, sunflower seeds, raisins and paprika. Cook for about 7-10 minutes until everything has a nice brown on it. Place in the food processor and mix until chunky. Place the mixture in a bowl with the lentils and salt and pepper to taste. Next place the brown rice and egg into the food processor and pulse to create a thick puree. Add the rice mixture to the bowl with the onion/lentil mixture. Heat a skillet over medium heat and drizzle a little (high heat) oil. Form 4 burger sized patties with your hands and place in the skillet. Let cook for about 5 minutes then flip. Cook until both sides are nicely browned but not burned. To assemble the burger, place the patty on the bun and top with some dill yogurt, greens, and pickled radishes. Hope you like it!

Squash Ravioli with Swiss Chard and Truffle Oil

I’ve always wanted to try making ravioli, so when I got a few squash this week I thought I would give it a shot! I don’t have a pasta maker at home, so I simply made these ravioli using wonton wrappers, which you can find at most supermarkets. Last minute I decided to drizzle some black truffle oil on top, which was of course a great idea. Truffle on anything is magical.

Ingredients: (adapted from Williams-Sonoma)
1 delicata squash, peeled and cut into 1-inch cubes
4 garlic cloves, crushed
5 fresh thyme springs
1/2 cup ricotta cheese
1/2 cup Parmesan cheese, freshly grated
1 teaspoon nutmeg
wonton wrappers
1 egg, beaten
1 cup Swiss chard, washed and thickly chopped
Olive oil
Salt and pepper

Preheat oven to 375 degrees. Chop the squash into quarters, then peel, remove seeds, and chop into 1-inch cubes. Add to a baking sheet with the crushed garlic and thyme. Drizzle with olive oil and salt and pepper. Cook for 25-30 minute or until tender when pierced with a fork. Remove from the oven and toss the thyme. Add to a medium bowl with ricotta, half of the Parmesan, nutmeg, and salt and pepper. Smash with a big spoon well until well incorporated. You can also pulse in a food processor to smooth it out easier. I added a little olive oil until I thought it had a nice consistency.

Place a few wonton wrappers on a flat surface. Scoop some filling into the center of the wrapper (not too much so that you can close it) and brush the edges with the egg. Take another wrapper and brush the edges as well. Place one wrapper on top of the other and seal edges with a fork. Alternatively, you can just fold the one wrapper in half and make triangle ravioli (also called triangoli) instead. I tried both to see which I liked better- I think the triangle shape makes them look fuller which is nice. Place a damp paper towel on a plate and stack your ravioli until you are ready to start boiling them. In a large pot of boiling water, add a little olive oil (to help them not stick together) and cook about 7 ravioli at a time until they all float to the top, about 2 minutes. Remove with a slotted spoon. While you cook the ravioli, toss the Swiss chard in a frying pan with a little olive oil until it begins to wilt.

Place ravioli on a plate and drizzle with a tiny bit of butter and black truffle oil. add the Swiss chard and some freshly grated Parmesan cheese. Bon appetit!