Beet Burgers with Pickled Radishes

I love beets, but roasting them all the time can get boring. I’m constantly looking for new ways to make use of them, so when I saw this beet burger recipe I was excited to give it a shot. Not all veggie burgers are great, but when you come across a good one (like Westville’s!) then they can be pretty awesome. I think the toppings are pretty important in making a veggie burger not taste so plain. I wanted to add something crunchy and has some great radishes this week, so I quickly pickled a few to top the burger with. I think it was the best part! The sweetness of the beet burger with the acidity of the pickles radishes were perfect together. I also added some Greek yogurt with fresh dill tossed in. I win.

Ingredients: (adapted from Food52)

Burger:
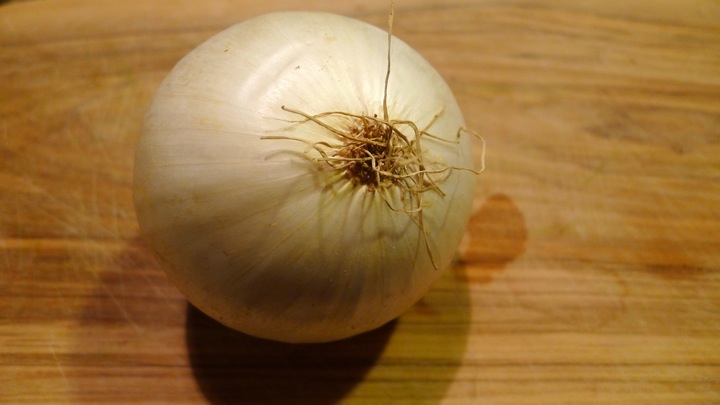
1/2 large yellow onion, cut into 1/4 inch slices
1 large garlic clove, crushed and minced
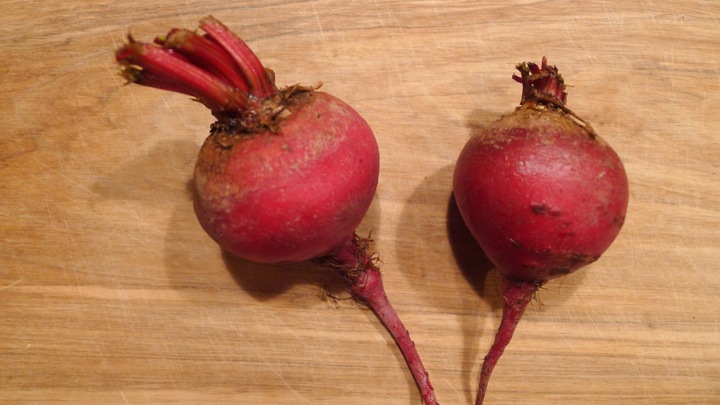
1/2 cup peeled and grated beets
1/2 cup sunflower seeds (though other nuts would work)
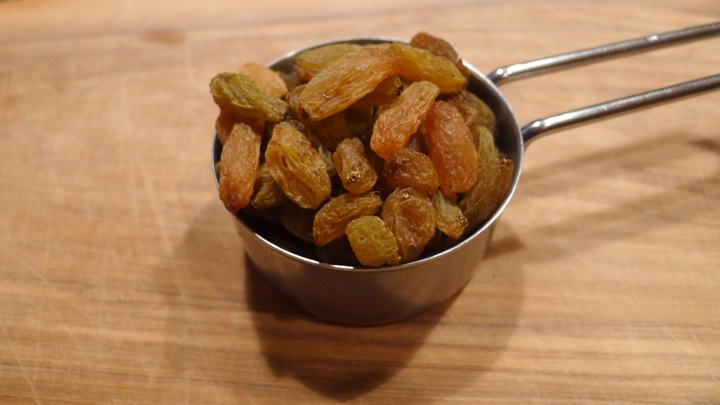
1/3 cup golden raisins
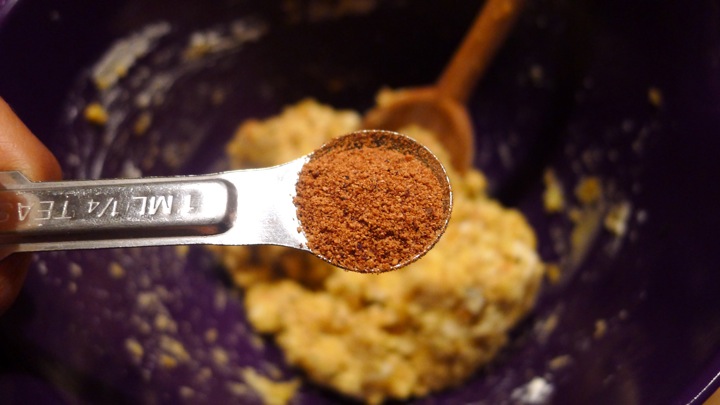
1 teaspoon smoked paprika
1/4 cup cooked green lentils, rinsed and drained
1 cup cooked brown rice, at room temperature
1 egg
Sea salt and freshly ground black pepper
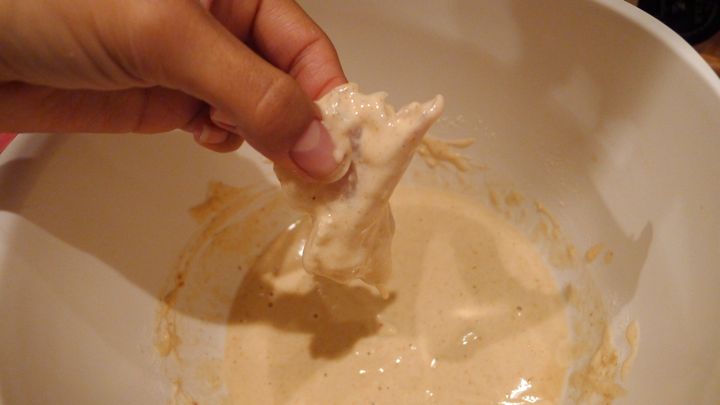
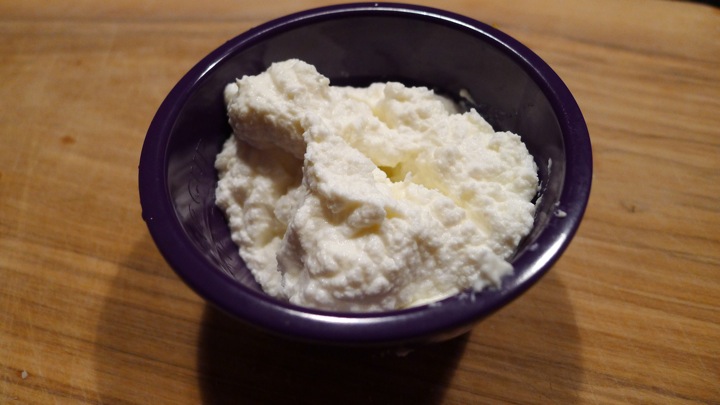
1/2 cup low fat Greek yogurt
1 teaspoon lemon juice
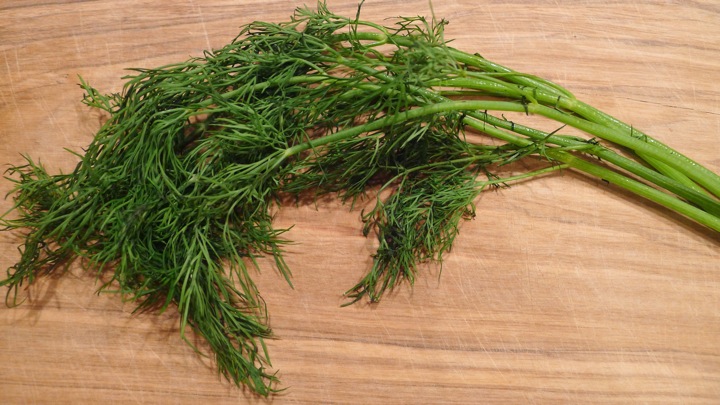
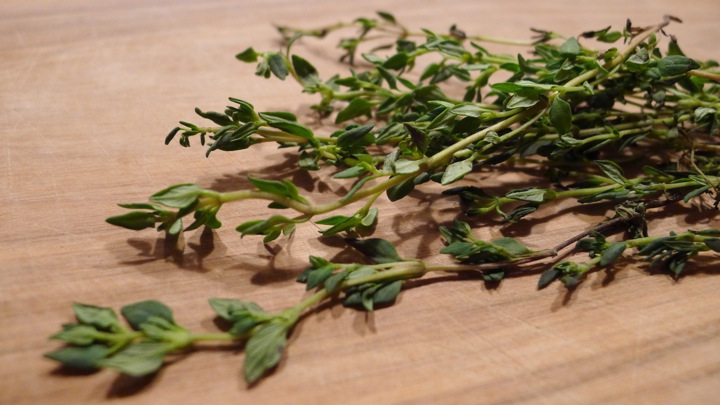
2 tablespoons fresh dill, chopped
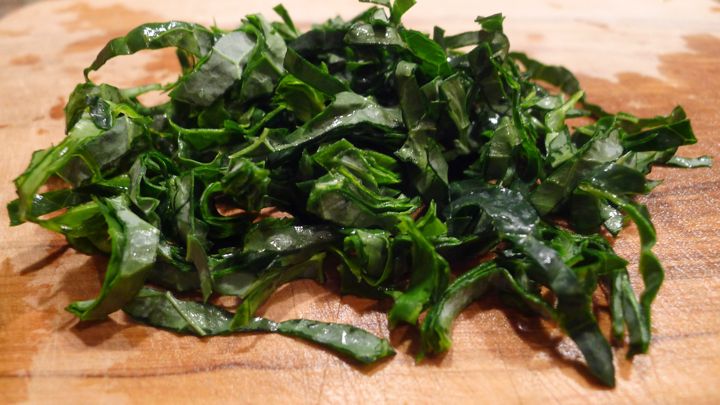
Mesclun greens, for topping
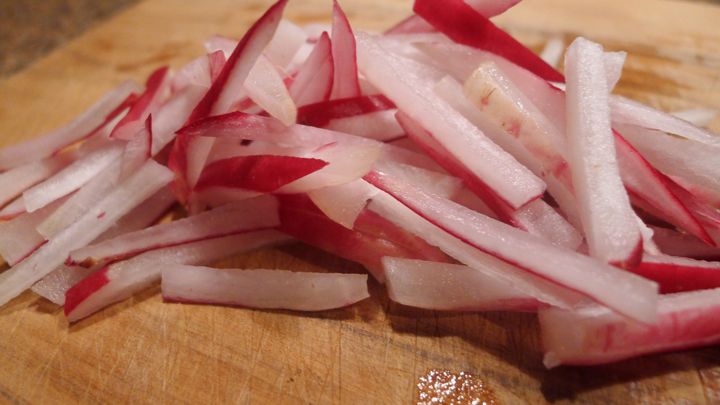
Pickled Radishes:
2-3 radishes, thinly sliced
1/4 cup red wine vinegar
1/4 cup sugar
1/2 teaspoon salt

Start by pickling the radishes. This is a quick way to pickle them and great when you need them fairly fast! Whisk together the vinegar, sugar, and salt in a bowl. Add the radishes and place in fridge for at least 30 minutes. These will keep up to a day. Next quickly make the yogurt sauce by mixing the Greek yogurt with the fresh dill and lemon juice, then set aside.

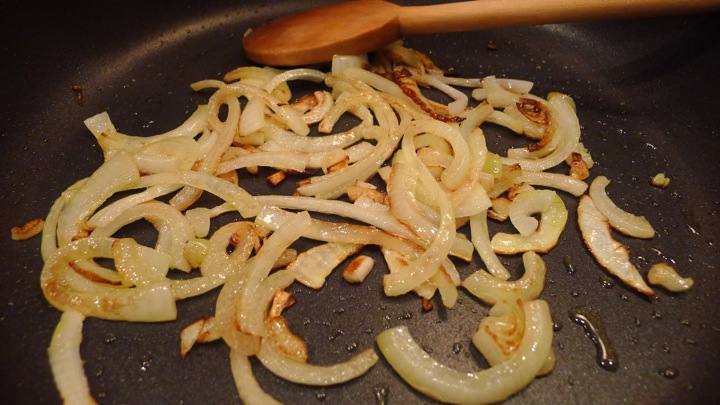
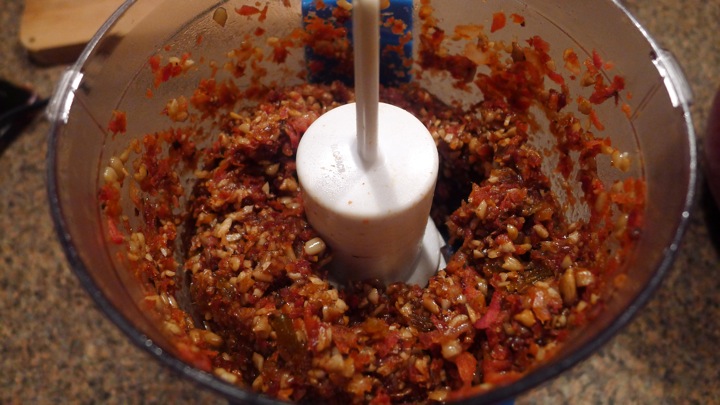
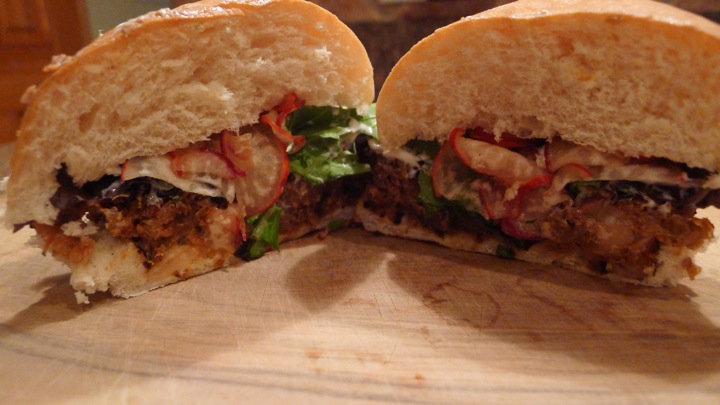
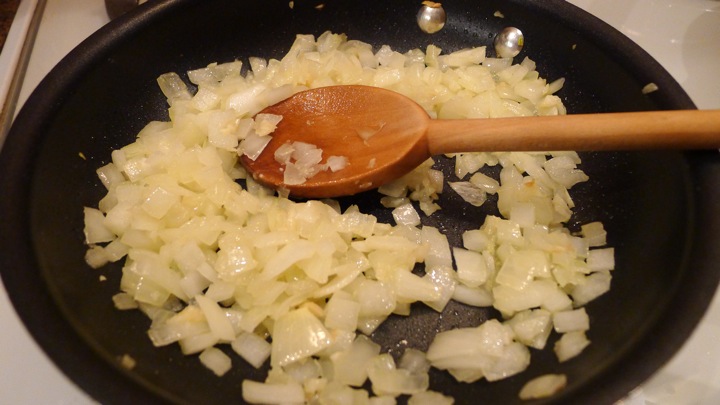
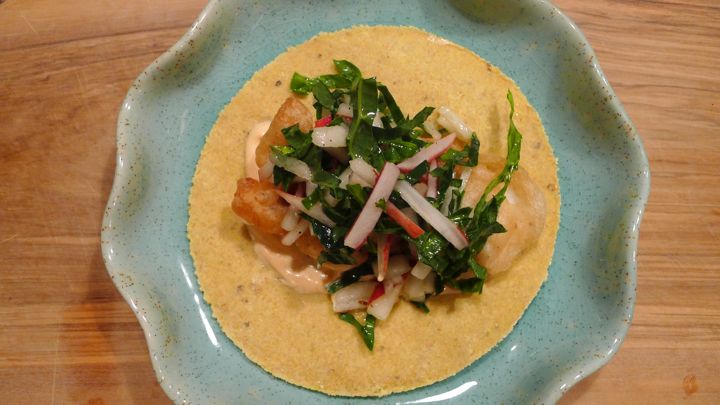
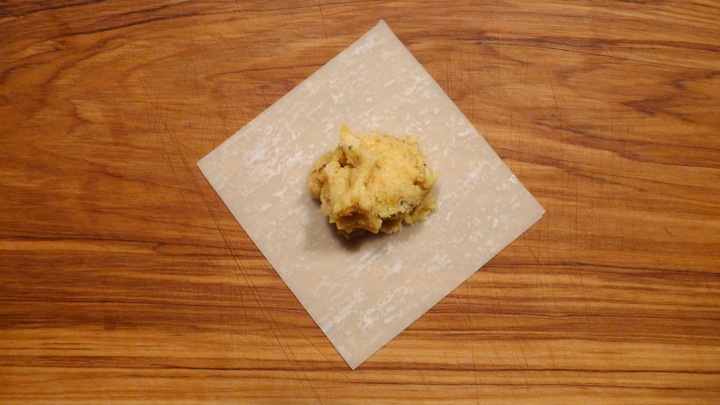
To make the burger- sauté the onion in a little oil over medium heat. Once translucent and a little browned, add the garlic, grated beets, sunflower seeds, raisins and paprika. Cook for about 7-10 minutes until everything has a nice brown on it. Place in the food processor and mix until chunky. Place the mixture in a bowl with the lentils and salt and pepper to taste. Next place the brown rice and egg into the food processor and pulse to create a thick puree. Add the rice mixture to the bowl with the onion/lentil mixture. Heat a skillet over medium heat and drizzle a little (high heat) oil. Form 4 burger sized patties with your hands and place in the skillet. Let cook for about 5 minutes then flip. Cook until both sides are nicely browned but not burned. To assemble the burger, place the patty on the bun and top with some dill yogurt, greens, and pickled radishes. Hope you like it!

Potato, Ham, and Rainbow Chard Hash

Hash is one of my all time favorite breakfast foods! Using a cast iron pan is key, and letting it cook for a while so that the ingredients almost melt together and get crispy is also important. Top the hash with some runny poached eggs and you have the best breakfast ever (or dinner in my case tonight!) It is incredibly easy- you just have to have a little patience while it cooks down and does its thaang.

Ingredients: (makes about 2-3 servings)
2 large Yukon gold potatoes, cut into small cubes
1/4 teaspoon smoked paprika
2 garlic cloves, minced
1 yellow onion, diced
1 red bell pepper, diced
1 cup rainbow chard, chopped
6 oz sliced ham, chopped (I used Applegate organic ham)
Salt and pepper, to taste
Eggs, for poaching
1 teaspoon apple cider vinegar or white vinegar, for poaching eggs (optional)
Olive oil

Add some olive oil to a cast iron pan over medium heat. Add the potatoes, stirring every minute or so to avoid them sticking to the pan too much. Once they start browning a little, add the smoked paprika. In a separate pan, saute the garlic in some olive oil for about 30 seconds, then add the onions and cook until translucent. Next add the bell pepper, then salt and pepper to taste. Lower the heat and let the onion/pepper mixture cook down until the potatoes are ready. You want the potatoes to be fork tender with a little brown on them. I cooked my potatoes for about 15-20 minutes before adding the onion and pepper mixture. After you add the mixture to the potatoes, continue to cook down for another 5 minutes or so, then add the rainbow chard, followed by the ham. Continue to stir the hash every couple of minutes, and in between mixing push everything down with a wooden spoon so that the nice cast iron pan can do its job and brown everything. In my opinion, the more you cook it the better it gets. Just taste it as you go and turn off the heat when you think it has reached its hash potential!

When the hash is about done, get a pot of boiling water going. Time for perfect poached eggs! Add the apple cider or white vinegar to the boiling water, this will help keep the egg fluffy. Crack the egg into a small ramekin and have it ready to go. Take a spoon and swirl the water to create a little whirlpool, then gently pour the egg into the center. This will help the egg keep its shape. Cook for about 1 1/2-2 minutes then remove with a slotted spoon. I usually pull it out and gently feel the center of the egg to make sure it is as soft as I like it. I get my local eggs from my CSA and I swear they taste so better then supermarket eggs. They seem to be creamier or something, I love them. Anyway, plate the hash and top with the poached eggs!

Spaghetti Squash Crusted Quiche With Sausage & Potato

Spaghetti squash can be a lot of fun to cook with, you can really do a lot with it. I’ve had it prepared before with sauce and meatballs as if it were real spaghetti, in soups, and simply tossed with brown butter and Parmesan cheese. Tonight I went in a totally different direction and used it as the “crust” for a quiche. As much as I love the buttery crust that usually accompanies a quiche, the squash was a great alternative and added a lot of nice flavor!

Ingredients: (adapted from PaleOMG)
1 spaghetti squash
2 Italian sausages (I used sweet)
1 potato, thinly sliced
6 eggs, whisked
1/4 teaspoon ground nutmeg
1/2 teaspoon dried basil
1/2 teaspoon dried parsley
Small handful freshly grated Parmesan cheese
Coconut oil, to grease pan

Preheat oven to 400 degrees. Cut the squash in half the long way and place face down on a baking sheet lined with parchment paper. Cook for 30 minutes or until a knife easily pierces through. Remove from oven and let cool enough to handle. Scoop out the seeds and discard, then remove the rest by scraping with a fork. It will be stringy like spaghetti! Mix in the nutmeg and set aside in a bowl. Turn oven down to 350.

Slice the potato and add to a pot of boiling water, cook until tender but don’t over cook! Heat a little olive oil in a pan and add the garlic, cook for one minute then add the onions stirring until translucent. Next remove the sausage from the casing and add that to the pan, breaking it up with a wooden spoon. Cook until browned.

Grease a pie pan with a little coconut oil (I have coconut oil spray from Trader Joe’s that I use for everything!) Add the squash and press down firmly on the bottom and sides of the dish. Sprinkle with Parmesan cheese, and layer with potato slices. Mix the dried herbs into the eggs with a little salt and pepper, and pour that over the potatoes. Lastly, add the sausage and onion mixture. Place in oven and cook for 30-35 minutes or until eggs are set. Let cool a little before slicing, serve with a sprinkle of Parmesan cheese on top.

Butternut Squash Tortellini in a Creamy Sage Sauce

Right when I thought I was getting sick of squash, this tortellini recipe turned me around. It’s so delicious! Forming the tortellini was much easier than I thought it would be, and I used wonton wrappers which made it even less time consuming. Using chicken broth as the base for the sauce gave it a nice, light texture and kept it from being too rich or creamy. Overall, I would have to say this is one of my favorite pasta dishes I have made thus far. Success!

Ingredients: (adapted from Lingonberry Jam)

Tortellini:
1 large butternut squash, peeled and cut into small cubes
2 tablespoons olive oil
1/2 teaspoon dried basil
1/2 teaspoon dried rosemary
1 shallot, minced
1 large garlic clove, crushed and minced
1/8 teaspoon nutmeg
1 tablespoon brown sugar
1/2 cup ricotta cheese
Salt and pepper
1 package wonton wrappers
1 egg, whisked (water works okay too)

Sage Sauce:
1 tablespoon unsalted butter
1 garlic clove, crushed and minced
1 teaspoon all-purpose flour
1 cup chicken broth
4-6 sage leaves, finely chopped
1/2 cup freshly grated Parmesan cheese
Salt and pepper

Preheat oven to 375 degrees. Toss the peeled and chopped butternut squash with olive oil, dried herbs, salt and pepper. Place squash on a baking sheet lined with parchment paper and bake for 25-30 minutes until fork tender. In the meantime, add a little oil to a pan and sauté the garlic and shallot together. When the squash is ready, place it in a food processor with the garlic/shallot mixture, nutmeg, ricotta, and a dash of salt and pepper. Mix until well incorporated. Add the brown sugar and mix that in as well.

Get a pot of salted water going on the stove and add a little olive oil. Have a plate with a damp paper towel near your tortellini station to cover them so they don’t dry out before boiling. Start by laying a few wonton wrappers out and place a little of the squash mixture in the center. Make sure not to over-stuff them, or they will spill out when folding. With your finger, brush the edges with the egg. Fold in half to make a triangle. Fold diagonal side (with filling) over once. Turn pasta and place finger in the middle. Crisscross each side over your finger, then tuck the tails under and up in the middle. Boil all the tortellini together until they all float to the top.

In the meantime, make the sage sauce. Sauté a garlic clove with some olive oil, sprinkle in the flour and whisk well. Slowly whisk in the chicken broth next, making sure all the flour is well incorporated. Next add the fresh sage, followed by the Parmesan cheese. Mix well. When the tortellini are done, simple add them to a bowl and cover in as much sage sauce as you like.

Fish Tacos with a Kale Radish and Pear Slaw

Fish tacos are one of my favorite things. I could easily eat 10 of them at Rockaway Taco in the summer time, I don’t care how long the line is! Frying fish isn’t something I do often, but if you’re going to make a fish taco I think it’s definitely the way to go. The toppings are key too, so in this recipe I made a quick and easy slaw with some spicy mayo as well.

Ingredients: makes about 5 tacos

Slaw:
4 small radishes, cut into matchsticks
1 large ripe pear, cut into matchsticks
2 kale leaves, julienned
4 tablespoons olive oil
3 tablespoons sesame oil
2 tablespoons apple cider vinegar
1 teaspoon brown sugar
Pinch red pepper flakes
Salt and pepper to taste

Fish:
1/2 lb cod fish
6 tablespoons all-purpose flour
1/4 teaspoon salt
1/4 teaspoon cayenne pepper
2/3 cup beer (I used Red Stripe lager)
Salt and pepper
Canola oil, for frying (I used a part canola part coconut oil mix from Whole Foods)
Corn or flour tortillas, small

Spicy mayo:
2 tablespoons mayonnaise
2 teaspoons sriracha
1 teaspoon lemon juice

Start by making the slaw. Julienne the kale, then cut the pear and radishes into small matchsticks. Add to a bowl and set aside. Place the other 6 ingredients in a separate small bowl and whisk together. Add it to the slaw and mix well (I did a little at a time until I thought it had enough dressing.) Place in the refrigerator until needed.

Next make the batter. Mix together the flour, salt, and cayenne pepper in a bowl. Whisk in the beer. It will look like pancake batter. Cut the fish into 4×1 inch slices. Season with salt and pepper. Heat about 1/2 inch worth of the canola oil in a pan over medium heat. To test if it is ready, dip the tip of a wooden spoon in, if it bubbles right away then it is hot enough to fry the fish. Dip each fish piece in the batter and cover well. Shake any excess batter off gently, then add to the pan of oil. Repeat with all fish. Cook for 2-3 minutes on each side until golden brown. If they look like they are cooking too fast, simply turn down the heat. Once ready, remove from the pan and place on paper towel lined rack or plate.

To make the spicy mayo, simply add the mayo, sriracha, and lemon juice in a small bowl and mix well. Now assemble your tacos! Place a little spicy mayo on the tortilla, add some fish, then top with the slaw. Enjoy!

Roasted Garlic and Butternut Squash Galette

This was my first attempt at a galette, and it definitely will not be my last! It was a lot easier than anticipated and absolutely delicious. Making your own dough sounds intimidating, but it is a lot easier than you think- give it a try!

Ingredients: (Food52)

Dough-
3/4 cup all-purpose flour
1/4 cup semolina flour
1/2 teaspoon salt
6 tablespoons unsalted butter, chilled and cut into cubes
3 tablespoons ice water

Filling-
1 butternut squash, 1/4 inch slices
2 tablespoons olive oil
2 teaspoons fresh thyme
1 garlic clove, minced
1 teaspoon salt
1/2 teaspoon freshly ground pepper
10 garlic cloves, with skin on
1/2 cup ricotta cheese
1 cup fontina cheese
2 tablespoons grated Parmesan cheese

To make the dough, place the all-purpose flour, semolina flour, and salt into the food processor. Pulse to combine. Add the cold butter (make sure it is cold!) and pulse until the mixture is combined and the texture resembles small peas. Add the ice water one tablespoon at a time while pulsing, you will know it is done when it sticks together without crumbling. Beware of over mixing! Place dough on a lightly floured surface and form into a disk shape. Wrap with plastic wrap and place in the refrigerator for 30 minutes (or up to 24 hours.)

Preheat oven to 400 degree. Cut the squash in half, then peel, remove any seeds, and cut into 1/4 inch slices and place in a bowl. Add the olive oil, minced garlic, thyme, salt and pepper. Place on a baking sheet covered with parchment paper and add the whole unpeeled garlic cloves as well. Cook for 25 minutes or until squash is fork tender.

While the squash and garlic cook, flour a surface and roll the dough out into a 12 inch circle. Place on a baking sheet covered in parchment paper and put back in the fridge until ready to use.

When the garlic has cooled, peel the skin off and smash in a bowl. Add the ricotta cheese and mix well. Spread the ricotta mixture onto the dough, leaving a 1 inch border. Next add the squash followed by the fontina cheese. Sprinkle the Parmesan around the border of the dough and crack some fresh pepper on top. Cook for 30 minutes or until the crust is golden brown. Let cool for 5 minutes before digging in.

Squash Ravioli with Swiss Chard and Truffle Oil

I’ve always wanted to try making ravioli, so when I got a few squash this week I thought I would give it a shot! I don’t have a pasta maker at home, so I simply made these ravioli using wonton wrappers, which you can find at most supermarkets. Last minute I decided to drizzle some black truffle oil on top, which was of course a great idea. Truffle on anything is magical.

Ingredients: (adapted from Williams-Sonoma)
1 delicata squash, peeled and cut into 1-inch cubes
4 garlic cloves, crushed
5 fresh thyme springs
1/2 cup ricotta cheese
1/2 cup Parmesan cheese, freshly grated
1 teaspoon nutmeg
wonton wrappers
1 egg, beaten
1 cup Swiss chard, washed and thickly chopped
Olive oil
Salt and pepper

Preheat oven to 375 degrees. Chop the squash into quarters, then peel, remove seeds, and chop into 1-inch cubes. Add to a baking sheet with the crushed garlic and thyme. Drizzle with olive oil and salt and pepper. Cook for 25-30 minute or until tender when pierced with a fork. Remove from the oven and toss the thyme. Add to a medium bowl with ricotta, half of the Parmesan, nutmeg, and salt and pepper. Smash with a big spoon well until well incorporated. You can also pulse in a food processor to smooth it out easier. I added a little olive oil until I thought it had a nice consistency.

Place a few wonton wrappers on a flat surface. Scoop some filling into the center of the wrapper (not too much so that you can close it) and brush the edges with the egg. Take another wrapper and brush the edges as well. Place one wrapper on top of the other and seal edges with a fork. Alternatively, you can just fold the one wrapper in half and make triangle ravioli (also called triangoli) instead. I tried both to see which I liked better- I think the triangle shape makes them look fuller which is nice. Place a damp paper towel on a plate and stack your ravioli until you are ready to start boiling them. In a large pot of boiling water, add a little olive oil (to help them not stick together) and cook about 7 ravioli at a time until they all float to the top, about 2 minutes. Remove with a slotted spoon. While you cook the ravioli, toss the Swiss chard in a frying pan with a little olive oil until it begins to wilt.

Place ravioli on a plate and drizzle with a tiny bit of butter and black truffle oil. add the Swiss chard and some freshly grated Parmesan cheese. Bon appetit!

Zucchini Chocolate Chip Bread & Muffins

Smitten Kitchen is one of my favorite food blogs- everything looks incredible. When I got some zucchini this week I decided to make her zucchini bread. It was absolutely delicious and extremely easy to make! I added the chocolate chips, but this would be great without them as well, depending on how much of a sweet tooth you have. Even with the chocolate chips added, I didn’t think it was too sweet at all. The recipe was enough to make 2 loaves or 24 muffins, but when I filled the one loaf pan it didn’t look like I would have enough for another full loaf, so I threw the leftovers in the muffin tin. Both came out great- I ate mine warm with butter, of course.

Ingredients: (from Smitten Kitchen)
3 eggs
1 cup vegetable oil
1 3/4 cups sugar
2 cups grated zucchini
2 teaspoons vanilla extract
3 cups all-purpose flour
3 teaspoons cinnamon
1/4 teaspoon nutmeg
1 teaspoon baking soda
1/2 teaspoon baking powder
1 teaspoon salt
1 cup semi-sweet chocolate chips (or walnuts if you want a less sweet with a little crunch)

Preheat oven to 350 degrees. Grease and flour your loaf pans or muffin tins. In a large bowl whisk the eggs then add the oil, sugar, zucchini and vanilla. In a separate bowl, whisk together the dry ingredients- flour, cinnamon, nutmeg, baking soda, baking powder and salt. Add the dry ingredients to the wet ingredients a few cups at a time and mix well. Divide the batter into your pans and cook for 50-60 minutes (test with a toothpick until it comes out clean.) If you go the muffin route instead, these will cook much faster in about 20-25 minutes. Let cool 5 minutes, then immediately hide in your room and eat the whole thing.

Creamy Eggplant, Mushrooms, and Leek Pasta

The fall weather was definitely here today. It was the first day I felt a little chilly walking around- probably because I’m in denial summer is over and still dressing for 80 degree weather. When I got home I decided to make some nice warm pasta for dinner. I made this delicious eggplant and mushroom dish that took no more than 30 minutes max. I will definitely be making this again! I think it might even be good with a little pancetta added next time.

Ingredients: (from Petite Kitchen)
2 tablespoons butter
1 leek, sliced
2 garlic cloves, finely chopped
5 oz baby bella mushrooms, chopped
4 small Japanese eggplants, cubed
Juice and zest from 1/2 lemon
1/2 cup chicken stock
1/2 cup cream
1/2 tablespoon Dijon mustard
Grated Parmesan cheese
Salt and Pepper
Angel hair pasta

(makes about 2-3 servings)

Melt the butter in a large saucepan over medium heat and add the leeks. Let cook for a minute until they break down a little. Add the garlic, mushrooms, eggplant, lemon zest, and a pinch of salt and pepper. Continue cooking vegetables for another 3 minutes or so. Add the chicken stock and Dijon mustard then turn down the heat to low and let simmer for another 5 minutes. In the meantime, boil some water and cook the pasta. Turn off the heat and add the cream and lemon juice to the vegetables, stir well then pour over the pasta. Top with Parmesan cheese and a little fresh cracked pepper.

Summer Squash and Corn Soup

Apparently fall is on its way, and despite the past two days of 90 degree weather, I thought I would prepare myself for the upcoming season by making some soup. I had some summer squash and corn on hand and found a nice light recipe that sounded perfect for weaning my way into soup season. It could not have been easier to make and was absolutely delicious. I think next time I make it, I will have some nice bread on hand to dunk. I pretty much love any excuse to eat bread.

Ingredients: (adapted from Eating Well)
1 small shallot, chopped
1 tablespoon olive oil
1 tablespoon fresh lemon balm
1 tablespoon fresh thyme
2 yellow squash, diced
1 fresh corn, sliced off the cob
14 oz chicken broth
1 teaspoon salt
1 1/2 tablespoons lemon juice
Pepper to taste
Crumbled feta cheese, for topping

Heat the olive oil in a large pot over medium heat and add the shallots. Let cook a minute or two then add the squash and fresh herbs. Cook for another 5 minutes until the squash softens a bit. Add the chicken broth and salt and let simmer for another 5 minutes. Turn off the heat and tip your soup in the pot so the liquid is deep enough to use your hand blender without having it splat everywhere. If you do not have a hand blender, you can simply pour the mixture into your blender and blend until smooth. Next, add the fresh corn and let simmer for 2-3 minutes. Lastly, add the lemon juice and pepper to taste. Pour into bowls and top with feta cheese and any leftover fresh herbs.

After making this for the first time, I think next time I might try adding half of the corn early and blending it in with the squash, then add the rest at the end per the above. This would make it even creamier which I think would be nice. Oh and the bread, lots of bread!